
Planning Guides, Style Guide
Seal and Send Wedding Invitations: All-in-One Fold Designs
May
What Seal and Send Invitations Actually Are
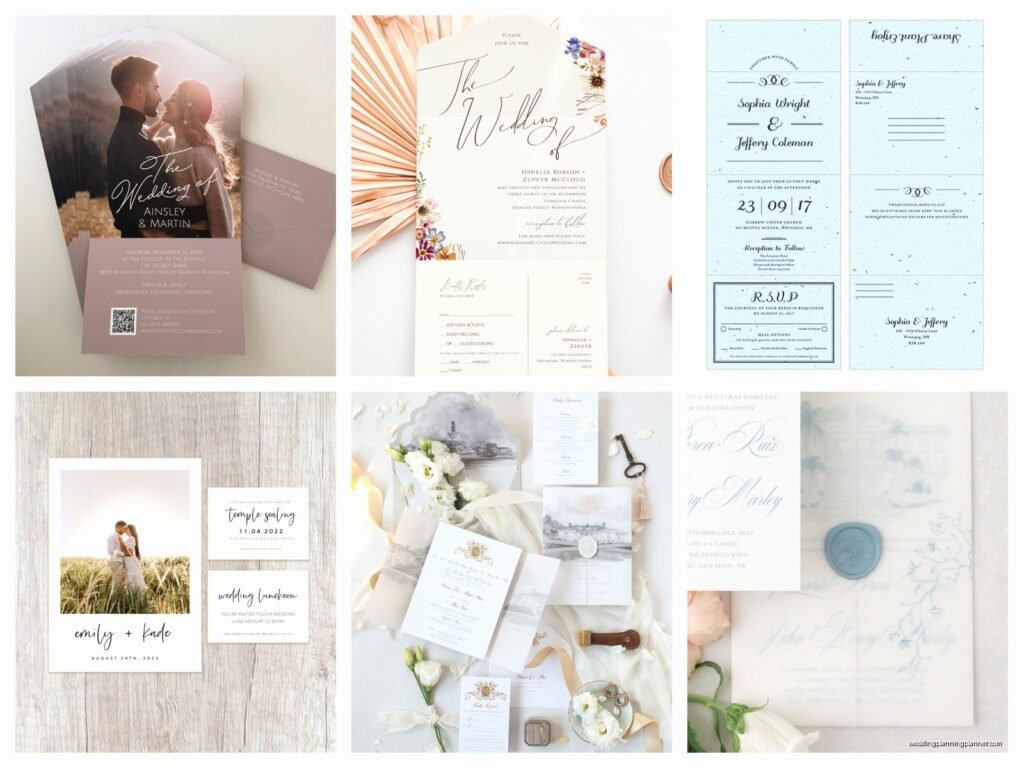
So seal and send invitations are basically the genius solution for people who don’t want to deal with envelopes at all. They’re single sheets that you print your invitation details on, fold up (usually into thirds or a Z-fold), and then seal with a sticker or the perforated edge that’s already built in. The guest’s address goes on the back panel, you slap a stamp on it, and it goes directly into the mail. No inner envelope, no outer envelope, no stuffing assembly line at your dining table at midnight.
I had this bride in spring 2023 who was SO stressed about her timeline, and she kept saying she didn’t have time to assemble 200 invitation suites. She was a medical resident, working insane hours, and I showed her seal and send options and she literally almost cried with relief. That’s when I really got how practical these things are for certain couples.
The Main Fold Styles You’ll See
There are basically three common fold designs, and each one has its pros and cons depending on what you’re going for.
Tri-Fold (C-Fold)
This is the most common style. The paper folds into three panels like a brochure. Usually the invitation wording is on the inside center panel, and you can use the other inside panels for your ceremony details, reception info, registry details, whatever. The back panel is where the mailing address goes. These are super straightforward and they lie pretty flat when folded, which the post office appreciates.
Z-Fold (Accordion Fold)
This one folds like an accordion or the letter Z. I actually really like how these look when someone opens them because the panels unfold in this satisfying way. You get the same amount of space as a tri-fold, but the visual presentation feels a bit different. Some couples use the Z-fold to create a timeline effect—like the first panel is the ceremony, middle is cocktail hour, last panel is reception details.
Booklet Style
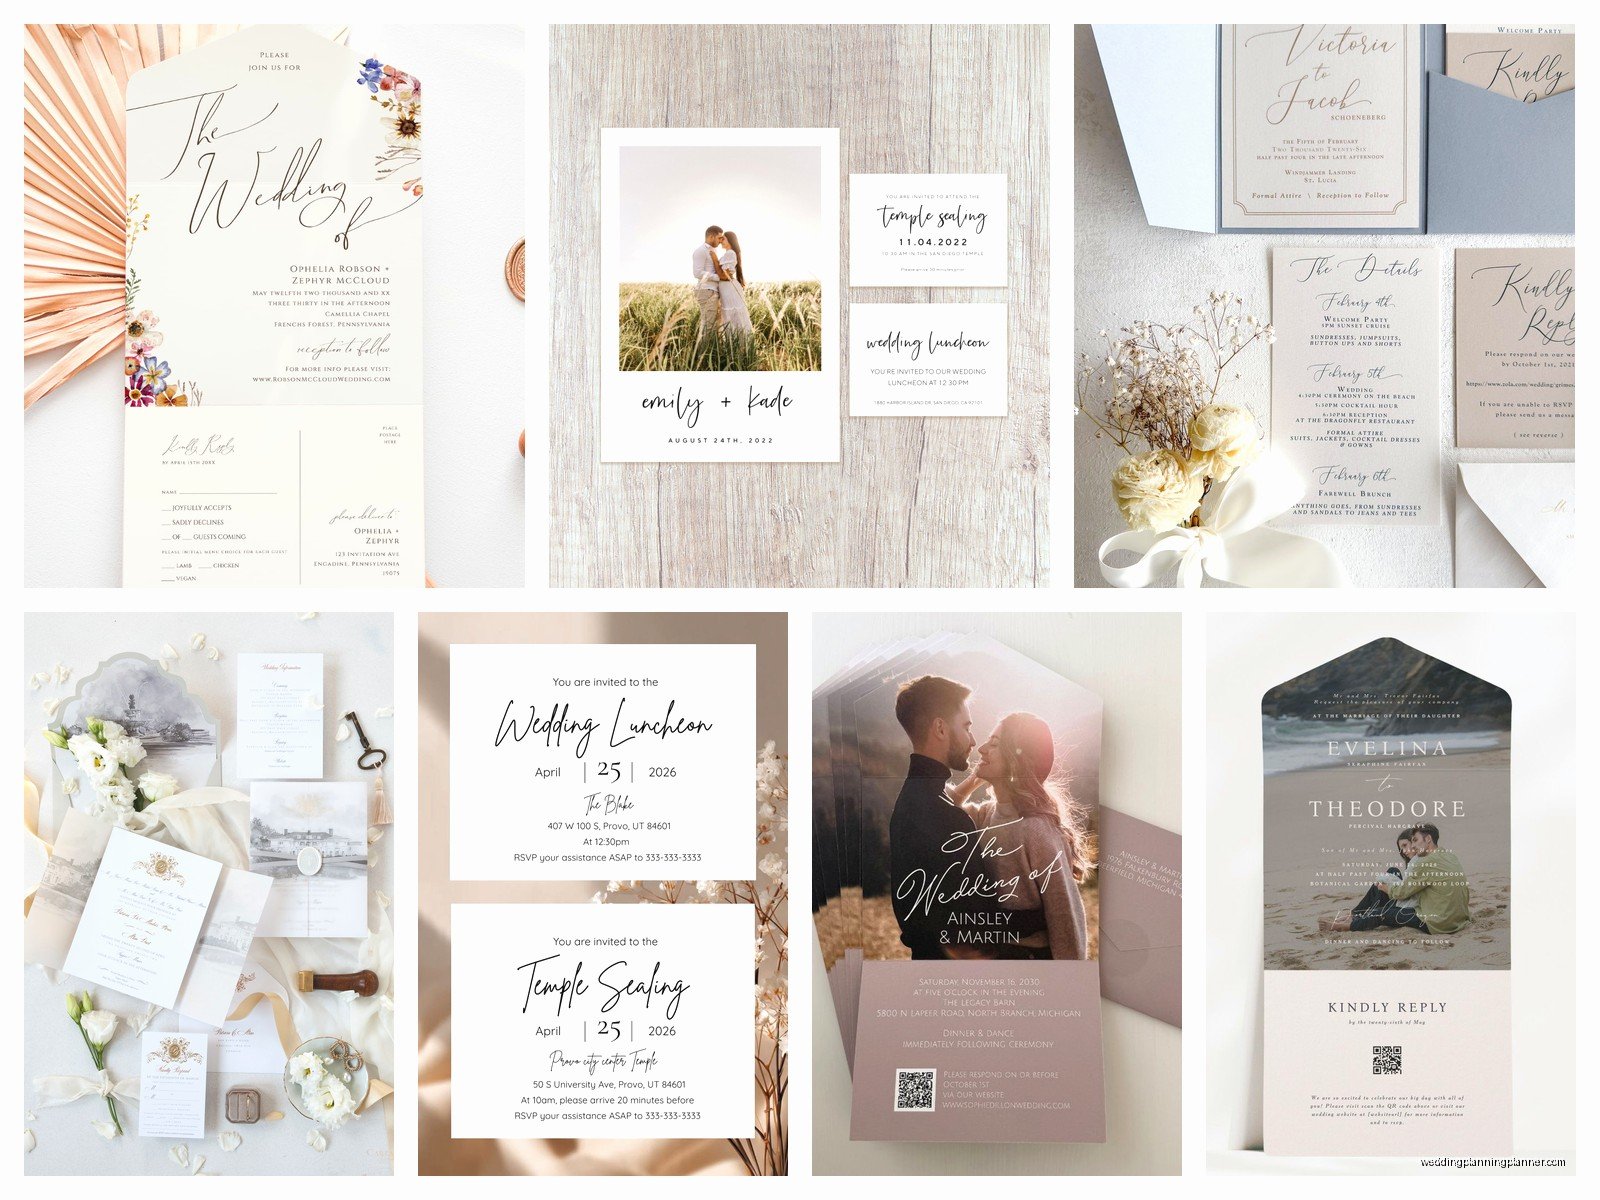
These are folded in half like a greeting card. You’ve got a front cover (which might have your names or a design), and then the inside spread for your invitation details. The back is for the address. These feel a bit more formal than the tri-fold options, but you have less overall space to work with since it’s just… well, one fold instead of two.
Size and Paper Weight Stuff You Gotta Know
Most seal and send invitations are printed on cardstock that’s between 80lb and 100lb cover weight. This is important because if it’s too thin, it’ll feel flimsy and might get damaged in the mail. Too thick and you’re gonna pay extra postage because it becomes rigid or something.
The standard size when folded is usually around 5.5″ x 8.5″ or 6″ x 9″, which fits the post office’s requirements for a letter or flat. Before it’s folded, you’re usually working with an 8.5″ x 11″ sheet or something close to that dimension.
Here’s what annoyed me though—so many couples don’t check the postage requirements before they design these things. They add ribbons or make the card too thick or use a weird size, and then they’re shocked when the post office says it’s gonna cost $2+ per invitation to mail. Just… measure it and take a sample to the post office before you print 150 of them, okay?
Design Layout Considerations
When you’re designing or ordering seal and sends, you need to think about what goes where. It’s not like a flat invitation where everything is just… there.
Front Panel: This is what people see first when it arrives. Some people put their names here, some do a design element, some leave it blank except for the seal. Totally up to you.
Inside Panels: This is where your actual invitation wording lives. You can organize it however makes sense—ceremony details on one panel, reception on another, accommodations and registry on the third. Or put everything on the center panel and use the sides for decorative elements or a sweet quote or whatever.
Back Panel: This HAS to have space for the mailing address and your return address. The USPS is pretty specific about where addresses need to go, so don’t get creative here. Address goes in the center-right area, return address goes top-left corner.
I learned this the hard way when a client designed her own and put the address area too low on the panel, and the post office rejected half of them because their scanning equipment couldn’t read it properly. We had to reprint. Not fun.
Margins and Fold Lines
You need to account for the fold lines in your design. If you put important text right on the fold, it’s gonna be creased and hard to read. Most templates will show you where the folds are, so keep text and important design elements at least a quarter inch away from those lines.
Printing Options
You can go a few different routes here depending on your budget and how hands-on you wanna be.
Print At Home
If you’ve got a decent printer, you can buy blank seal and send cardstock and print them yourself. This is the cheapest option for sure. You’ll need to make sure your printer can handle the paper weight though. Most home inkjets can do 80lb cardstock, but anything heavier might jam or not feed properly. And honestly, if you’re doing more than like 50 invitations, your printer might hate you by the end of it.
Local Print Shop
Taking your design to a local print shop usually gives you better quality than home printing. They’ve got professional equipment that can handle heavier cardstock and produce cleaner, more vibrant colors. The cost is obviously higher, but not terrible—usually between $1-3 per invitation depending on the complexity.
Online Invitation Companies
Places like Minted, Shutterfly, Vistaprint, and Ann’s Bridal Bargains have seal and send options with templates you can customize. This is the easiest route because they handle everything—design, printing, sometimes even addressing. You’re paying for convenience here, and prices range wildly depending on the company and how fancy you go.
The Actual Assembly Process
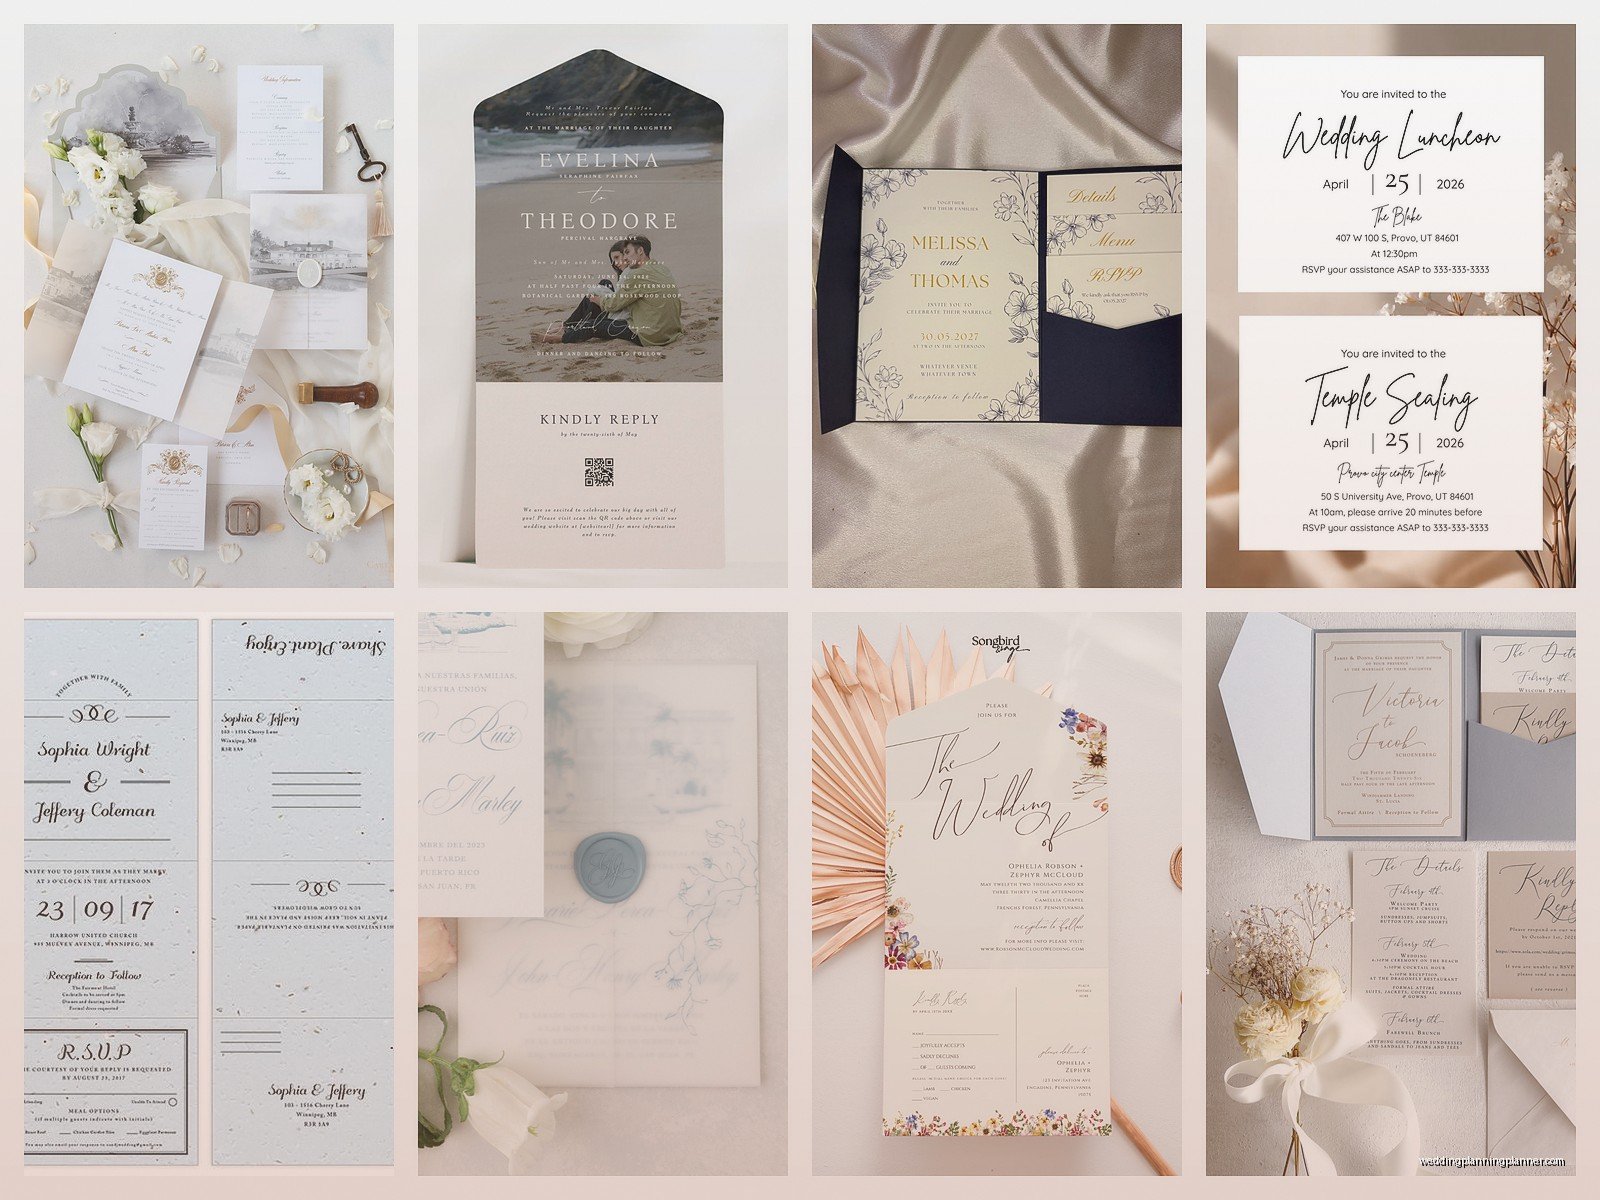
Okay so once you’ve got your printed invitations, here’s what you’re actually doing to get them ready to mail.
Step 1: Score the fold lines. If your invitations didn’t come pre-scored, you might want to score them yourself with a bone folder or the back of a butter knife (yeah, seriously). This makes the folds crisp and clean instead of wonky and uneven. Just line up a ruler where the fold should be and run your scoring tool along it with some pressure.
Step 2: Fold carefully. Fold along the score lines, and make sure you’re folding in the right direction—some designs have a specific inside and outside. Use your bone folder or just your fingers to crease the folds firmly. My cat knocked over my coffee onto a stack of these once during a DIY session with a bride, and we had to reprint 30 of them, so maybe do this away from beverages and pets.
Step 3: Seal them. Most seal and sends come with perforated edges that you can seal, or you’ll use a clear sticker, a wax seal, or a decorative sticker. If you’re using the perforated edge, just remove the strip and press the adhesive part down firmly. If you’re using stickers, make sure they’re actually gonna hold—test one first by mailing it to yourself.
Step 4: Address them. You can handwrite addresses, print labels, use a service like Minted’s addressing, or print directly on the invitation before folding (this is tricky and you need to do test prints). Just make sure the address is legible and in the right spot.
Step 5: Postage. Take a completed invitation to the post office and have them weigh it and tell you exactly how much postage you need. It might be a regular stamp, or it might need extra because of the weight or thickness or size. Buy your stamps accordingly—and maybe get a few extra in case you mess up any invitations.
Common Mistakes People Make
I’ve seen so many people trip up on the same things with seal and sends, so here’s what to avoid.
Not ordering extras. You WILL mess some up. You’ll print one upside down, or the fold will be crooked, or you’ll spill something. Order at least 10-15 extra beyond your guest count.
Forgetting about postage requirements. I mentioned this already but it bears repeating. Anything lumpy, bumpy, or rigid costs more to mail. That wax seal might look gorgeous but it’s adding 20 cents or more to each invitation.
Skipping the test print. Always, always, ALWAYS do a test print before you print all of them. Check that everything is aligned, the colors look right, the folds are in the right place, and the text is readable.
Using too-light paper. If your cardstock is too flimsy, it’ll arrive looking sad and crumpled. Stick with at least 80lb cover weight.
When Seal and Sends Work Best
These are perfect for casual weddings, destination weddings where you’re trying to keep things simple, elopement announcements, or couples on a tight budget or timeline. They’re also great if you just… don’t want to deal with the whole envelope situation, which is completely valid.
They’re maybe not the best choice if you’re having a black-tie formal wedding where traditional etiquette is important to you or your families. Some people think seal and sends feel too casual for formal events, though honestly I think that’s kinda outdated. But you know your crowd better than I do.
Adding Extra Details Without Envelopes
One thing people worry about is how to include extra info without separate enclosure cards. Here are some workarounds:
You can print your wedding website prominently on one of the inside panels and put ALL the extra details there—accommodations, registry, dress code, schedule, everything. This is honestly what most couples do now anyway.
Or you can design the inside panels to include brief versions of everything important. Like a small section for hotel blocks, a small section for dress code, etc.
Some people do a separate details card that they mail in an envelope a few weeks after the seal-and-send goes out, but that kinda defeats the purpose of… wait, why would you do seal-and-sends if you’re gonna mail another thing anyway? Unless it’s like a rehearsal dinner invite for a smaller group, then that makes sense.
Cost Breakdown
Let’s talk actual numbers because that’s probably why you’re considering these in the first place.
DIY printing at home: $0.50-1.50 per invitation (just the cost of the cardstock and ink)
Local print shop: $1-3 per invitation
Online companies: $1.50-5+ per invitation depending on how fancy
Compare that to traditional invitation suites with envelopes, enclosure cards, envelope liners, and all that stuff, which can easily run $5-15 per invitation. The savings are real.
Environmental Angle
Okay so I’m not gonna preach, but seal and sends do use less paper than traditional suites. No envelope, no extra enclosure cards, no tissue paper, no envelope liner. If you’re trying to reduce waste, this is a decent option. You can also look for recycled cardstock options from most printing companies.
Timing for Ordering and Mailing
If you’re ordering from a company, give yourself at least 4-6 weeks for production and shipping. If you’re printing yourself, you can obviously do it faster, but don’t leave it to the last minute because you’ll inevitably have some issue with your printer or run out of ink or something.
Mail them out 6-8 weeks before your wedding, same as regular invitations. Maybe 3-4 months for destination weddings.
Making Them Feel More Special
If you’re worried seal and sends feel too basic or casual, there are ways to elevate them. Use a really nice paper with texture—like linen or felt finish. Add foil stamping or letterpress printing if your budget allows. Use a wax seal instead of a sticker (just remember the postage cost). Choose a sophisticated color palette instead of plain white.
I had a couple do seal and sends with navy cardstock and gold foil printing and they looked incredibly elegant. Nobody would’ve guessed they were “budget” invitations.
The key is just putting thought into the design rather than picking the first template you see. Treat it like you would any other invitation—your wording, your style, your personality should come through regardless of the format.
