Planning Guides, Style Guide
Sliding Wedding Invitations: Design & Ordering Guide
Jun
What Even Are Sliding Invitations
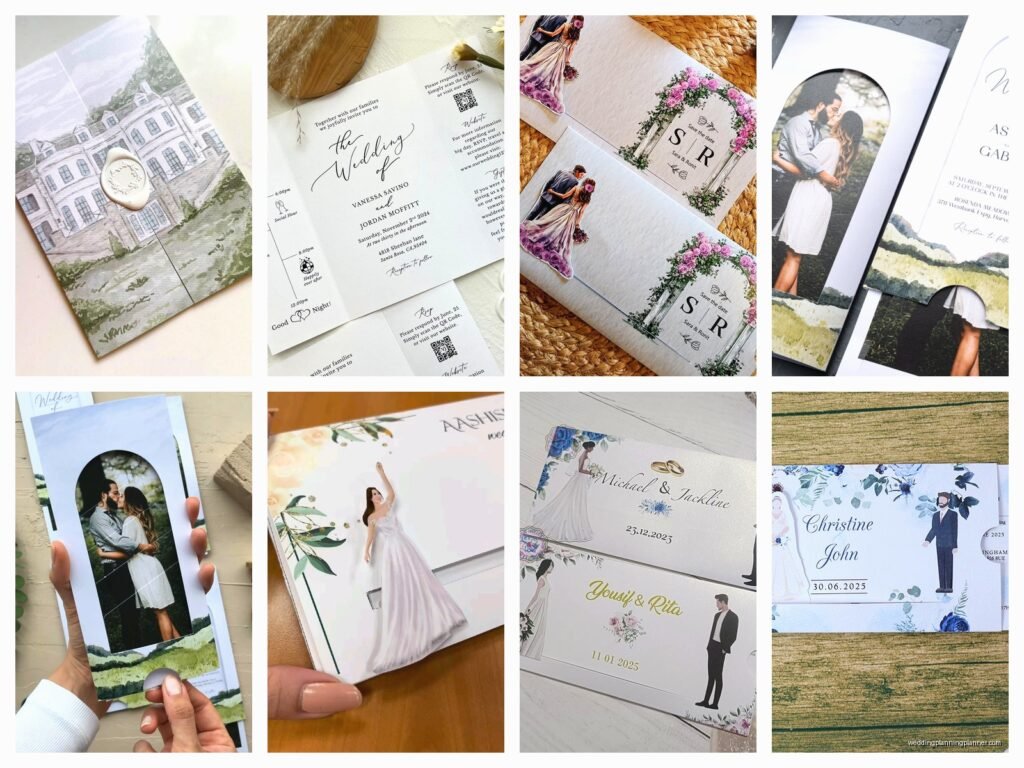
So sliding invitations are basically these multi-layered cards where pieces literally slide in and out of pockets or sleeves. They’re having this huge moment right now and honestly, they’re gorgeous when done right but can also be a complete disaster if you don’t understand how they work before ordering.
The basic concept is you have a main card or base, then additional cards or inserts that slide into pockets. Sometimes there’s a band holding everything together, sometimes it’s just the pocket doing all the work. The sliding action is the whole point—it creates this interactive experience when your guests open the invitation. They’re pulling out RSVP cards, detail cards, maybe a map, and it feels more luxe than just a flat card in an envelope.
Why People Love Them (And Why I’m Sometimes Skeptical)
Back in spring 2023 I had this bride who was OBSESSED with sliding invitations after seeing them on Pinterest. She wanted five different inserts, metallic paper, custom die-cuts, the works. Her budget was like… not aligned with that vision, let’s say. That whole situation taught me a lot about managing expectations with these designs.
The appeal is obvious though. They look expensive. They feel substantial in your hand. You can fit a ton of information without it feeling cluttered because everything’s separated into different cards. Plus there’s that anticipation factor when someone opens it and discovers there’s more to explore.
But here’s what annoys me—vendors on Etsy and other sites show these STUNNING photos of sliding invitations that are like… professionally styled with perfect lighting and sometimes the actual product you get is nowhere near that quality. The paper feels flimsy, the pockets don’t fit right, the sliding mechanism is too loose or too tight. You gotta be really careful about who you’re ordering from.
Types of Sliding Invitation Designs
There’s basically a few main styles you’ll see:
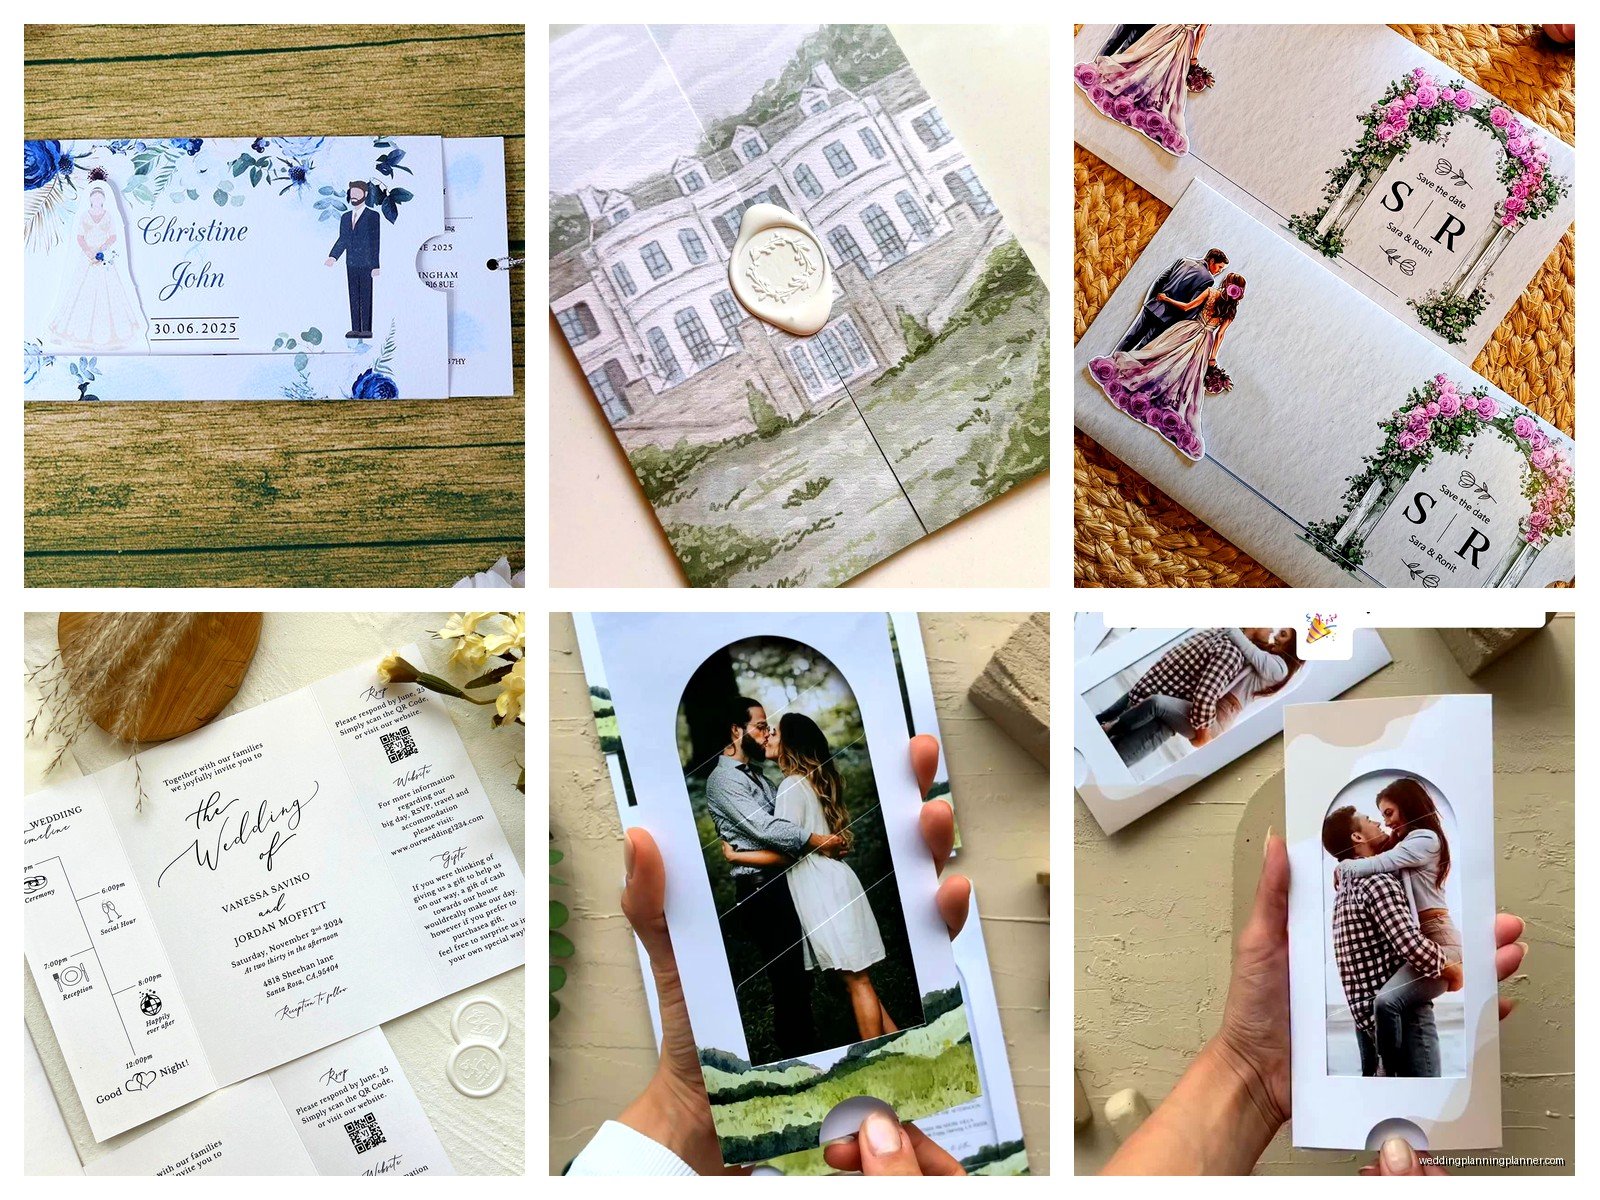
- Pocket folder style: This is where you have a folded card that creates a pocket, and your inserts slide into that pocket. Super common, relatively easy to DIY if you’re into that.
- Belly band with layers: Multiple cards stacked together, held by a decorative band around the middle. You slide the band off to access all the cards. I love these for modern minimalist weddings.
- Sleeve design: A separate sleeve piece that your main invitation slides out of. Sometimes the sleeve has a window cutout so you can see part of the invitation inside.
- Gate fold with pockets: The invitation opens like gates, and inside there are pockets on each panel. Very dramatic, very extra.
- Pull-out drawer style: Okay this one is getting fancy, but it’s literally designed like a little drawer that slides out. Usually for higher-end weddings.
Paper Weight Actually Matters Here
I cannot stress this enough—paper weight is gonna make or break your sliding invitations. If the paper is too thin, everything feels cheap and the inserts might slide around too much during mailing. Too thick and the cards won’t actually slide smoothly, which defeats the entire purpose.
For the main card or pocket piece, I usually recommend 100-110 lb cardstock minimum. For the inserts that slide in and out, you can go a bit lighter, like 80 lb, because you want them to move easily. The RSVP card should be sturdy enough to write on, so don’t go below 80 lb for that.
Also consider texture. Linen cardstock looks beautiful but can sometimes catch on itself when sliding. Smooth cardstock glides better but might look too plain depending on your design aesthetic. You’re gonna need to order samples, there’s really no way around it.
Designing Your Layout
This is where people get overwhelmed because you’re essentially designing multiple pieces that need to work together visually. Start with your main invitation card—that’s your anchor. Everything else should complement it without competing.
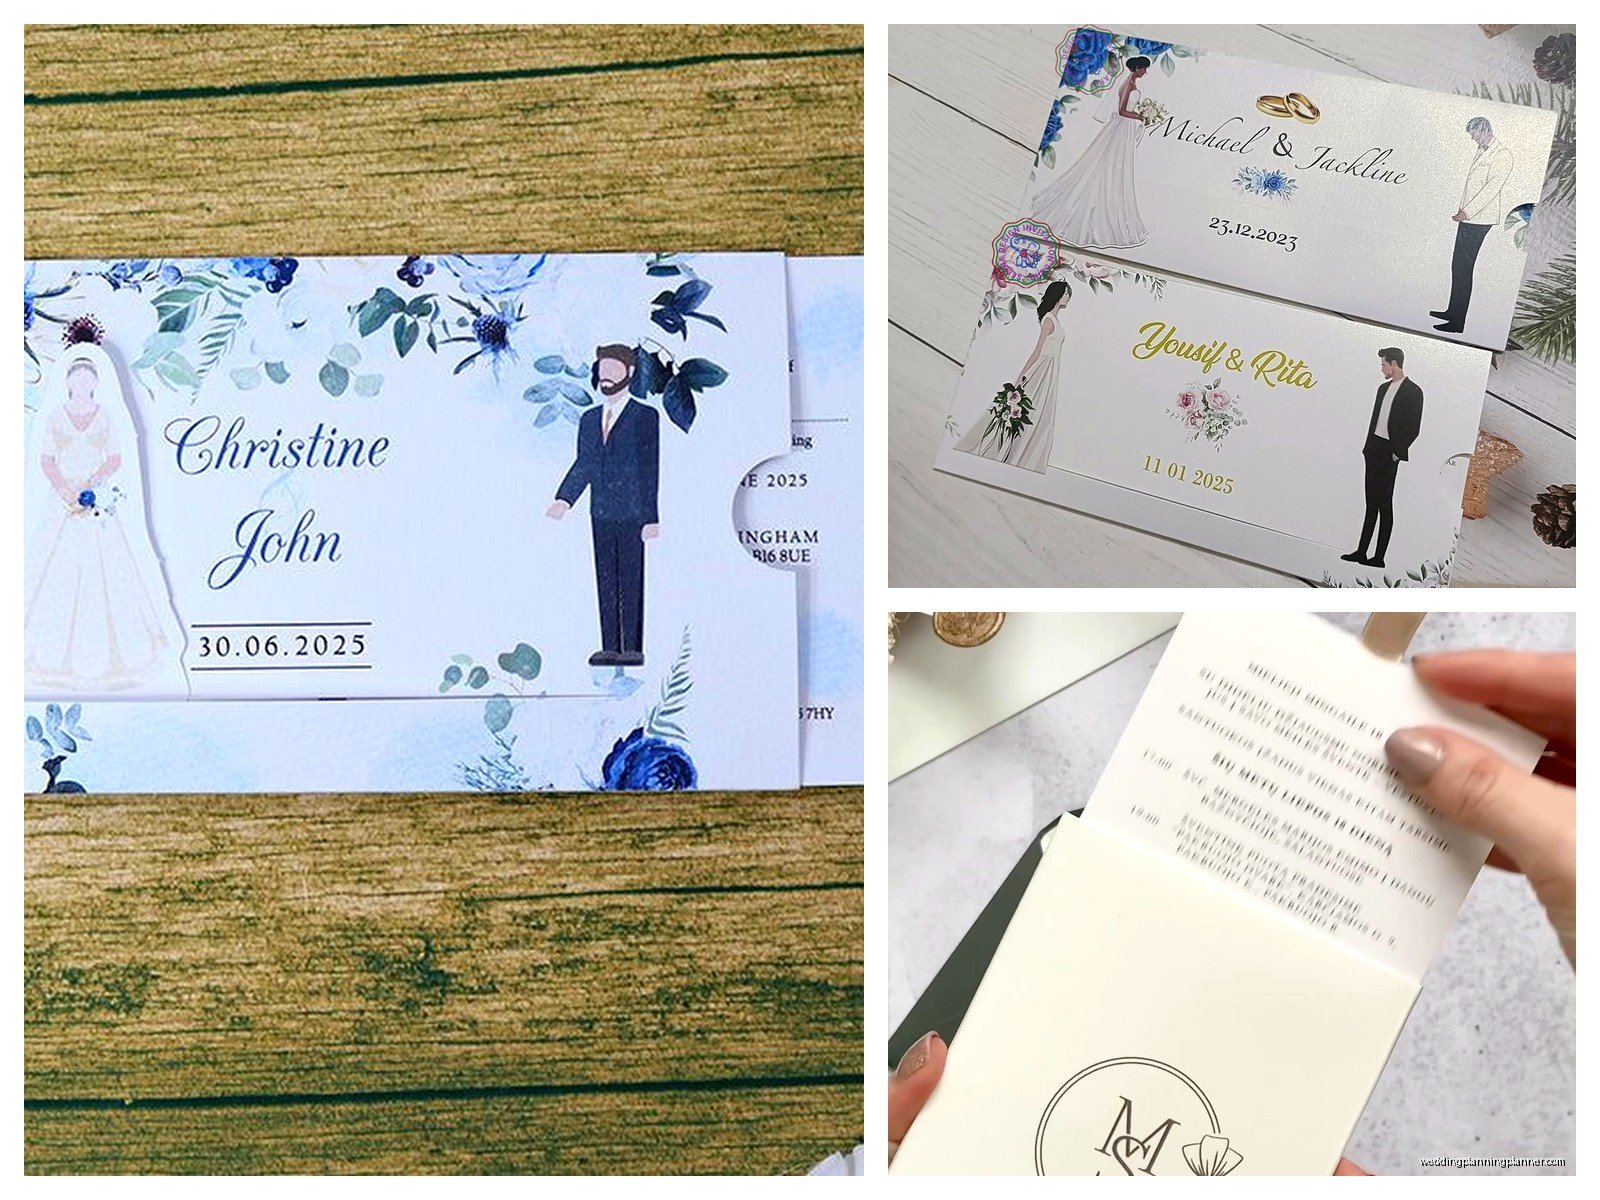
Think about what information actually needs to be separated. Typical inserts include:
- Main invitation with ceremony details
- Reception card if it’s at a different location or time
- RSVP card (with a separate envelope ideally)
- Details card with hotel blocks, website, dress code, etc.
- Direction or map card if needed
- Weekend events card for multi-day celebrations
You don’t need all of these. In fact, please don’t use all of these unless you’re having like a destination wedding weekend. I see couples trying to create six inserts when they really only need three, and it just becomes… a lot.
My cat just knocked over my coffee while I’m writing this, so if this section seems scattered that’s why. Anyway—design cohesion. Use the same font family across all pieces, maybe varying weights (regular, bold, light). Stick to a consistent color palette. If your main card has a floral border, maybe echo that with a small floral element on the other cards rather than repeating the full border.
Sizing Gets Tricky
Standard invitation size is 5×7 inches, and that works fine for sliding invitations. But you need to think about the actual dimensions of your pockets and inserts. If your pocket is 5×7, your inserts need to be slightly smaller—maybe 4.75×6.75 inches—so they actually fit and can slide in and out easily.
Leave at least an eighth of an inch clearance on each side. I learned this the hard way with a client order in summer 2021 where we designed everything to exact measurements and then the inserts literally wouldn’t fit into the pockets because we didn’t account for paper thickness and the slight variations in cutting. We had to reorder everything. It was expensive and stressful and I wanted to cry.
Also consider your envelopes. A standard 5×7 invitation fits in an A7 envelope, but if you’re adding belly bands, ribbons, or making the invitation thicker with multiple layers, you might need to size up to a bigger envelope. And bigger envelopes = more postage.
Assembly Time Is Real
Unless you’re paying your stationer to assemble everything (which you should ask about because not everyone offers this), you’re gonna be assembling these yourself. And sliding invitations take TIME.
For each invitation you need to:
- Slide each insert into the correct position
- Make sure everything is aligned properly
- Add any belly bands, ribbons, or wax seals
- Insert the whole thing into the envelope
- Seal and address the envelope
Multiply that by 100 or 150 invitations and you’re looking at several hours of work. Maybe 10-15 hours depending on complexity? Set up an assembly line, put on a good show (I binged all of Succession while assembling invitations last year), and recruit help if you can.
Where To Order From
You’ve got options ranging from DIY to fully custom professional printing.
Etsy: Huge range of templates and custom designs. Prices vary wildly. Always read reviews carefully and look at actual customer photos, not just the listing photos. Ask about paper quality before ordering. Some sellers offer printed versions, some are digital files you print yourself.
Minted, Zola, Paperless Post: These bigger sites have sliding invitation options now. Quality is generally consistent, customer service is good, but you’re working within their templates. Customization is more limited.
Local print shops: If you have a good local printer, they can often do sliding invitations. You’ll need to provide the design or work with their designer. Benefit is you can see paper samples in person and discuss exactly what you want.
Professional stationery designers: This is the most expensive option but you get completely custom work. They’ll handle design, printing, assembly, everything. Expect to pay $15-30+ per invitation suite depending on complexity.
DIY printing: If you’re crafty and have access to a good printer, you can buy the paper and print at home or at a print shop. Then you do all the cutting and assembly yourself. Cheapest option but most time-intensive.
Cost Breakdown Reality Check
Let’s talk actual numbers because people always underestimate what sliding invitations cost.
Budget option (DIY or basic Etsy template): $3-6 per invitation
Mid-range (semi-custom with online vendor): $8-15 per invitation
High-end (custom designer, luxury paper): $20-40+ per invitation
And that’s just the invitation suite. Add envelopes, postage (which might be $1-2 per invitation if they’re thick), and any extras like wax seals or custom envelope liners.
For 125 invitations at the mid-range, you’re looking at $1,000-1,875 just for invitations. That’s a significant chunk of budget and some couples don’t realize this until they’re already in love with a design.
Printing Techniques To Consider
The printing method affects both look and cost. Digital printing is most affordable and works great for most designs. Colors are vibrant, turnaround is quick, and it handles photos and graphics well.
Letterpress is gorgeous and has that tactile debossed feel, but it’s expensive and doesn’t work well with full-color designs. Better for simple, elegant text-based invitations.
Foil stamping adds metallic elements—gold, silver, rose gold, copper. It’s having a moment and looks stunning on sliding invitations, especially on the main card or belly band. Adds to the cost though, usually $2-5 per invitation.
Thermography creates raised printing that looks similar to engraving but costs less. It’s kinda old-school but some people love it for traditional formal weddings.
What About Belly Bands And Embellishments
Belly bands are those strips of paper or ribbon that wrap around your invitation suite to hold everything together. They can be plain cardstock, vellum, fabric ribbon, or even custom printed with your names or wedding date.
If you’re doing paper belly bands, they need to be scored so they fold without cracking. Vellum bands look elegant but can be slippery—sometimes the invitations slide right out during mailing which is… not ideal. Ribbon is secure but adds bulk and cost.
Wax seals are another popular embellishment for sliding invitations. They look incredibly romantic but here’s what no one tells you—they often break during mailing or they add thickness that requires extra postage. If you’re set on wax seals, consider putting them on the inner envelope or the actual invitation, not the outer mailing envelope.
Proofing Is Non-Negotiable
Order a printed proof before you order 150 invitations, I’m begging you. What looks good on screen doesn’t always translate to paper. Colors shift, fonts might be too small, the sliding mechanism might not work smoothly.
A physical proof lets you test the actual paper weight, see the true colors, check that all the inserts fit properly in the pockets, and catch any typos. Yes it adds time to your timeline and usually costs $20-50, but it’s worth every penny compared to receiving 150 invitations with a misspelled venue name or inserts that don’t fit.
Check everything multiple times. Have other people check. Look for typos, wrong dates, missing information, formatting issues. I once had a proof where the RSVP deadline was listed as a date AFTER the wedding date and we only caught it because the bride’s mom happened to notice.
Postage Considerations You Can’t Ignore
Thick invitations cost more to mail, period. A standard wedding invitation under 1 ounce is one Forever stamp. But sliding invitations with multiple inserts, belly bands, and ribbons can easily hit 2-3 ounces or more.
Plus if your invitation is rigid (like with a gate fold design), it might be considered non-machinable, which means hand-canceling and additional fees. We’re talking potentially $2+ per invitation in postage.
Take a fully assembled invitation to the post office and have them weigh it and tell you exact postage. Do this before you order your stamps. Also ask about hand-canceling—some post offices are better about this than others, and it prevents your invitations from getting chewed up in sorting machines.
And please, mail yourself a test invitation before you send them all out. Make sure everything arrives intact, nothing slides out during transit, and the envelope doesn’t get damaged.
Timeline For Ordering
Start looking at designs and ordering samples like 6-7 months before your wedding. That gives you time to figure out what you want, order proofs, make revisions, do the final print run, assemble everything, address envelopes, and mail them out 8-10 weeks before the wedding.
If you’re doing custom design work, add another month or two to work with your designer. Rush orders are possible but expensive and stressful, and you lose the ability to really perfect everything.
Some printing timelines:
- Digital printing: 1-2 weeks production after proof approval
- Letterpress: 3-4 weeks production
- Custom design process: 4-8 weeks before even getting to printing
Common Mistakes People Make
Not ordering enough invitations. Order at least 10-15 extra for keepsakes, mistakes during assembly, last-minute additions to your guest list, or damaged pieces. You cannot easily reorder just 5 more—most printers have minimums.
Choosing a design that doesn’t match their wedding vibe. If you’re having a casual backyard wedding, an elaborate gate-fold invitation with gold foil might feel mismatched. The invitation sets expectations for your event.
Forgetting about RSVP envelope postage. If you want guests to mail back their RSVP cards, you need to include a stamped envelope. That’s another cost to factor in.
Making the inserts too complicated. If your details card has tiny 8-point font with seventeen different pieces of information crammed on there, people won’t read it or they’ll get confused. Keep it clear and scannable.
Not considering accessibility. Vellum overlays look pretty but can be hard to read for guests with vision issues. Super fancy script fonts are hard to read. Think about your actual guest list.