Planning Guides, Style Guide
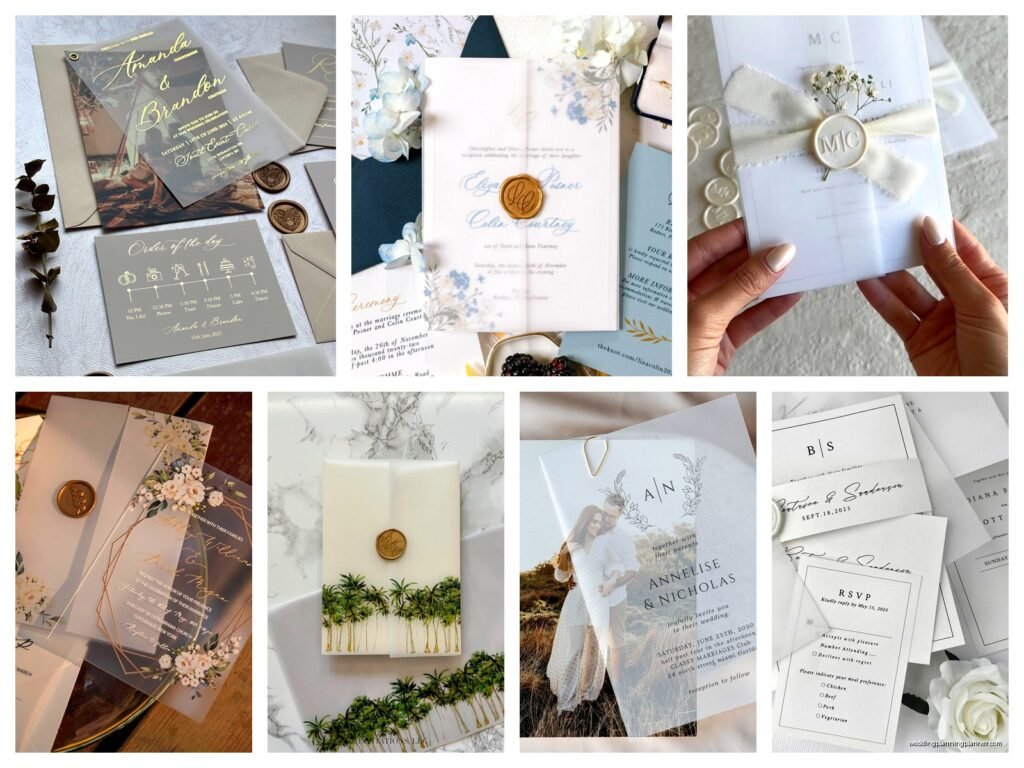
Vellum Wedding Invitations: Translucent Overlay Designs
May
Okay So Vellum Overlays Are Actually Easier Than You Think
Vellum overlays are having this massive moment right now and honestly they’re one of my favorite things to recommend because they look expensive but they’re not nearly as complicated as foil stamping or letterpress. Basically you’re layering a translucent vellum sheet over your main invitation card and it creates this soft, romantic look that photographs SO well.
The vellum is typically around 17-30lb weight – anything lighter and it’s gonna be too flimsy and wrinkle like crazy, anything heavier and it stops looking translucent. I learned this the hard way in spring 2023 when a bride ordered 48lb vellum thinking thicker was better and we basically had fancy tracing paper that you couldn’t see through at all. Had to reorder everything.
What Actually Goes On The Vellum Layer
So here’s where you gotta make some decisions. The vellum can either have printing on it OR it can be blank and just act as a pretty filter over your invitation. Most couples go with printed vellum because otherwise what’s the point, you know?
Common things people print on vellum overlays:
- The couple’s names or monogram
- A delicate botanical illustration or wreath design
- The ceremony location and time
- A favorite quote or Bible verse
- Geometric line art that frames the invitation underneath
The key is keeping it simple. You don’t want to cover up all the important info on the card below. I usually tell clients to think of the vellum as an accent, not the main event. Like when you’re getting dressed and you add a necklace – it should enhance what’s already there, not compete with it.
Printing Methods That Work On Vellum
Alright so this is where it gets technical but stay with me. Not all printing methods work on vellum and some printers will straight up refuse to do it.
Digital printing: This is your most affordable option. Most professional print shops can do white ink digital printing on vellum which looks gorgeous. The white ink is opaque so it really pops against the translucent background. You can also do colored inks but they tend to look more subtle. Just make sure your printer has experience with vellum because it can jam in machines really easily.
Laser printing: Nah, don’t do this at home. The heat from laser printers can melt or warp vellum and you’ll end up with a crinkled mess. I know it’s tempting to DIY but this is one area where you really need professional equipment.
Inkjet printing: You CAN do this at home but the ink takes forever to dry on vellum and smudges easily. If you’re gonna go this route, give yourself like 24 hours of drying time and handle everything with clean hands. Also the colors never look as vibrant as you want them to.
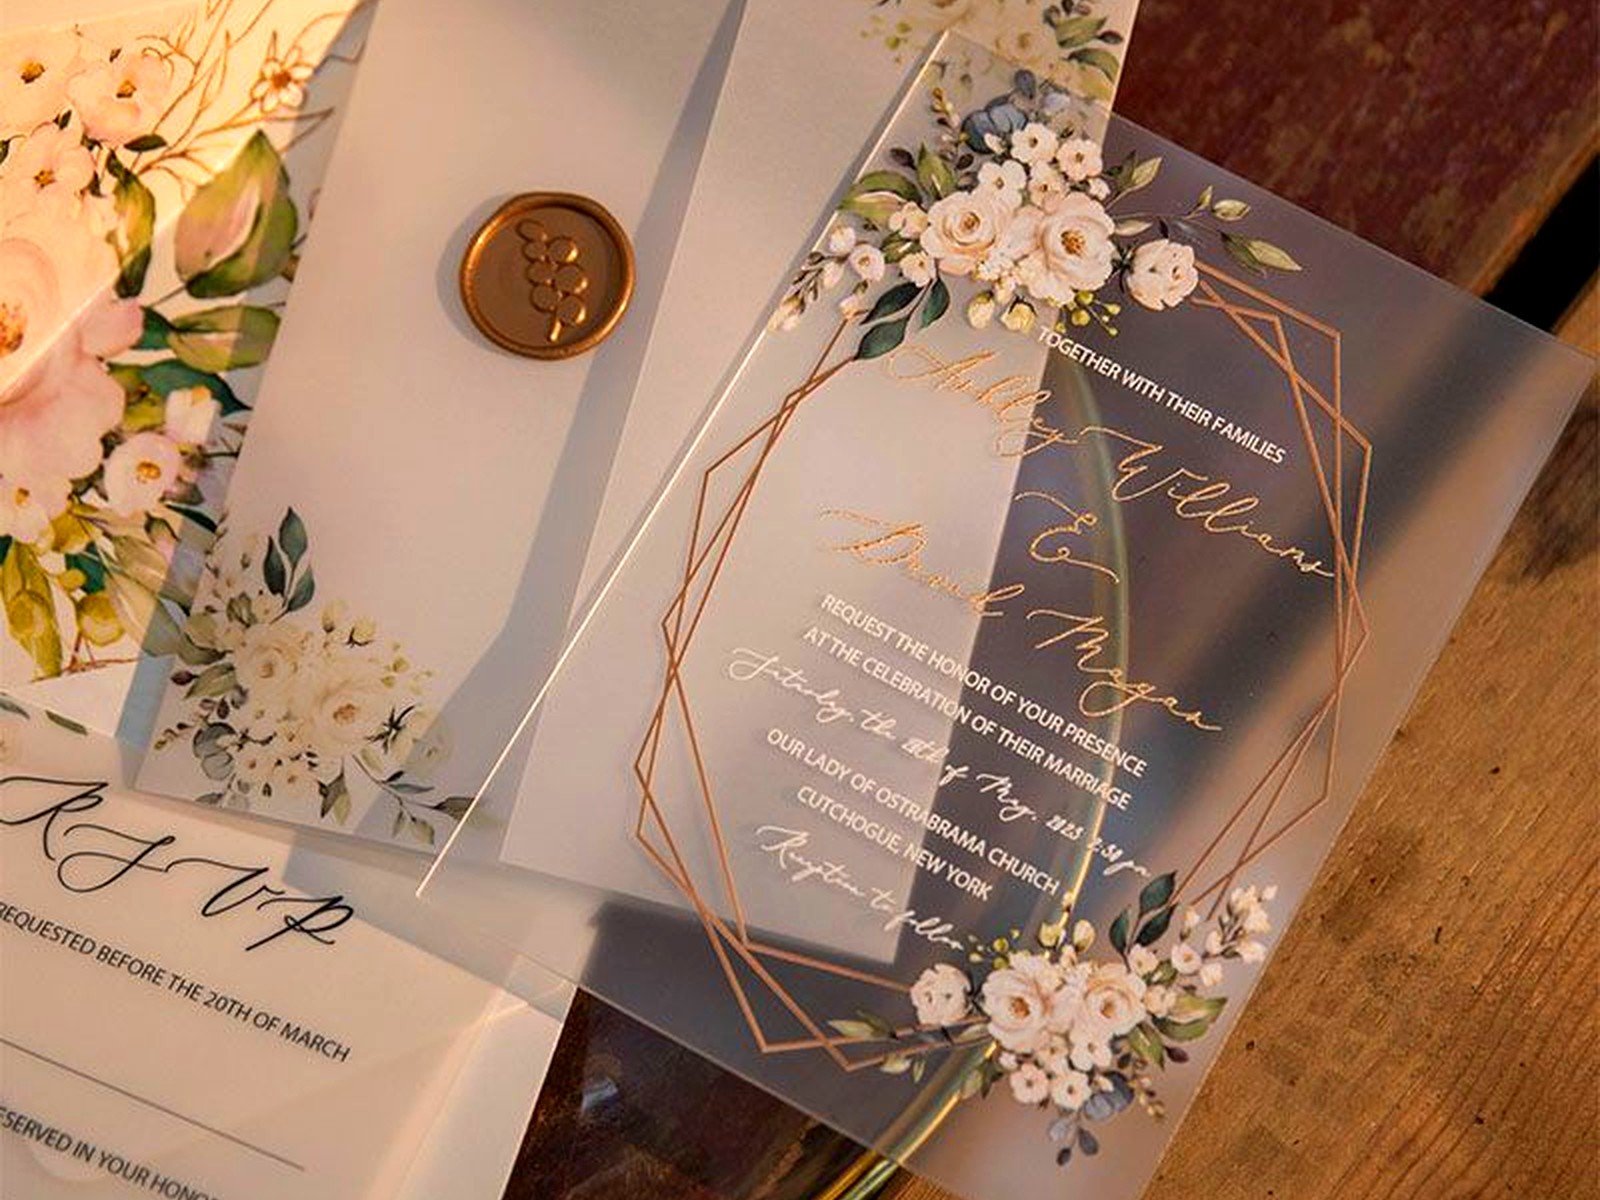
Foil stamping: Absolutely beautiful but expensive. Gold or silver foil on vellum looks incredibly elegant. This is what I recommend for couples who have a bigger budget and want that luxury feel. Rose gold foil is particularly popular right now.
Letterpress: Technically possible but kinda tricky because vellum is so delicate. The pressure from letterpress can tear it if the printer isn’t careful. Most letterpress studios will charge extra for vellum because of the difficulty factor.
How To Actually Attach The Vellum To Your Invitation
This is the part that stresses people out the most and honestly it annoyed me for YEARS until I figured out a system that works. There are like five different methods and each one has pros and cons.
The Belly Band Method
You wrap a band of paper or ribbon around the entire invitation suite, which holds the vellum overlay in place. This is probably the easiest method because you don’t have to worry about adhesive or holes. The band can match your wedding colors and you can even print the couple’s names on it. My cat knocked over an entire box of belly bands once during an assembly party and they went everywhere… anyway, this method works great for casual or rustic weddings.
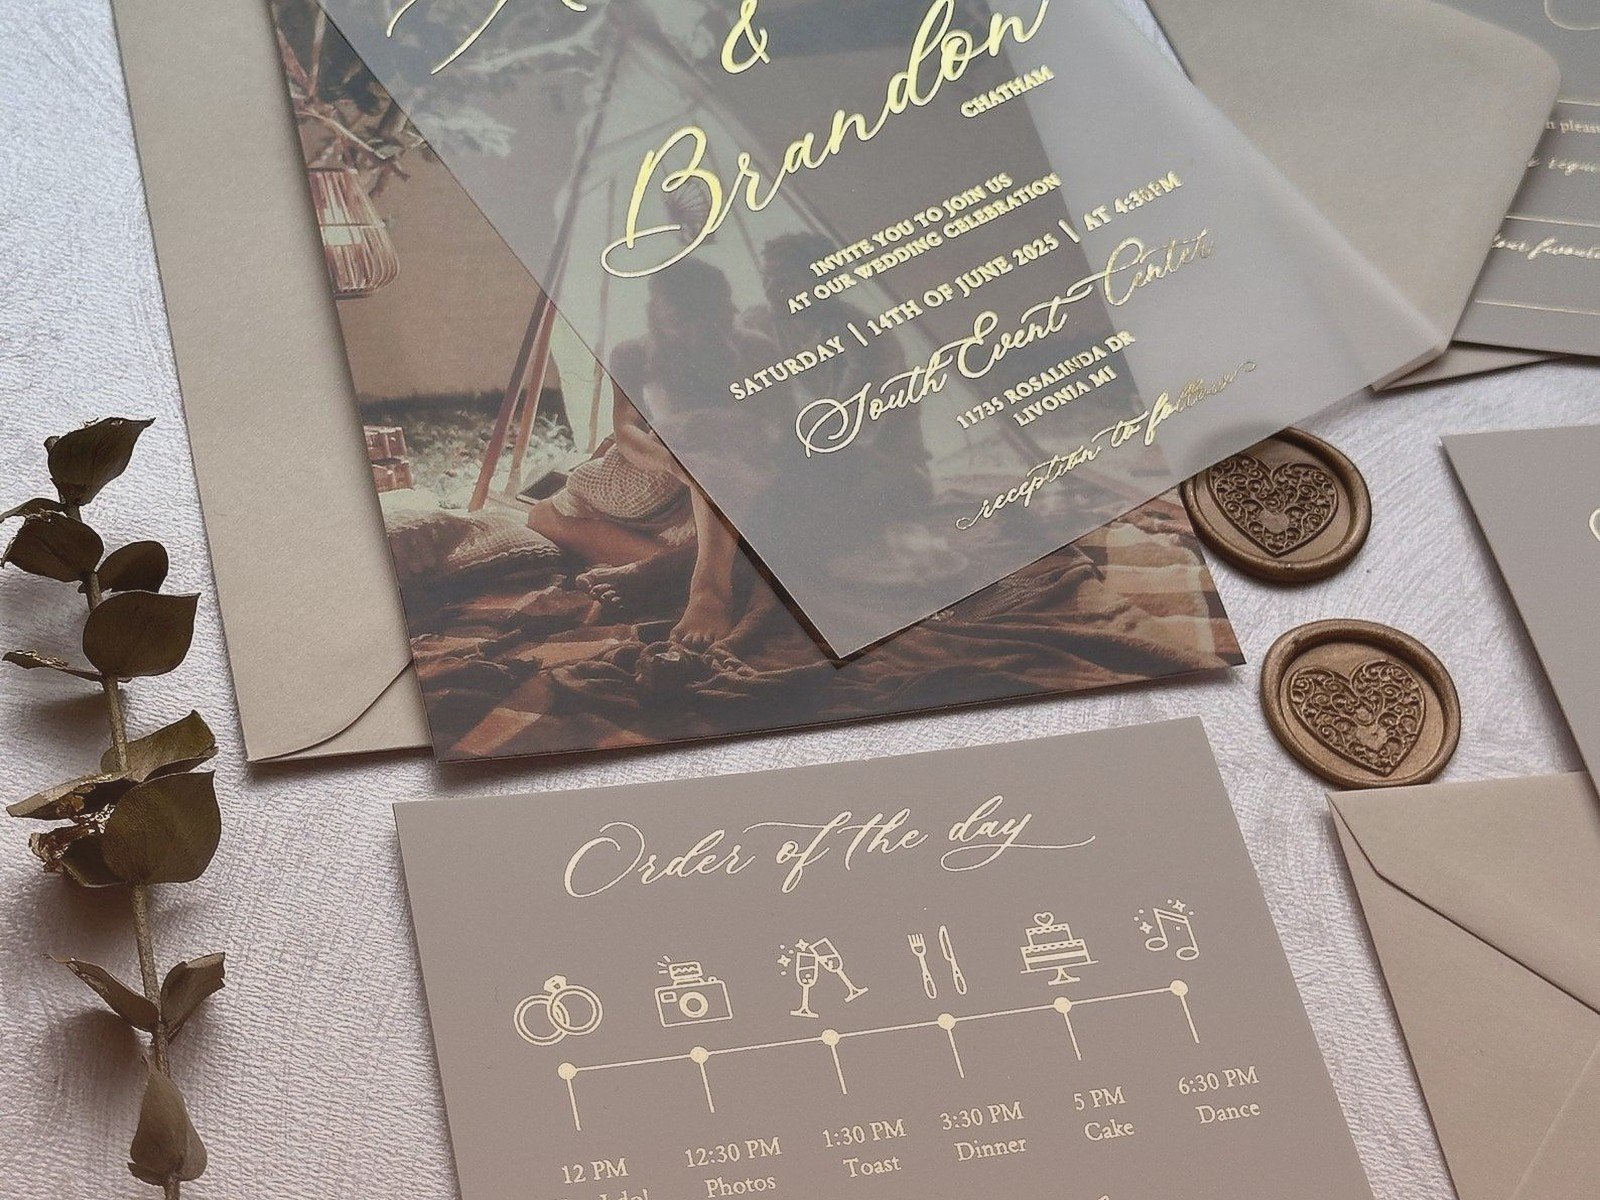
Wax Seals
So trendy right now. You place the vellum over the invitation and then add a wax seal at the top center to hold everything together. It looks really romantic and vintage. The downside is that wax seals add weight so you might need extra postage, and they can break during mailing if the envelope gets bent. I always tell clients to take a fully assembled invitation to the post office and have it weighed before ordering 150 stamps.
Colors like dusty rose, sage green, and gold wax are super popular. You can get custom monogram seals made on Etsy for like $30-40.
Vellum Tape or Glue Dots
This is the method I use most often for formal weddings. There’s special double-sided tape made specifically for vellum that’s nearly invisible. You put tiny pieces at the top corners or along the top edge to secure the vellum to the card underneath. Glue dots work too but they’re more visible – you can kinda see them through the vellum if you look closely.
The trick is using just enough adhesive to hold things in place without making it look obviously taped. Less is more here.
Ribbon Ties
You punch two small holes in the vellum and invitation, then thread ribbon through and tie a bow. This looks really pretty and gives that handmade feel. BUT it’s time-consuming if you’re doing a lot of invitations, and you need a proper hole punch that makes clean holes – not a regular office hole punch because those are too big and the ribbon will slip through or… wait, actually it depends on your ribbon width. Just make sure everything is proportional.
Silk ribbon works better than grosgrain for this because it ties more neatly and lays flatter in the envelope.
Corner Mounts
These are little decorative corners (usually metallic) that you can buy that hold the vellum to the card. They look fancy but they’re kinda old-fashioned? Like something your grandmother would use in a photo album. Some couples love this look, others think it’s dated. Totally personal preference.
Designing The Card Underneath
Here’s something people don’t always think about – the invitation card that goes UNDER the vellum needs to be designed with the overlay in mind. If you just take a regular invitation design and slap vellum over it, things can look muddy or hard to read.
I usually recommend keeping the base card fairly simple with good contrast. Dark text on light paper works best because the vellum will naturally soften everything. If your base card has a lot of busy patterns or watercolor backgrounds, the vellum can make it look blurry.
During summer 2021 I had a bride who wanted this gorgeous watercolor floral background on her invitation with a vellum overlay that had her monogram. When we did the mockup, you literally couldn’t read any of the text because there was too much going on. We ended up simplifying the background to just a subtle wash of color at the edges and it looked SO much better.
Also think about color temperature. Cool-toned vellum (which has a slightly blue-white cast) works better with blues, purples, and greens. Warm-toned vellum (slightly cream-colored) looks better with blush, peach, burgundy, and gold.
What Size Should Everything Be
The vellum overlay is usually the same size as your invitation card or slightly smaller – like maybe 1/8 inch smaller on all sides so you can see a tiny border of the card underneath. Some people do oversized vellum that’s bigger than the card, but then you need a bigger envelope and it gets expensive.
Standard invitation sizes that work well with vellum:
- 5×7 inches (fits in an A7 envelope)
- 5.5×8.5 inches (fits in an A9 envelope)
- 4×6 inches for smaller, simpler invitations
- Square formats like 6×6 or 7×7 (but square envelopes cost more to mail)
Whatever size you choose, make sure you account for the thickness when picking envelopes. A card plus vellum overlay plus any other inserts can get bulky fast.
Assembly Tips That’ll Save Your Sanity
Okay so you’ve got all your materials, now you gotta put together like 100+ invitations and it’s gonna take forever unless you’re organized about it.
Set up an assembly line. Seriously. I usually arrange everything on a big table in order: base cards, vellum overlays, ribbons or seals or whatever you’re using to attach, then envelopes. Put on a good podcast or TV show in the background – I’ve assembled so many invitations while rewatching The Office that I probably have every episode memorized at this point.
Work in batches. Do 25 at a time, take a break, then do another 25. Your hands will cramp up if you try to power through all of them at once, especially if you’re tying ribbons.
Handle vellum with clean, dry hands. The oils from your skin show up really easily on vellum and once you get fingerprints on it, they’re almost impossible to remove. I keep a towel nearby and wipe my hands every few invitations.
If you’re using wax seals, practice on scrap paper first until you get the technique down. Nothing’s worse than messing up a seal on invitation number 87 and having to reprint everything.
The Envelope Situation
Vellum invitations need the right envelopes. You want something sturdy enough to protect everything during mailing. I usually recommend 80lb or heavier cardstock for envelopes.
Inner and outer envelope sets work really well with vellum invitations because the inner envelope keeps everything pristine. But double envelopes also add cost and weight, so factor that into your budget and postage calculations.
Clear or translucent envelopes are another option that looks really modern and lets the vellum design show through. These are especially popular for minimalist or contemporary weddings. Just know that anything visible through a clear envelope needs to be guest-appropriate since postal workers and anyone handling the mail can see it.
Postage And Mailing Stuff You Need To Know
This is the part that everyone forgets about until the last minute and then they panic. Vellum invitations are almost always going to need extra postage because of the weight and thickness.
Take a fully assembled invitation in its envelope to the post office before you buy stamps. They’ll weigh it and tell you exactly how much postage you need. It’s usually between $0.88 and $1.50 per invitation depending on size and weight.
Hand-canceling is worth it for vellum invitations. This means the post office processes them by hand instead of running them through the sorting machines. It costs a little extra but it prevents your beautiful invitations from getting bent, torn, or having those ugly black postal marks all over them. Call your local post office and ask if they offer hand-canceling service – not all locations do it.
Mail one invitation to yourself first as a test run. This lets you see how it holds up during actual mailing and whether anything shifts around inside the envelope. Better to discover a problem with one test invitation than with all 150.
Common Problems And How To Fix Them
Vellum curling: This happens when there’s humidity or temperature changes. Store your vellum flat with something heavy on top (but not too heavy or you’ll crease it). If it’s already curled, you can sometimes fix it by placing it between two pieces of cardstock under a heavy book for a day or two.
Ink smearing: Give digital printing at least 24 hours to fully cure before touching it or assembling invitations. With inkjet printing at home, you might need even longer.
Static electricity: Vellum loves to stick to itself and everything else because of static. Keep a dryer sheet nearby and run it over your work surface occasionally to reduce static. Sounds weird but it works.
Difficulty reading text: If your vellum overlay is making the invitation hard to read, try using a heavier/darker font on the base card, increase the contrast, or use a lighter weight vellum (like 17lb instead of 30lb).
Budget Breakdown
Since we’re being practical here, let’s talk money. For 100 vellum overlay invitations, you’re looking at roughly:
- Base invitation cards: $80-150 depending on cardstock quality
- Vellum printing: $100-250 (white ink digital is cheaper, foil is more expensive)
- Attachment method (ribbon, seals, etc): $20-80
- Envelopes: $40-100
- Postage: $90-150
- Professional assembly if you’re not DIY-ing: $150-300
So you’re probably spending $500-1000 total for a full vellum invitation suite for 100 guests. That’s mid-range as far as wedding invitations go – more expensive than basic digital printing but way less than full letterpress or engraved invitations.
DIY vs Professional Printing
Look, I’m all for DIY when it makes sense, but vellum printing is one area where I usually tell people to just hire a professional unless you’ve got serious experience and the right equipment. The margin for error is high and vellum isn’t cheap, so if you mess up a bunch of sheets, you’ve wasted money anyway.
What you CAN easily DIY: assembly, ribbon tying, adding wax seals, inserting everything into envelopes. These tasks are time-consuming but not technically difficult. Have a couple friends over, order pizza, and make an evening of it.
What you should probably outsource: the actual printing on vellum, especially if you want white ink or foil. Also any die-cutting or custom shapes.