Planning Guides, Style Guide
Wedding Card Layout: Design & Ordering Guide
May
Okay So Card Layout Basics First
The front panel is where most couples totally overthink things and honestly I get it because this is the first thing people see when they pull your invitation out of the envelope. You’ve got maybe 5×7 inches (that’s the most common size btw) to work with and you need to figure out what goes where without making it look like a ransom note.
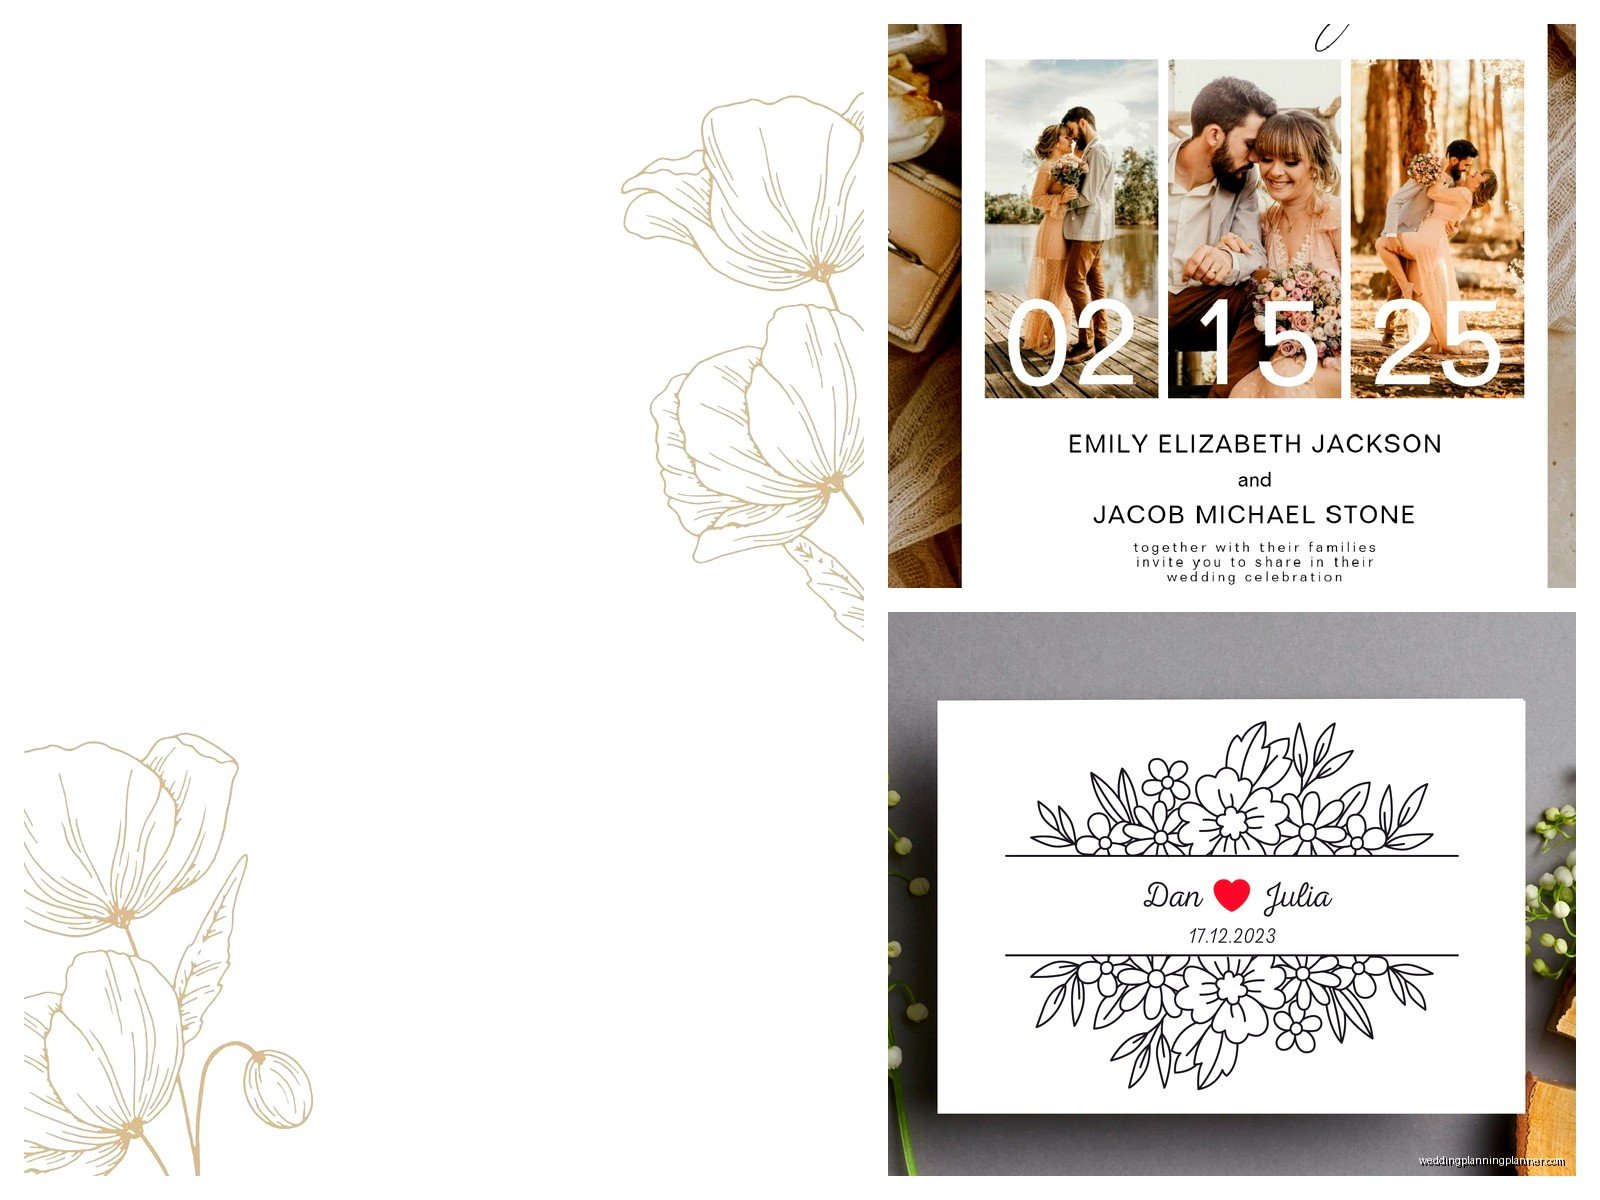
Your names are the big deal here. I always tell clients to pick ONE focal point for the front – either your names in a fancy script font, or a really stunning photo if you’re doing photo cards, or maybe a gorgeous floral border. Not all three. Spring 2023 I had this couple who wanted their engagement photo PLUS a watercolor floral wreath PLUS both their full names in 3-inch letters and I’m like… there’s literally no white space left and also where do people’s eyes even go first? We scaled it back and it looked so much better.
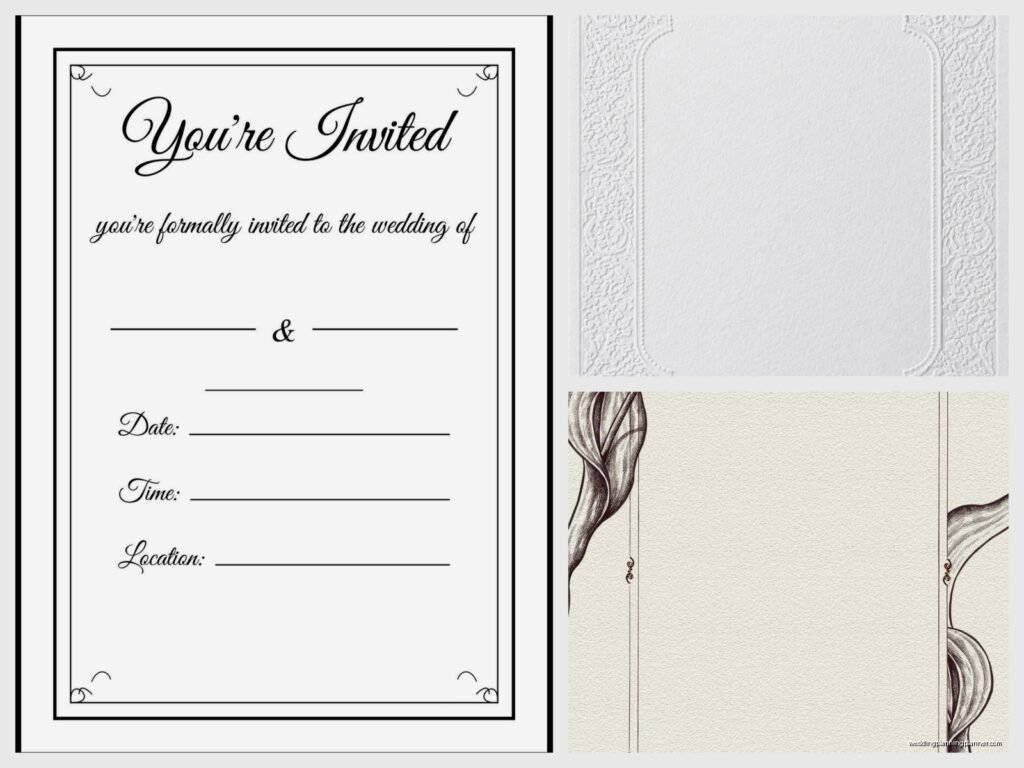
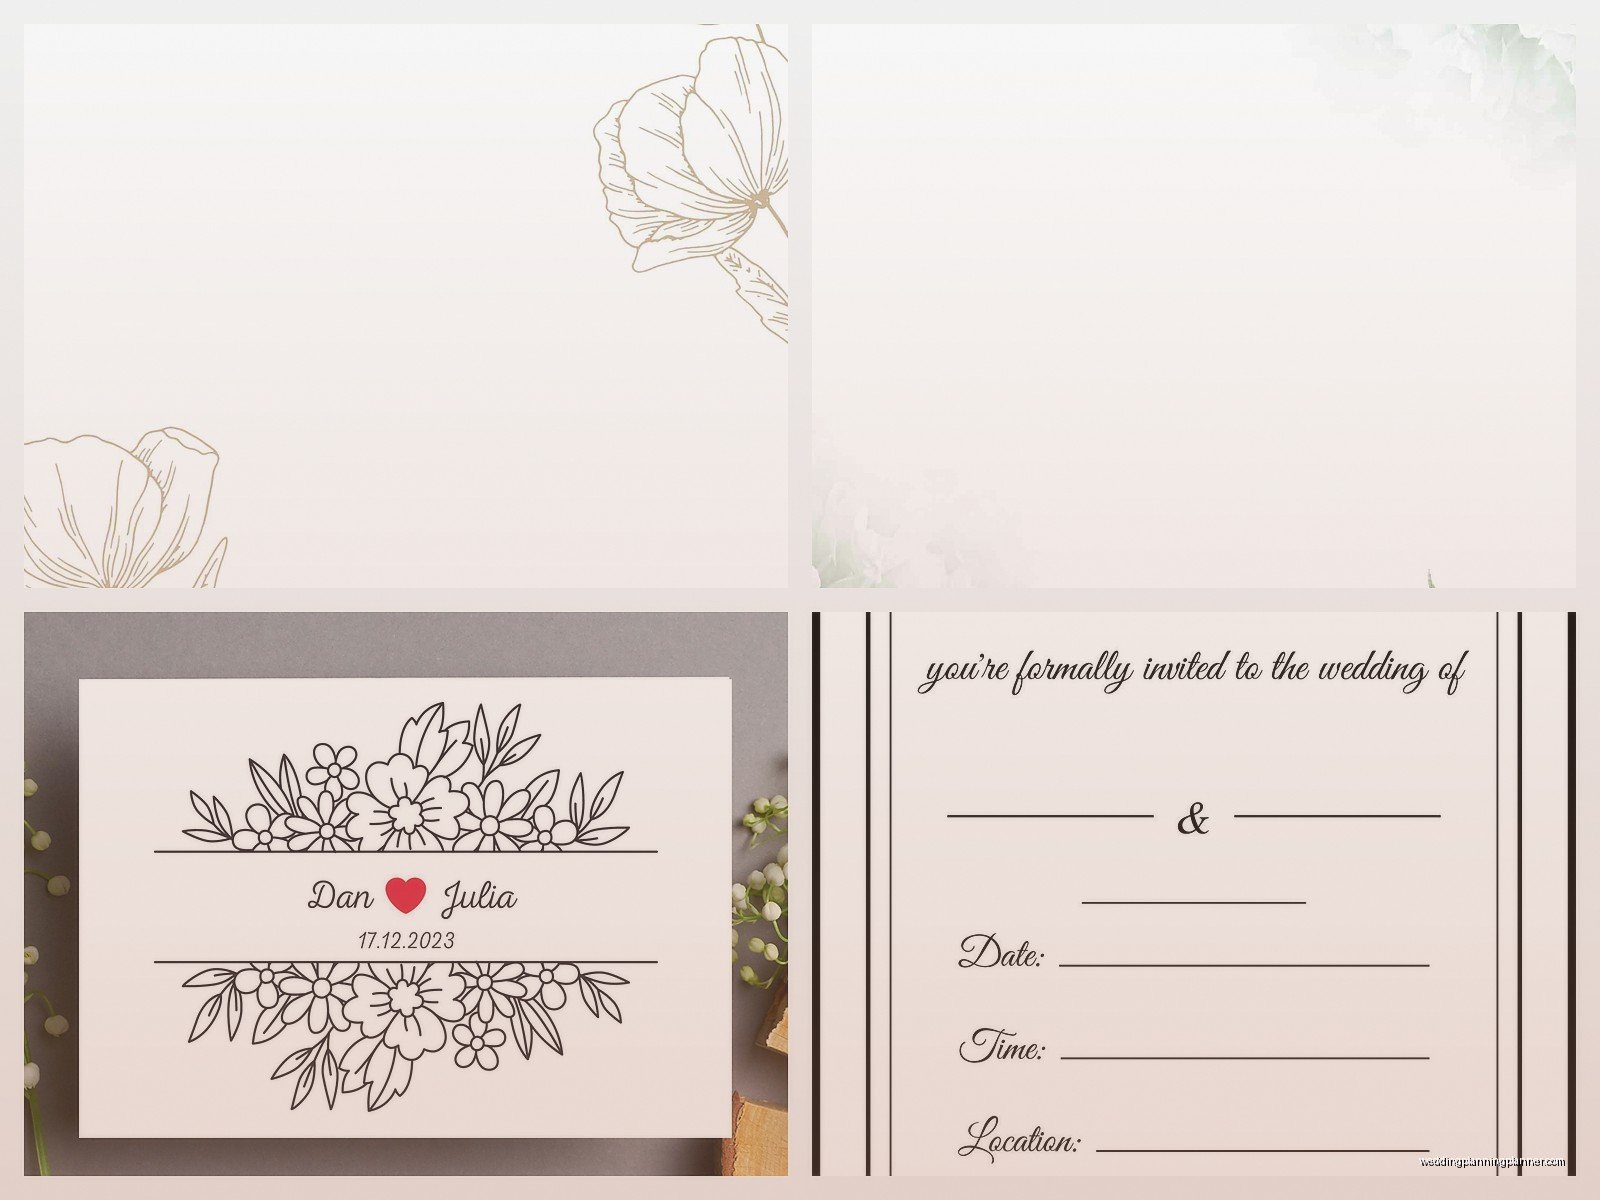
Front Panel Layout Options
Here’s what actually works:
- Names only with decorative element (monogram, simple line art, small floral accent)
- Photo card with names overlaid – make sure there’s enough contrast so text is readable
- Decorative border with names centered
- Modern minimalist with just your first names in a bold font
- Traditional formal with “The Wedding of” above your names
The thing that annoys me SO much is when couples pick a beautiful script font for their names but then use like four different fonts on the inside panel. Pick 2-3 fonts MAX for the entire invitation suite. One for names/headers, one for body text, maybe one accent font if you really need it.
Inside Panel Is Where The Real Info Lives
This is the meat of your invitation and there’s actually a traditional order to how information should flow, though honestly you can mix it up if it makes sense for your specific situation.
Traditional layout goes like this:
- Host line (who’s hosting/inviting – traditionally the bride’s parents but lots of couples host themselves now or do “Together with their families”)
- Request line (“request the honor of your presence” for religious ceremony, “request the pleasure of your company” for non-religious)
- Couple’s names (bride’s name traditionally first but do whatever feels right)
- Date and time spelled out
- Venue name and location
- Reception information if it’s at the same location
But like, I’ve done hundreds of invitations that don’t follow this exactly and they’re fine. What matters more is visual hierarchy – the most important info should be the most prominent.
Spacing and Readability
You gotta leave enough white space or your invitation looks cramped and kinda cheap even if you spent $$$ on it. I learned this the hard way in summer 2021 when I was working with a couple who wanted to fit their ceremony info, reception info, dress code, hotel block details, AND their wedding website all on one 5×7 card. We ended up using 9-point font and it looked terrible. Nobody over 40 could read it without squinting.
General rule: body text should be at least 10-point font, preferably 11 or 12. Names can be bigger obviously. And leave at least a quarter-inch margin on all sides, more if you’re doing a border design.
Insert Cards Are Your Best Friend
Okay so this is gonna sound like I’m trying to upsell you but I promise insert cards make your life so much easier. Instead of cramming everything onto one card, you split information across multiple smaller cards that go in the same envelope.
Standard insert cards include:
- Reception card (if reception is at different location or different time)
- Response card with pre-addressed envelope
- Accommodations card with hotel block info
- Direction or map card
- Wedding website card
- Weekend events card if you’re doing welcome party, day-after brunch, etc.
These are usually smaller than your main invitation – common sizes are 4×6 or 4.25×5.5 inches. They don’t need to be as fancy as the main invite but they should coordinate. Same color scheme, complementary fonts, maybe a small version of your design element.
RSVP Card Layout Specifically
People mess this up all the time and then they get responses back that are useless. Your RSVP card needs:
- A clear deadline (I usually say 3-4 weeks before the wedding)
- A line for guests to write their names – and be specific like “Name(s)” so they know to include their plus-one’s actual name
- Checkboxes or fill-in for number attending
- Meal choices if you’re doing plated dinner with options
- Optional: song request line or dietary restrictions line
The reply envelope should be pre-addressed to whoever’s collecting RSVPs (usually the couple or the planner) and pre-stamped. Yes you pay for the stamps but you’ll get way more responses back if people don’t have to find their own stamp.
Design Elements That Actually Matter
Color choice is huge and this is where I see people second-guess themselves constantly. My cat literally knocked over my coffee onto a color swatch book once and honestly the stain made me realize that slightly off-white looks way better than bright white for most invitation styles… anyway.
You want your card stock color to complement your wedding colors but it doesn’t have to match exactly. Cream, ivory, white, soft gray, even black for modern weddings – these are your base options. Then your text color should have enough contrast to be readable. Black or dark gray on white/cream is classic. Navy on white is beautiful. Gold foil on dark navy or forest green is stunning but pricey.
Paper Weight and Finish
Okay this is technical but matters for how your invitations feel in people’s hands. Standard cardstock is 80lb cover weight – that’s fine for basic invitations. If you want something that feels more substantial go for 100lb or 110lb cover. Anything heavier than that and you’re gonna pay more for postage because it affects the weight.
Finishes include:
- Matte – classic, sophisticated, easy to write on
- Glossy – photos look great but can feel less formal
- Linen or laid texture – adds visual interest and feels expensive
- Pearlescent – subtle shimmer, very pretty for evening weddings
I usually steer couples toward matte or textured unless they’re doing photo cards where glossy makes the images pop.
Ordering Timeline Because This Stresses Everyone Out
You need to order your invitations way earlier than you think. Like I had a bride in March 2023 who wanted to order invitations 6 weeks before her wedding and I’m like… that’s when they should be IN THE MAIL not when you’re ordering them.
Here’s the actual timeline:
- 6-8 months before wedding: Start designing, request samples from printers
- 4-5 months before: Finalize design and place order
- 3-4 months before: Invitations arrive, you assemble and address them
- 8-10 weeks before wedding: Mail invitations
- 3-4 weeks before: RSVP deadline
If you’re doing custom design or letterpress or foil stamping add extra time because those processes take longer. Digital printing is fastest – usually 2-3 weeks turnaround. Letterpress can be 4-6 weeks. Engraving is similar.
Quantity to Order
This trips people up. You don’t need one invitation per guest – you need one per household/couple. So if you’re inviting 150 people but 50 of them are married couples, you need 100 invitations not 150.
Order about 10-15% extra for last-minute additions, mistakes, and keepsakes. If you need 100 invitations order 115. The cost difference is minimal and you’ll be so glad to have extras when your mom suddenly remembers her coworker who HAS to be invited or when you mess up addressing one and need a fresh envelope.
Working With Printers vs DIY
I’ve seen both done well and both done terribly so it really depends on your skill level and how much time you have. Online printers like Minted, Zazzle, Artifact Uprising – they have templates that make it pretty foolproof. You upload your text, pick fonts and colors, order, done. Prices range from like $1.50-$4 per invitation depending on how fancy you go.
Local print shops can do custom work and you can see paper samples in person which is nice. Usually more expensive but you get more hand-holding through the process.
DIY with home printer or ordering blank cardstock and printing yourself – nah I don’t usually recommend this unless you’re really crafty and have a good printer. Home printers often can’t handle heavy cardstock and the print quality isn’t as crisp. Plus it’s time-consuming and if something goes wrong you’re stuck.
Proofreading Is Not Optional
Read your proof like seventeen times. Then have someone else read it. Then read it again. Check for:
- Date and day of week match (June 15, 2024 is a Saturday – make sure you didn’t write Sunday)
- Venue name spelled correctly
- All names spelled correctly including parents’ names if you’re including them
- Time is correct (4:00 in the afternoon not 4:00 in the morning lol)
- Website URL is exactly right
- Consistent formatting (don’t spell out “fifteen” in one place and use “15” somewhere else)
I once had a couple who got 150 invitations printed with their venue name wrong – they wrote “The Estate at Florentine Gardens” and it’s actually “The Estates at Florentine Gardens” plural. They had to reorder the whole thing and eat the cost.
Envelope Addressing Options
This is a whole thing by itself but since we’re talking layout… your outer envelope should have full formal names and addresses. Inner envelope (if you’re using one which is traditional but not required) has just the names or “Mr. and Mrs. Smith” or whatever.
You can hand-address them which is personal and beautiful if you have nice handwriting or time. You can hire a calligrapher which costs like $2-5 per envelope but looks gorgeous. You can print addresses directly on envelopes if your printer can handle it. Or you can order printed address labels though those look less formal.
For return address on the back flap you’ve got the same options. I usually suggest at least getting a return address stamp made – costs like $25 and saves so much time.
Assembly Order Matters
When you’re putting everything together there’s actually a right way to do it so everything sits nicely in the envelope and looks good when people pull it out.
Stack order from bottom to top:
- Main invitation (face up)
- Reception card (if separate) centered on invitation
- Other insert cards stacked by size, largest to smallest
- RSVP envelope (face down, flap left) with RSVP card tucked under the flap (face up)
Then the whole stack goes into the inner envelope (if using) with printed side facing the back flap so when someone opens it they see your invitation first. Inner envelope goes into outer envelope with handwritten names facing the back flap.
If you’re using a belly band, ribbon, or vellum wrap that goes around the whole stack before it goes in the envelope.
Postage Calculations
This is so boring but important – you need to take a fully assembled invitation to the post office and have them weigh it BEFORE you buy stamps. A standard 5×7 invitation with one insert card might be fine with regular first-class stamp. Add more inserts, use heavy cardstock, include a wax seal or ribbon… and suddenly you need extra postage.
Square envelopes cost more to mail than rectangular ones (it’s a postal service thing about how they’re processed). Oversized invitations cost more. Just factor this into your budget from the start.
Also get your envelopes hand-canceled if possible – costs a bit extra but prevents the post office machines from mangling your pretty invitations with those ugly black marks.
Digital Alternatives For Some Pieces
Look I’m a stationery person obviously but I’m also practical. You don’t have to print everything. Lots of couples now do printed invitation and RSVP card but then direct people to their website for accommodation info, registry, directions, etc. This saves on printing costs and insert cards, plus you can update website info if something changes.
Some couples are going fully digital with like Paperless Post or Greenvelope. I think you lose something with the experience of receiving a beautiful physical invitation but it’s way cheaper and faster. For casual weddings or if you’re on a really tight budget it’s a valid option.
You can also do a hybrid – print invitations for older relatives and family friends who appreciate traditional mail, send digital to younger friends who won’t care as much. Just make sure your design is consistent across both formats.
Special Printing Techniques Worth Considering
If you’ve got budget room these add a really luxe feel:
Letterpress: Creates an impression in the paper, looks incredibly elegant and tactile. Usually starts around $8-15 per invitation. Takes longer to produce.
Foil stamping: Metallic foil (gold, silver, rose gold, copper) applied to paper. Catches light beautifully. Similar price range to letterpress.
Engraving: Traditional raised printing, very formal. Most expensive option usually.
Embossing: Raised design without ink, subtle and sophisticated.
Edge painting: Colored edges on your cardstock, adds a pop of color. Usually $1-2 per card extra.
These techniques work best with simpler designs – the technique itself is the design element so you don’t need tons of other decoration.
Honestly though standard digital printing has come so far that most guests won’t know the difference unless they’re really into stationery. Save the fancy techniques for your names or a monogram and keep the rest simple if you’re trying to stretch your budget.