Planning Guides, Style Guide
Flower Design For Wedding Invitation: Design & Ordering Guide
Apr
Flower Design For Wedding Invitations – What Actually Works
So the biggest thing people get wrong with floral invitation designs is they pick flowers that mean absolutely nothing to them because they saw it on Pinterest and thought it looked pretty. Which, fine, but then you end up with peonies all over your invites when you’re having a desert wedding in November and it just feels… off?
I had this bride back in spring 2023 who was OBSESSED with ranunculus but her wedding was this ultra-modern industrial loft situation and every time we tried to incorporate those delicate ruffly flowers into her invitation design it looked like we were trying too hard to soften something that didn’t need softening. We ended up going with eucalyptus leaves and protea instead and it was like everything clicked into place.
Matching Flowers To Your Actual Wedding
You gotta think about what flowers will actually BE at your wedding. Your florist is gonna charge you an arm and a leg if you want peonies in December (they’re not in season, they have to be imported, it’s a whole thing). So if you’re putting peonies all over your invitation and then your actual wedding has zero peonies because they cost $45 per stem, your guests might be confused or honestly they won’t care but YOU’LL know and it’ll bug you.
Here’s what I tell clients: talk to your florist before you finalize invitation designs. I know that seems backwards because invitations go out like 8 weeks before the wedding and you’re picking your florist way earlier, but you’d be surprised how many people design invitations before they even BOOK a florist. Then they’re locked into this rose and hydrangea theme and their florist is like “yeah hydrangeas wilt in 20 minutes in outdoor heat” and now we have problems.
Seasonal Flower Choices That Actually Make Sense
Spring weddings – you’ve got tulips, daffodils, cherry blossoms, peonies (late spring), lilacs, ranunculus, anemones. These all translate really well to invitation designs because they have distinct shapes that illustrators and designers can work with.
Summer – roses obviously, dahlias, sunflowers, zinnias, garden roses, lavender, sweet peas. Summer gives you the most options honestly which is why summer weddings are so popular even though everyone’s sweating through their suits.
Fall – this is where people get lazy and just slap some orange leaves on everything and call it autumn. You can do better. Dahlias are still going, chrysanthemums, marigolds, cosmos, amaranth, or go the foliage route with maple leaves, oak leaves, wheat stalks.
Winter – amaryllis, hellebores, camellias, paperwhites, or you can do the evergreen thing with pine branches, holly, mistletoe. Winter invitations are tricky because you don’t want them to scream CHRISTMAS unless you’re actually having a Christmas wedding, which is valid but you gotta commit to it.
Design Styles And What Annoys Me About Them
Okay so there are basically a few main styles for floral invitation designs and I’m gonna be honest about what works and what doesn’t.
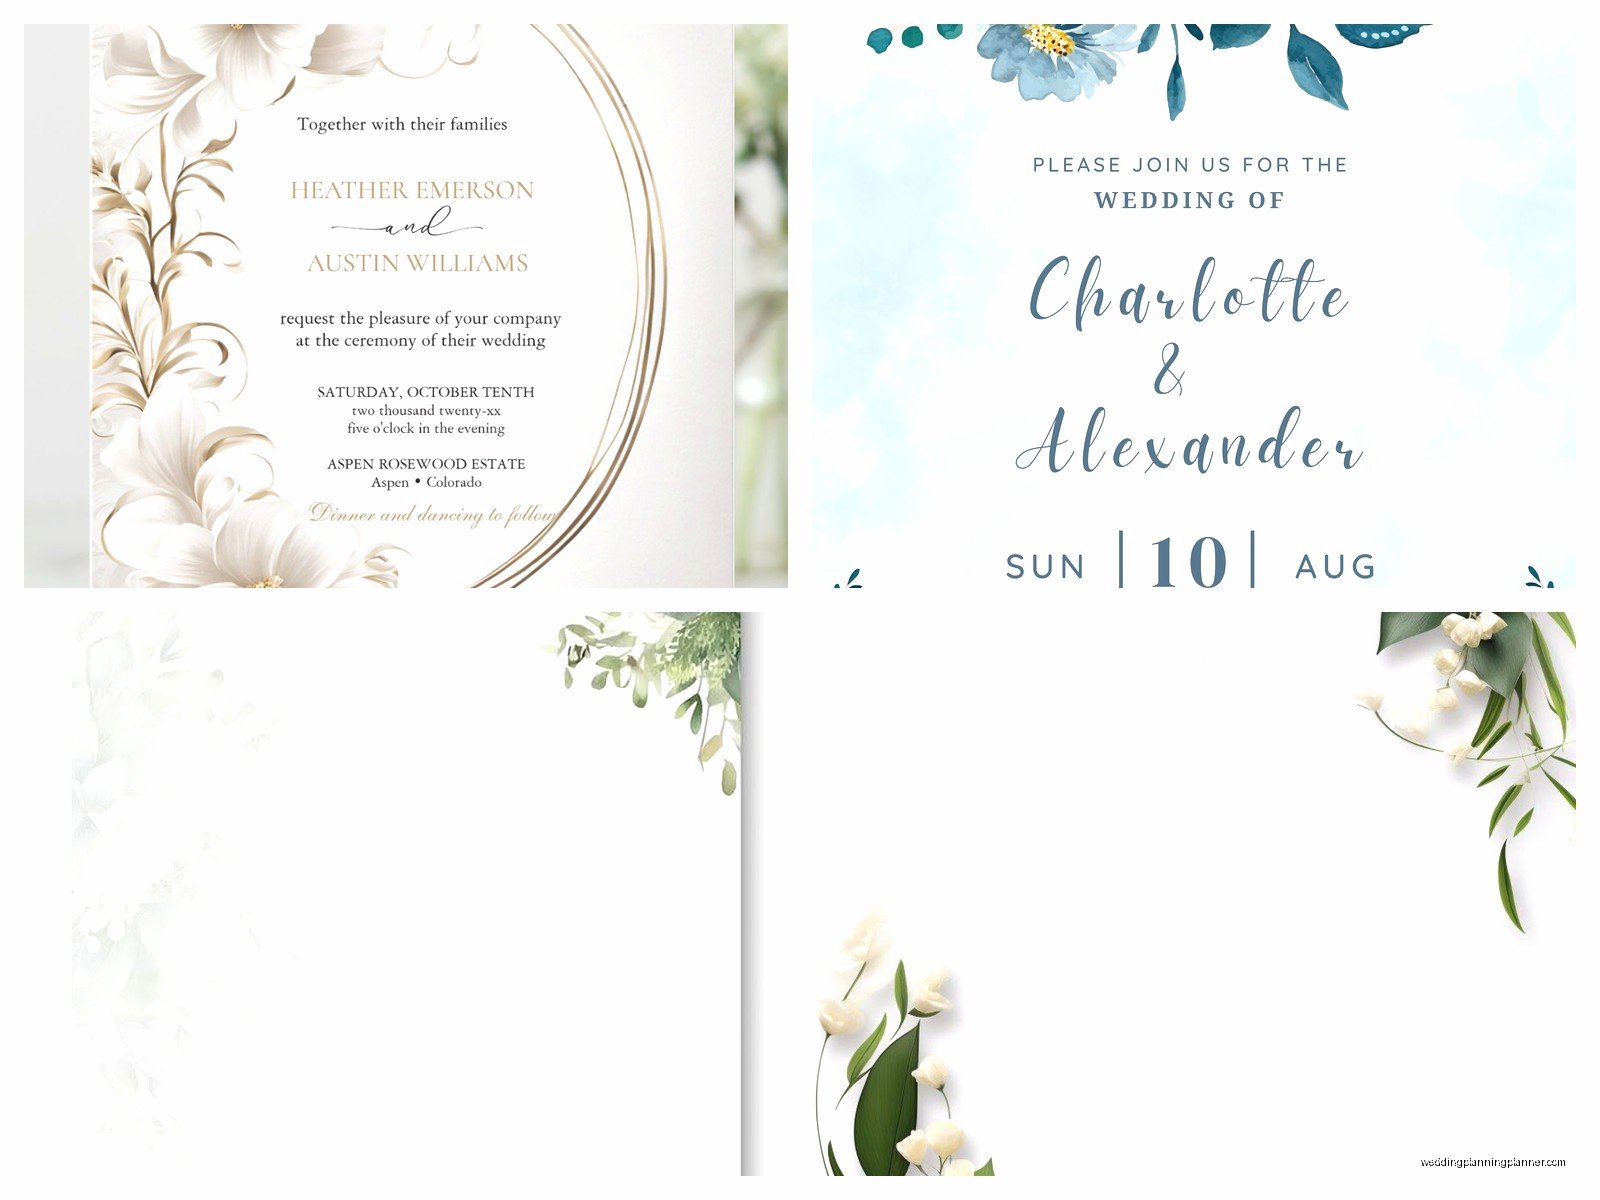
Botanical illustration style: This is where the flowers look like they came from a vintage botanical encyclopedia. Very detailed, often with scientific-looking labels, lots of fine lines. This works great for garden weddings, outdoor venues, anything romantic but not too fussy. The problem is everyone and their mother is doing this right now so it’s kinda… oversaturated? I saw probably 40 invitations last year alone that used the exact same botanical rose illustration from the same Etsy template.
Watercolor florals: Soft, painterly, lots of bleeding colors. This was HUGE around 2016-2018 and it’s calmed down a bit but people still love it. It works for spring weddings especially. What drives me insane is when the watercolor printing comes out muddy because the printer didn’t calibrate correctly and suddenly your soft blush roses look like brown mush. You need a good printer for this style or it falls apart.
Minimalist line drawings: Just simple black line drawings of flowers, very clean, lots of white space. This is having a moment right now with the whole modern minimalist wedding trend. I actually love this because it photographs well and it’s elegant without trying too hard. Plus it’s usually cheaper to print because you’re not dealing with full color.
Pressed flower style: Looks like actual pressed flowers, flat and delicate. This can be gorgeous but it can also look dated if you’re not careful – it gives me 1990s vibes sometimes. Works best for intimate weddings, garden parties, very romantic settings.
Bold graphic florals: Think big, punchy flowers with solid colors and strong outlines. This is great for modern weddings, art deco themes, anything with a strong color palette. My cat knocked over my coffee on a set of these once and because they were printed on good cardstock the liquid just beaded up and I could wipe it off – quality paper matters people.
Placement Options (This Actually Matters More Than You Think)
Where you put the flowers on your invitation changes the whole vibe. Corner arrangements are classic and safe – you put a cluster of flowers in one corner (usually top left or bottom right) and it frames your text nicely without overwhelming it.
Border designs go all the way around the invitation. These can be beautiful but they’re also easy to mess up because if the border is too thick or too busy, nobody can read your actual invitation details and you know, that’s kinda the point of the thing.
Scattered florals are when you have little flowers distributed across the whole invitation. This works for casual weddings, garden parties, spring celebrations. It can look messy if there’s no thought behind the placement though.
Single stem or monogram integration is when you have one dramatic flower or you work florals into your monogram. This is underrated honestly – it’s elegant and doesn’t compete with your text.
Full bleed florals are when the flowers go right to the edge of the paper, no borders. This is very modern and I love it but it costs more to print because the printer has to print on oversized paper and trim it down, and some printers charge extra for bleeds or they’re not set up to do it properly and you get weird white edges.

Working With Designers vs DIY Templates
Look I’m not gonna tell you that you absolutely need a custom designer because that’s not true. There are gorgeous templates out there on Minted, Zola, Etsy, wherever. But here’s what you need to know about both options.
Custom designers: You’re paying for someone to create something unique for you. Expect to spend anywhere from $500 to $2000+ just for the design (not including printing). The advantage is you get exactly what you want, it’s tailored to your wedding, nobody else will have the same invitation. The process usually takes 4-6 weeks with revisions. You’ll have calls or emails back and forth, they’ll send you mockups, you’ll request changes. It’s collaborative but it takes time.
I had this situation in summer 2021 where a bride hired a designer who promised a 2-week turnaround and then ghosted her for three weeks and we were getting dangerously close to the “invitations need to be mailed” deadline and she was panicking and I was panicking and we finally got the files but then the printer needed another week… it was a mess. Always build in buffer time.
Template options: Way faster, way cheaper. You can buy a template for like $15-50, customize it yourself in Canva or Templett or whatever platform it’s designed for, and boom you’re done in an afternoon. The downside is you’re limited by what the template offers. You can’t usually change the flower types or completely rearrange the layout without design skills.
Semi-custom is the middle ground – you buy a template but then you hire someone on Fiverr or Upwork to customize it for you. This usually runs $100-300 and gives you more flexibility than pure DIY but costs less than full custom.
Color Considerations That People Forget About
Your floral design needs to work with your color palette obviously, but also think about how it’ll look with your envelope color, your wedding website design, your save-the-dates if you already sent those. Everything should feel connected even if it’s not identical.
Also – and this is important – colors look different on screen vs printed. Your blush pink roses might look perfect on your laptop but print out as straight-up salmon. Always always ALWAYS order a printed proof before you commit to 150 invitations. Most good printers will send you a sample for like $5-15. Worth every penny.
I prefer working with designers who understand CMYK vs RGB color modes because that’s the difference between what you see on your screen and what comes out of a printer, but if you’re doing DIY you might not know about this and honestly the template platforms usually handle it automatically so maybe I’m overthinking it but…
Ordering Process And Timeline
Here’s a realistic timeline for getting your floral invitations sorted:
6-8 months before wedding: Start looking at design inspiration. Create a Pinterest board if you must, but also look at what flowers you actually like in real life, not just what looks good in photos.
5-6 months out: If you’re going custom, hire your designer now. If you’re using templates, start shopping around. This is also when you should have your florist consultation so you know what flowers are actually possible for your wedding date.
4-5 months out: Finalize your design. Proofread everything seventeen times. Get someone else to proofread it. Then proofread it again because I’ve seen “Saterday” printed on invitations and nobody caught it until after 120 were printed.
3-4 months out: Order your printed proof, review it, approve it, place your full order. Most printers need 2-3 weeks for production plus shipping time.
2.5-3 months out: Your invitations arrive. Assemble them (if they need assembly), address them (get a calligrapher or print addresses or hand-write them – whatever fits your vibe).
8-10 weeks before wedding: Mail those babies out. This gives guests enough time to request off work, book travel, send their RSVP back.
Printing Options And Quality Stuff
Digital printing is the most affordable. It’s what most online printers use. The quality is good for most designs, especially if you’re doing simpler floral illustrations. Colors are vibrant, turnaround is fast, cost is reasonable.
Letterpress is when the design is pressed into thick cotton paper so you can feel the impression. This is GORGEOUS with floral designs, especially minimalist line drawings or botanical illustrations. It’s also expensive – like $8-15 per invitation expensive. And it only works well with certain design styles.
Foil stamping adds metallic foil elements to your design. You could have gold foil on your flower stems or rose gold foil accents on petals. It’s beautiful, it’s fancy, it costs extra. Expect to add $2-5 per invitation for foil.
Thermography is this raised printing technique that’s cheaper than letterpress but gives you texture. It works okay with florals but it’s kinda old-fashioned? I don’t see it as much anymore.
Matching Your Suite (Envelopes, RSVP Cards, Details Cards)
Your floral design should carry through your whole invitation suite but it doesn’t have to be identical on every piece. Maybe your main invitation has a full floral border but your RSVP card just has a small corner detail. Maybe your details card has scattered florals while your envelope liner has a full floral pattern.
Envelope liners are underrated honestly. A floral envelope liner makes such a good first impression when someone opens your invitation. You can get custom printed liners or you can buy patterned paper and cut your own liners which is tedious but saves money if you’re crafty.
Some people do floral envelope addressing where they print or paint small flowers next to the address. It’s adorable but it’s also extra and if you’re already stressed about timeline maybe skip this.
Digital Invitations With Floral Designs
Okay so maybe you’re doing digital invitations because they’re cheaper or more eco-friendly or you’re having a short engagement and don’t have time for printing and shipping. Floral designs work great for digital invites too.
The advantage is you can do animations – like flowers blooming when someone opens the invitation, or petals falling across the screen. Greenvelope and Paperless Post both have animated floral templates. You can also hire someone to create a custom animated invitation which is gonna run you $200-500 usually.
Make sure your floral design is optimized for mobile viewing because most people will open it on their phone. Those tiny delicate flower details might get lost on a small screen, so bigger bolder florals work better for digital.
What To Tell Your Designer Or What To Look For In Templates
If you’re hiring someone, show them actual photos of your venue, your color swatches, inspiration photos that capture the mood not just the specific flowers. Tell them about your wedding style – is it formal, casual, romantic, modern, rustic, whatever. The more context they have the better they can design something that fits.
Also tell them about your guest list demographics. If you’re inviting a lot of older relatives, you probably want larger text and simpler designs that are easy to read. If it’s mostly younger friends, you can get away with more experimental layouts.
For templates, read the reviews. Check if people complained about printing issues or if the files were hard to customize. Look at customer photos not just the mockups because mockups always look perfect but real photos show you what it actually looks like.
Budget Reality Check
Let me just break down real numbers because everyone’s always shocked by invitation costs. For 100 invitations (which means 100 households, not 100 guests – important distinction):
DIY template route: $50-150 for design templates and digital files, $150-400 for printing depending on quality and bells and whistles, $50-100 for envelopes and extras. Total: roughly $250-650.
Semi-custom: $300-800 for design work, $200-500 for printing, $100-200 for envelopes and assembly. Total: $600-1500.
Full custom with letterpress or foil: $1000-2000 for design, $800-1500 for specialty printing, $200-400 for envelopes and extras. Total: $2000-4000.
These numbers go up if you add stuff like envelope liners, belly bands, wax seals (which look gorgeous with floral invitations by the way), ribbons, whatever.
Common Mistakes I See Constantly
Using too many different flower types in one design. Pick 2-3 max. More than that and it looks cluttered and confusing.
Forgetting about your text hierarchy. The flowers should enhance your text not compete with it. Your names and wedding date need to be the most prominent things on the invitation.
Not considering how the invitation looks in the envelope. You might design this gorgeous floral border but then it gets covered by the envelope flap when someone first opens it.
Choosing trendy over timeless. That super trendy pampas grass design might look dated in five years when you’re looking back at wedding photos. Not that it matters really, your wedding is for now not for five years from now, but some people care about this.
Skipping the proof. Just… don’t skip the proof. Order the sample. I’m serious about this.
Technical File Stuff If You’re Doing DIY
If you’re customizing a template yourself, you need to know a few technical things. Your files should be at least 300 DPI (dots per inch) for printing. Anything less will look pixelated and blurry.
Save your final files as PDF for print, not JPEG. PDFs maintain quality better and printers prefer them.
If your design has a border or goes to the edge of the paper, you need to set up bleeds. This means your design extends about 1/8 inch beyond where the paper will be cut. Most template platforms handle this automatically but if you’re designing from scratch in Canva or Photoshop you need to account for it.
Standard invitation sizes are 5×7 inches (most common), 4×6 inches (more casual, costs less to mail), or square sizes like 5.5×5.5 inches (looks modern but requires extra postage because they’re not standard size). Your floral design needs to be formatted for whatever size you choose.
Working With Your Printer
Not all printers are created equal and this is something that bit me hard early in my career. I had a client order invitations from a cheap online printer because she was trying to save money and I get it, budgets are real, but the colors came out completely wrong and the paper quality was so thin you could practically see through it and the floral design that looked elegant in the proof looked washed out and sad in person.
Ask for paper samples before you order. Good printers will send you sample packs showing different paper weights and finishes. For floral designs, I usually recommend at least 110lb cardstock. Anything thinner feels cheap. Matte finishes work well for most floral styles, glossy can work for modern bold florals but it shows fingerprints.
Get everything in writing – turnaround time, shipping costs, what happens if there’s a mistake (do they reprint for free or do you eat the cost?), rush fees if you need them faster.
Some printers have in-house designers who can help tweak your design for optimal printing which is helpful