Planning Guides, Style Guide
Create Marriage Invitation: Design & Ordering Guide
Jun
Figure Out Your Invitation Style First
Okay so the biggest mistake I see couples make is jumping straight to browsing designs before they actually know what they need. Last spring 2023 I had this couple who ordered 200 invitations and then realized they forgot to include their rehearsal dinner info and needed a whole separate insert card which added like $300 to their budget that could’ve been avoided.
You gotta sit down and list what events you’re actually inviting people to. Is it just the ceremony and reception? Do you need RSVP cards? Are you doing a welcome party the night before? Brunch the next day? Each piece of info might need its own card or at least its own section on your invitation suite.
Here’s what most traditional invitation suites include:
- Main invitation card (the big one with ceremony details)
- RSVP card with return envelope
- Reception card if ceremony and reception are at different locations
- Details card for hotel blocks, website, dress code
- Outer envelope and sometimes an inner envelope
But honestly you can do whatever works for your situation. I’ve seen single-card invitations that have everything on one piece and they’re perfectly fine if your wedding is straightforward.
Timeline Stuff That Actually Matters
People stress about this but it’s pretty simple. Order your invitations about 4-5 months before your wedding date. Mail them 6-8 weeks before the wedding. Done.
Except it’s not quite that simple because you need to factor in production time which can be anywhere from 2 weeks for digital printing to 6-8 weeks for letterpress or foil stamping. And then there’s addressing time if you’re doing calligraphy or even just handwriting them yourself which takes forever, trust me.
Save-the-dates should go out 6-8 months before, or even earlier if you’re doing a destination wedding. I send mine out a full year ahead for destination weddings because people need to book flights and hotels and… anyway, the earlier the better for those.
Design Direction and What Looks Good
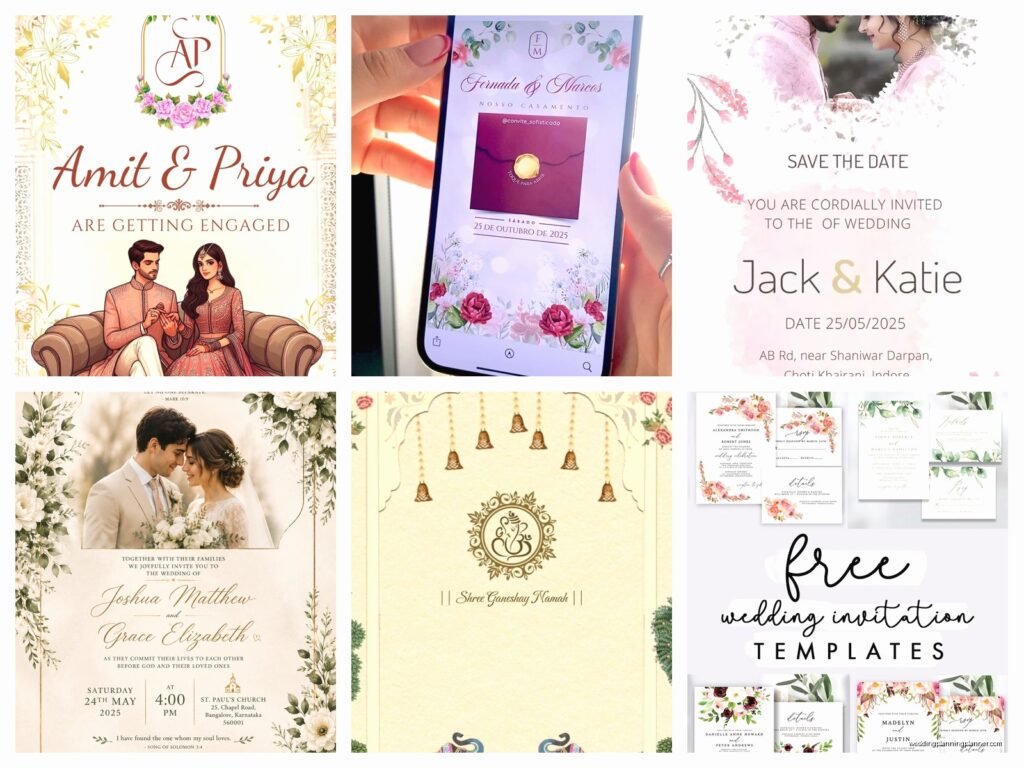
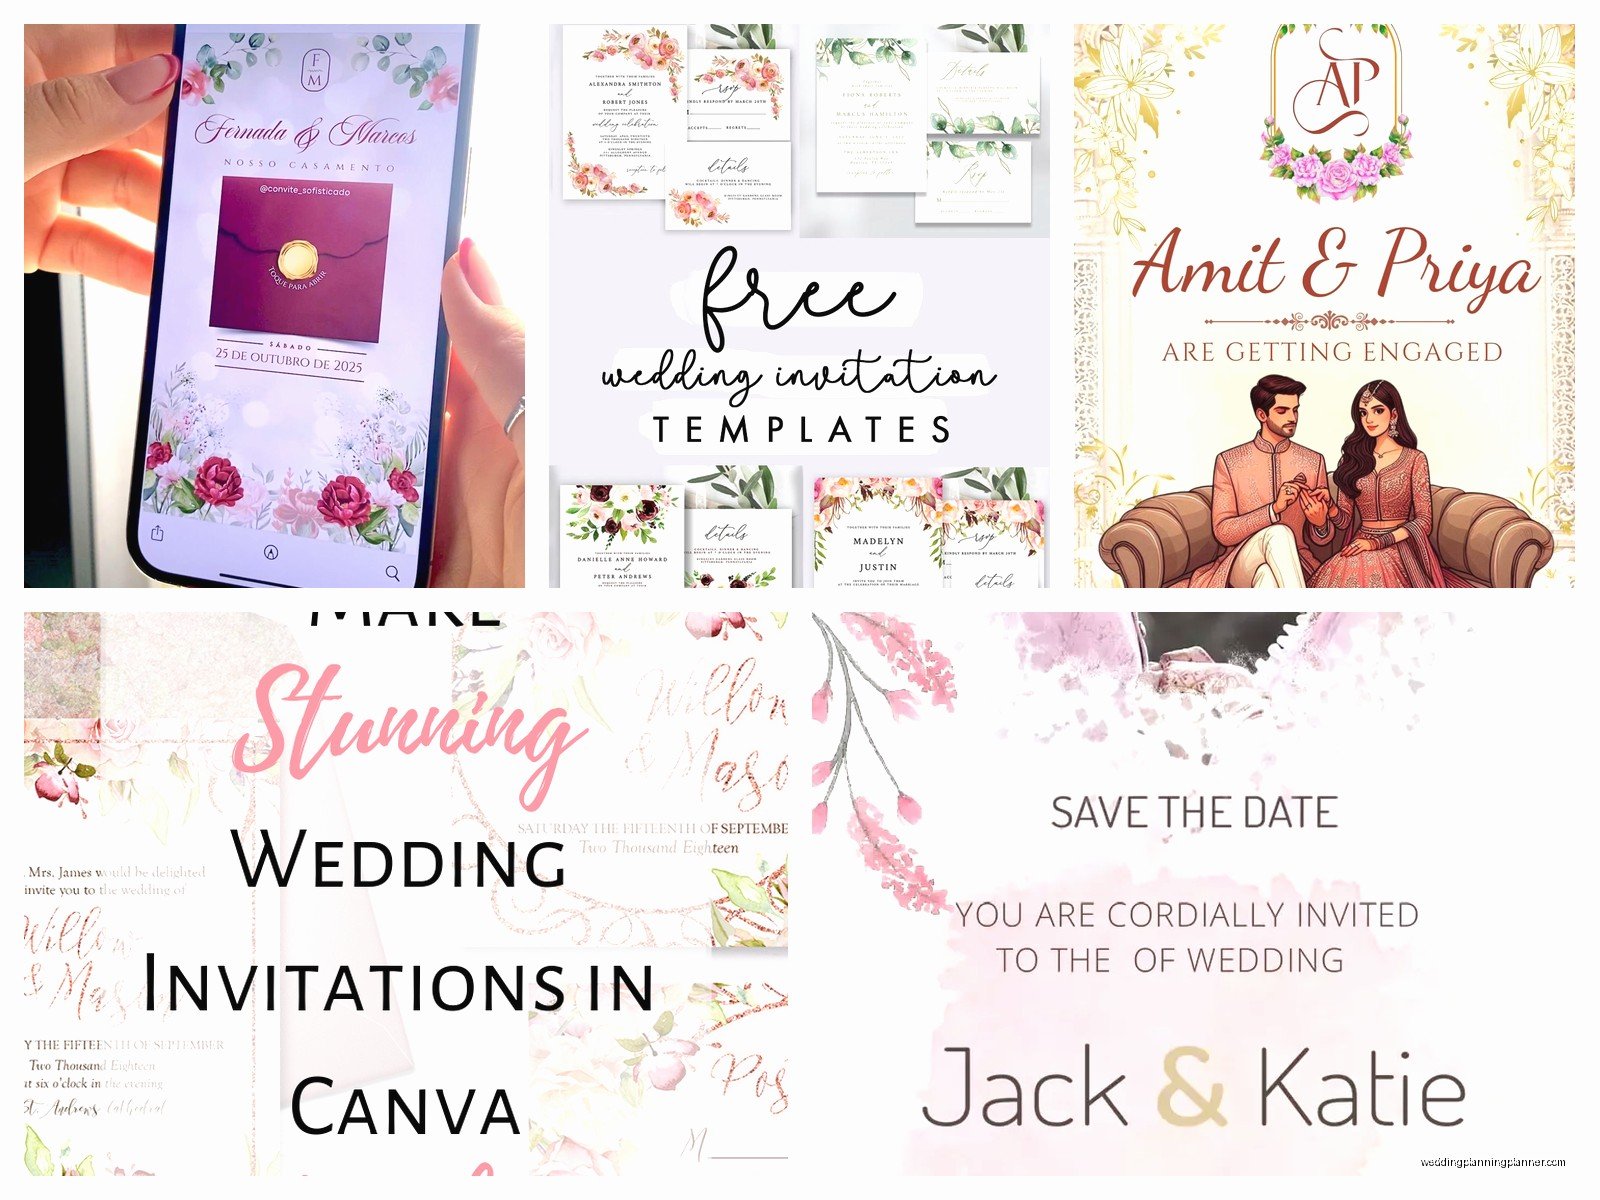
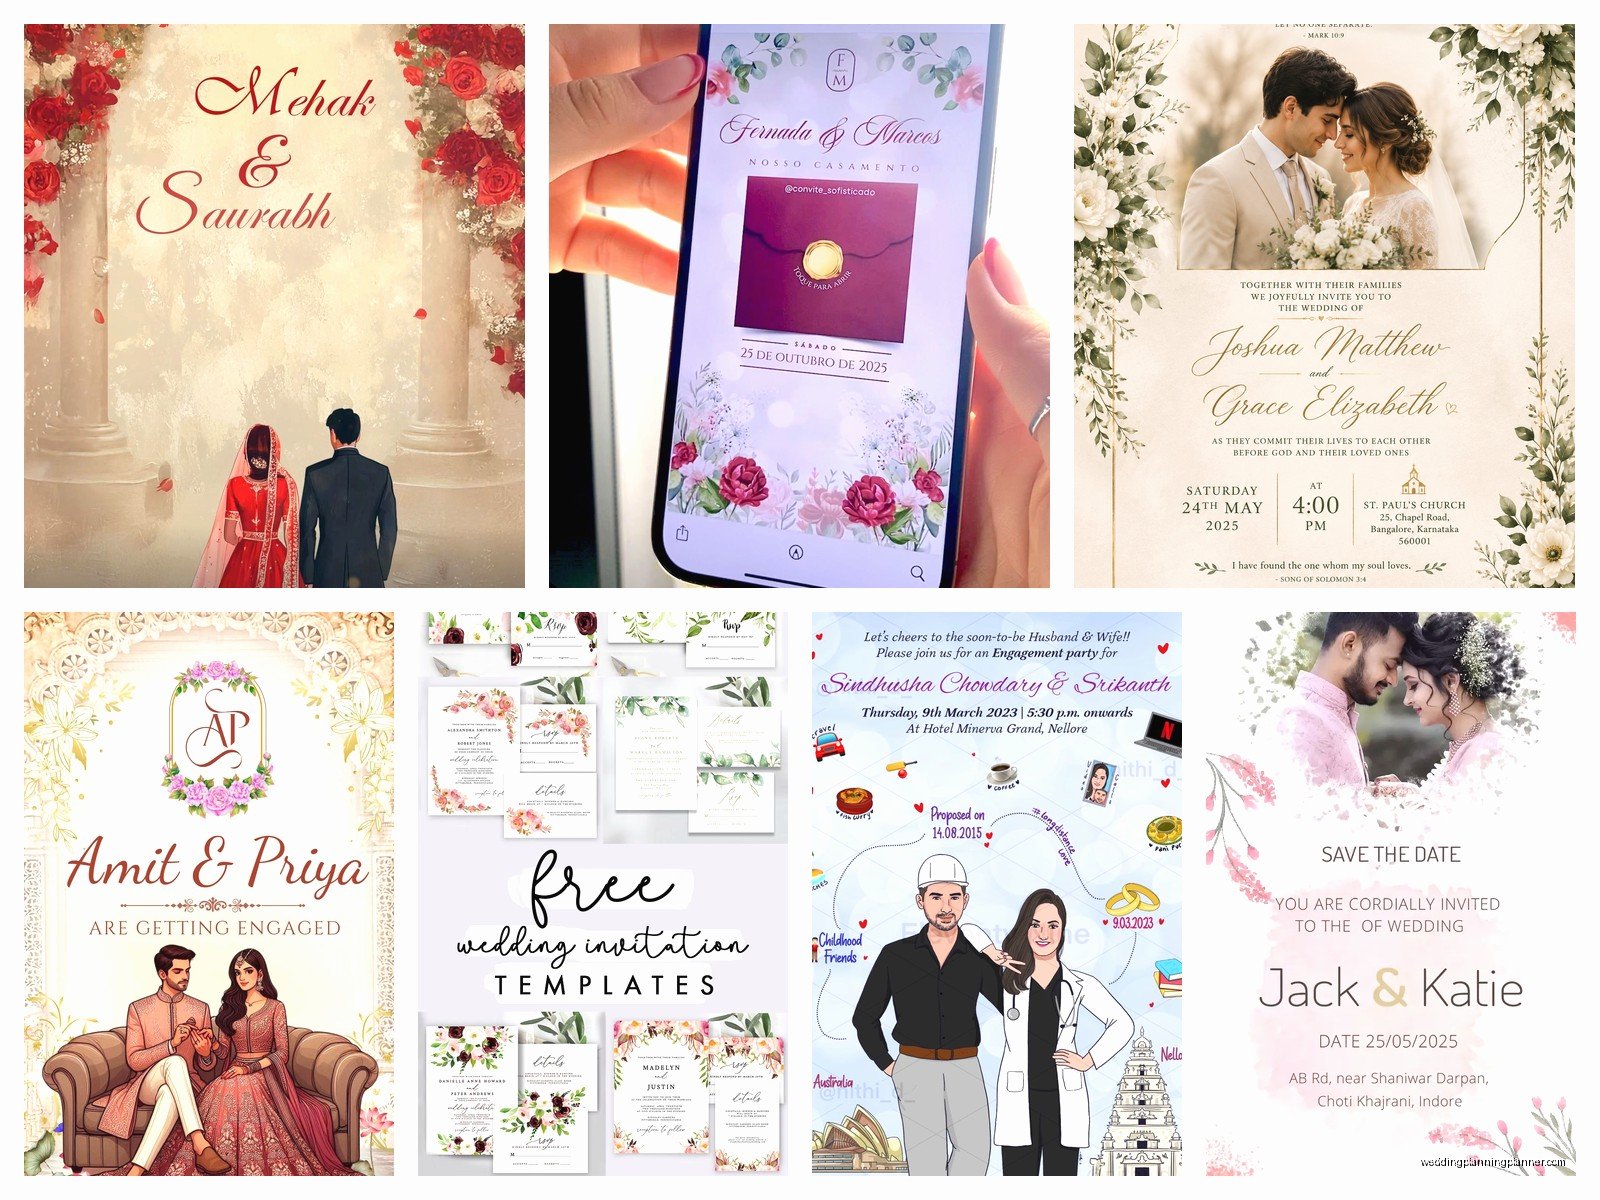
This is where it gets fun but also kinda overwhelming. There are literally thousands of templates out there on sites like Minted, Zola, Etsy, Paperless Post (for digital), and custom designers on Instagram.
My cat knocked over my coffee on a client’s invitation samples once and honestly it looked better with the stain because it added this vintage feel, but that’s not advice you should follow lol.
When you’re looking at designs, think about:
- Your wedding colors (but don’t feel like you have to match exactly)
- The formality level of your wedding
- Your venue’s vibe
- What fonts you’re drawn to
Something that really annoys me is when couples pick a super ornate, traditional invitation design for a casual backyard wedding or vice versa. Like your invitations should give guests a hint about what to expect. If you’re getting married on a beach at sunset, maybe skip the formal black tie style invitation with gold foil and Gothic lettering.
Printing Methods and What They Cost
Alright so this is where your budget really comes into play. Digital printing is the most affordable and honestly looks great for most weddings. It’s what like 70% of my clients use. You can get 100 digitally printed invitations for anywhere from $150-400 depending on the company and paper quality.
Letterpress is that gorgeous pressed-into-the-paper look that feels super luxurious when you touch it. It’s expensive though, usually starting around $800-1200 for 100 invitations. I had a bride in summer 2021 who was absolutely set on letterpress and then almost fainted when she got the quote, so we found a compromise where we did letterpress for just the main invitation and digital printing for the other insert cards.
Foil stamping is when they apply metallic foil to your design and it catches the light beautifully. This runs about $600-1000 for 100 invitations typically. You can get foil in gold, silver, rose gold, copper, or even colored foils.
Thermography is this raised printing technique that’s cheaper than letterpress but gives you texture. It’s kinda like a middle ground option.
Paper Weight and Quality
Nobody tells you this but paper weight matters more than you think. Standard cardstock is 80-100 lb, which is fine but feels a bit flimsy. I recommend at least 110 lb for your main invitation card, or 120-130 lb if you want it to feel substantial and expensive.
You can also get different paper textures like linen, felt, or smooth. Matte versus glossy finishes. Cotton paper which is my personal favorite because it just feels so nice and substantial in your hand.
The Actual Ordering Process
Once you’ve picked your design, you’ll need to customize the wording. Most online sites have templates you can edit directly, which is super easy. If you’re working with a custom designer, you’ll usually go through 2-3 rounds of proofs before finalizing.
Here’s what you need to have ready:
- Exact ceremony date and time
- Venue name and address (spelled correctly, seriously check this)
- Reception location if different
- Host line (traditionally parents’ names but can be the couple or “together with their families”)
- Dress code if you’re including it
- RSVP deadline (usually 3-4 weeks before wedding)
- Your wedding website URL
Get multiple people to proofread before you approve the final proof because typos happen and once they’re printed you’re stuck with them or paying to reprint. I’ve seen “Saterday” instead of “Saturday” make it through to final printing and it was… not great.
Addressing Envelopes
This is the part everyone underestimates time-wise. You can handwrite them which is free but takes forever. I spent an entire weekend once addressing 300 envelopes for my own sister’s wedding and wanted to die by envelope 150.
Options include:
- Handwriting yourself (free, time-consuming)
- Hiring a calligrapher ($2-5 per envelope usually)
- Using printed labels (cheap but less formal)
- Getting envelopes printed directly which some companies offer ($1-2 per envelope)
- Digital calligraphy printing which looks like real calligraphy but isn’t ($0.50-1 per envelope)
Whatever you choose, make sure you have your final guest list with correct addresses before you start this process because going back to add more is annoying.
Budgeting Real Numbers
Let me give you actual price ranges I see regularly. For 100 invitation suites (invitation, RSVP card, envelopes):
- Budget option: $100-300 (sites like Vistaprint, Canva, Costco)
- Mid-range: $300-600 (Minted, Zola, Etsy templates)
- Upper mid-range: $600-1000 (semi-custom with nicer printing)
- Luxury: $1000-2500+ (custom designer, letterpress, multiple pieces)
Don’t forget to budget for postage which people always forget about. A standard wedding invitation with RSVP card usually needs at least two Forever stamps for the outer envelope because they’re heavy, and one stamp for the RSVP return envelope. That’s like $1.50+ per invitation just in postage.
If your invitation is square or oversized, you’ll pay even more in postage. The post office charges extra for non-standard sizes which is honestly so annoying but it is what it is.
Online vs Custom Designer
Online templates are great if you find something you love and don’t need major customization. Sites like Minted and Zola have thousands of designs and you can usually change colors, fonts, and wording easily. The downside is you might see someone else with the same invitation at some point, though honestly who cares.
Custom designers will create something unique for you from scratch. This costs more obviously, usually starting around $500-800 just for design work before printing costs. But you get exactly what you want and it’s completely yours. I work with a designer on Instagram who creates the most gorgeous watercolor invitations and they’re worth every penny if that’s your style.
Extra Details That Elevate Things
If you have room in your budget, these extras can make your invitations feel more special:
- Belly bands (those paper or ribbon wraps that hold everything together)
- Wax seals on the envelope flap
- Envelope liners in a coordinating pattern or color
- Custom stamps with your monogram
- Vellum overlays
- Ribbon ties
I’m obsessed with wax seals right now, every couple wants them, but they add weight to your envelope which means more postage and also you need to hand-cancel them at the post office or they might get destroyed in the sorting machines.
Digital Invitations Are Valid
Gonna say this because someone needs to: digital invitations are totally fine for certain weddings. If you’re having a casual wedding, a small wedding, or you’re just not into paper waste, sites like Paperless Post, Greenvelope, and Evite (the fancy version not the birthday party version) have gorgeous designs.
You’ll save so much money and time. No addressing, no postage, no waiting for printing. You can track who opened them and who RSVP’d in real time. For a micro wedding or elopement reception, this makes so much sense.
But if you’re having a formal wedding or your families are traditional, you might get some pushback on going fully digital. Maybe compromise with digital save-the-dates and paper invitations, or vice versa.
Common Mistakes to Avoid
Not ordering extra invitations is a big one. Get at least 10-15 more than you think you need for keepsakes, last-minute additions, or mistakes. They’re cheaper when ordered all at once than going back for more later.
Forgetting to include your wedding website on the invitation or details card means you’ll get a million questions about hotels and registry and directions that could’ve been answered there.
Ordering too early is actually a thing too, like if you order 8 months out and then your venue changes or time changes, you’re stuck with wrong invitations.
Not considering readability – I see couples pick fonts that are gorgeous but literally impossible to read, especially for older guests. Your grandma shouldn’t need a magnifying glass to read when your wedding starts.
Assembly Line Strategy
When your invitations arrive, set up an assembly line situation. Lay out all your pieces and stuff them in order. If you have multiple insert cards, put them in size order with the largest on bottom. The invitation goes on bottom, then reception card, then details card, then RSVP card on top.
Put the RSVP envelope inside facing up so the guest can pull it out and immediately see where to write. Pre-stamp the RSVP envelopes with your return address and postage so guests have zero excuse not to send them back.
Recruit friends or family to help because stuffing 150 envelopes by yourself while watching reality TV is gonna take all night, ask me how I know.
Weigh one fully assembled invitation at the post office before you mail them all to make sure you have enough postage. Nothing worse than having them all returned for insufficient postage.
Mail them on a Monday or Tuesday so they don’t sit in the post office over the weekend. And maybe drive to a main post office rather than using a corner mailbox just to make sure they actually get moving through the system quickly.