Planning Guides, Style Guide
Cricut Wedding Card: Design & Ordering Guide
Jun
Getting Started with Your Cricut for Wedding Cards
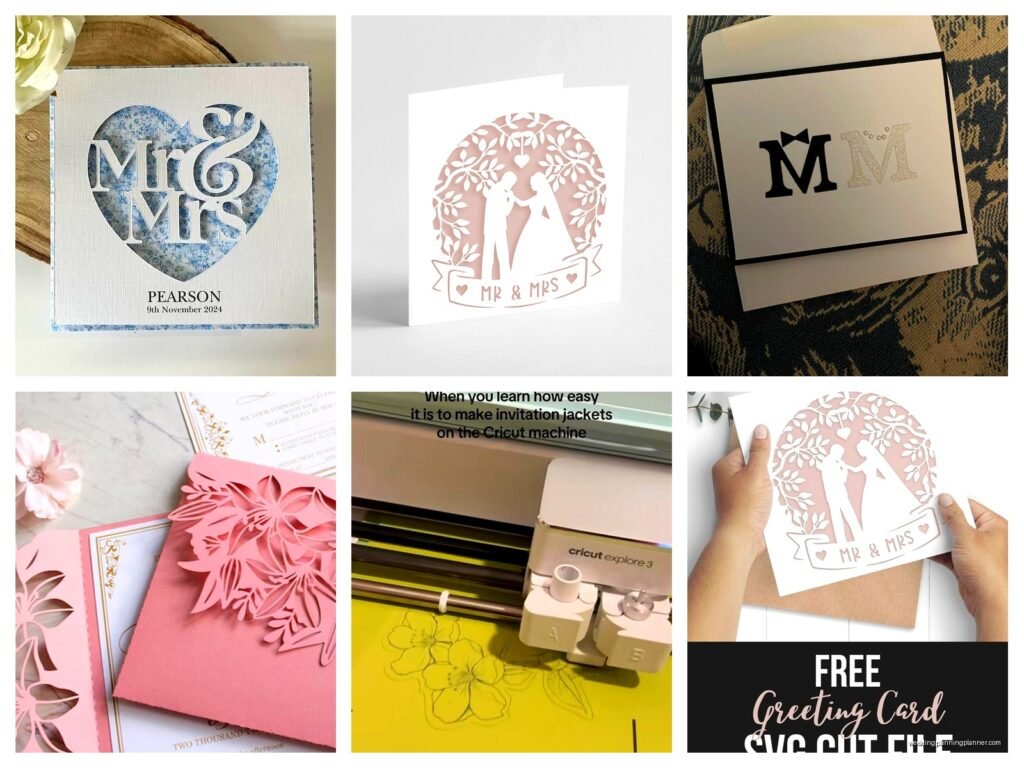
Okay so you’re gonna use your Cricut for wedding invitations and honestly it’s one of the best decisions because the control you have over design is incredible. I started doing this back in spring 2023 when a bride wanted these super specific geometric invitations and no printer could match what she had in her head, so I just… figured out the Cricut route and never looked back.
First thing – you need to know which Cricut you have because it actually matters. The Maker can handle more materials than the Explore models, and if you’re planning to do foil or embossing, that changes everything. I have the Maker 3 now but started with an Explore Air 2 and honestly? For basic cardstock cutting, either works fine.
Design Software Stuff You Can’t Skip
Cricut Design Space is your main hub and it’s… look, it’s not perfect. It crashes sometimes and the interface can be kinda clunky but it’s what we’ve got. You can design directly in there OR (and this is what I do most of the time) design in Canva or Adobe Illustrator and then upload to Design Space as an SVG file.
The upload process is pretty straightforward – you just hit Upload, choose your file type, and Design Space will walk you through it. Make sure your design elements are properly grouped if you want them to cut as one piece. I learned this the hard way when I had 47 individual flower petals cutting separately and it took like three hours.
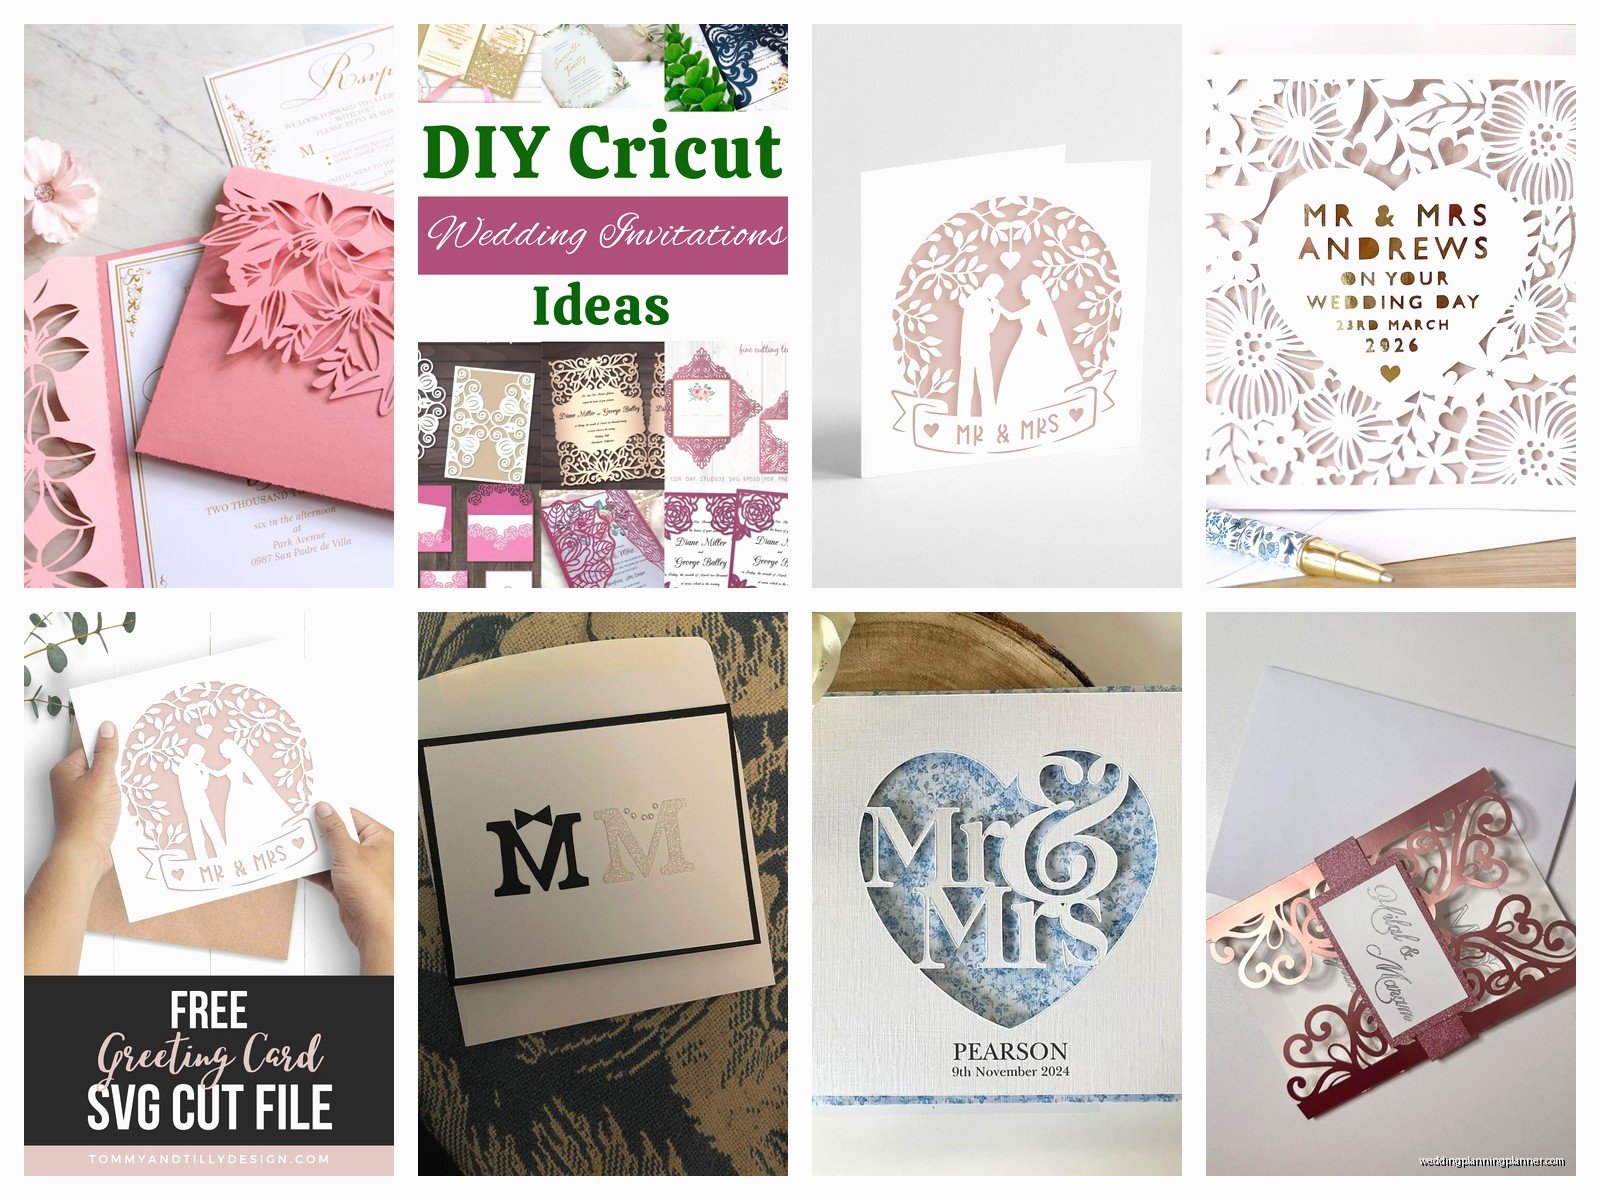
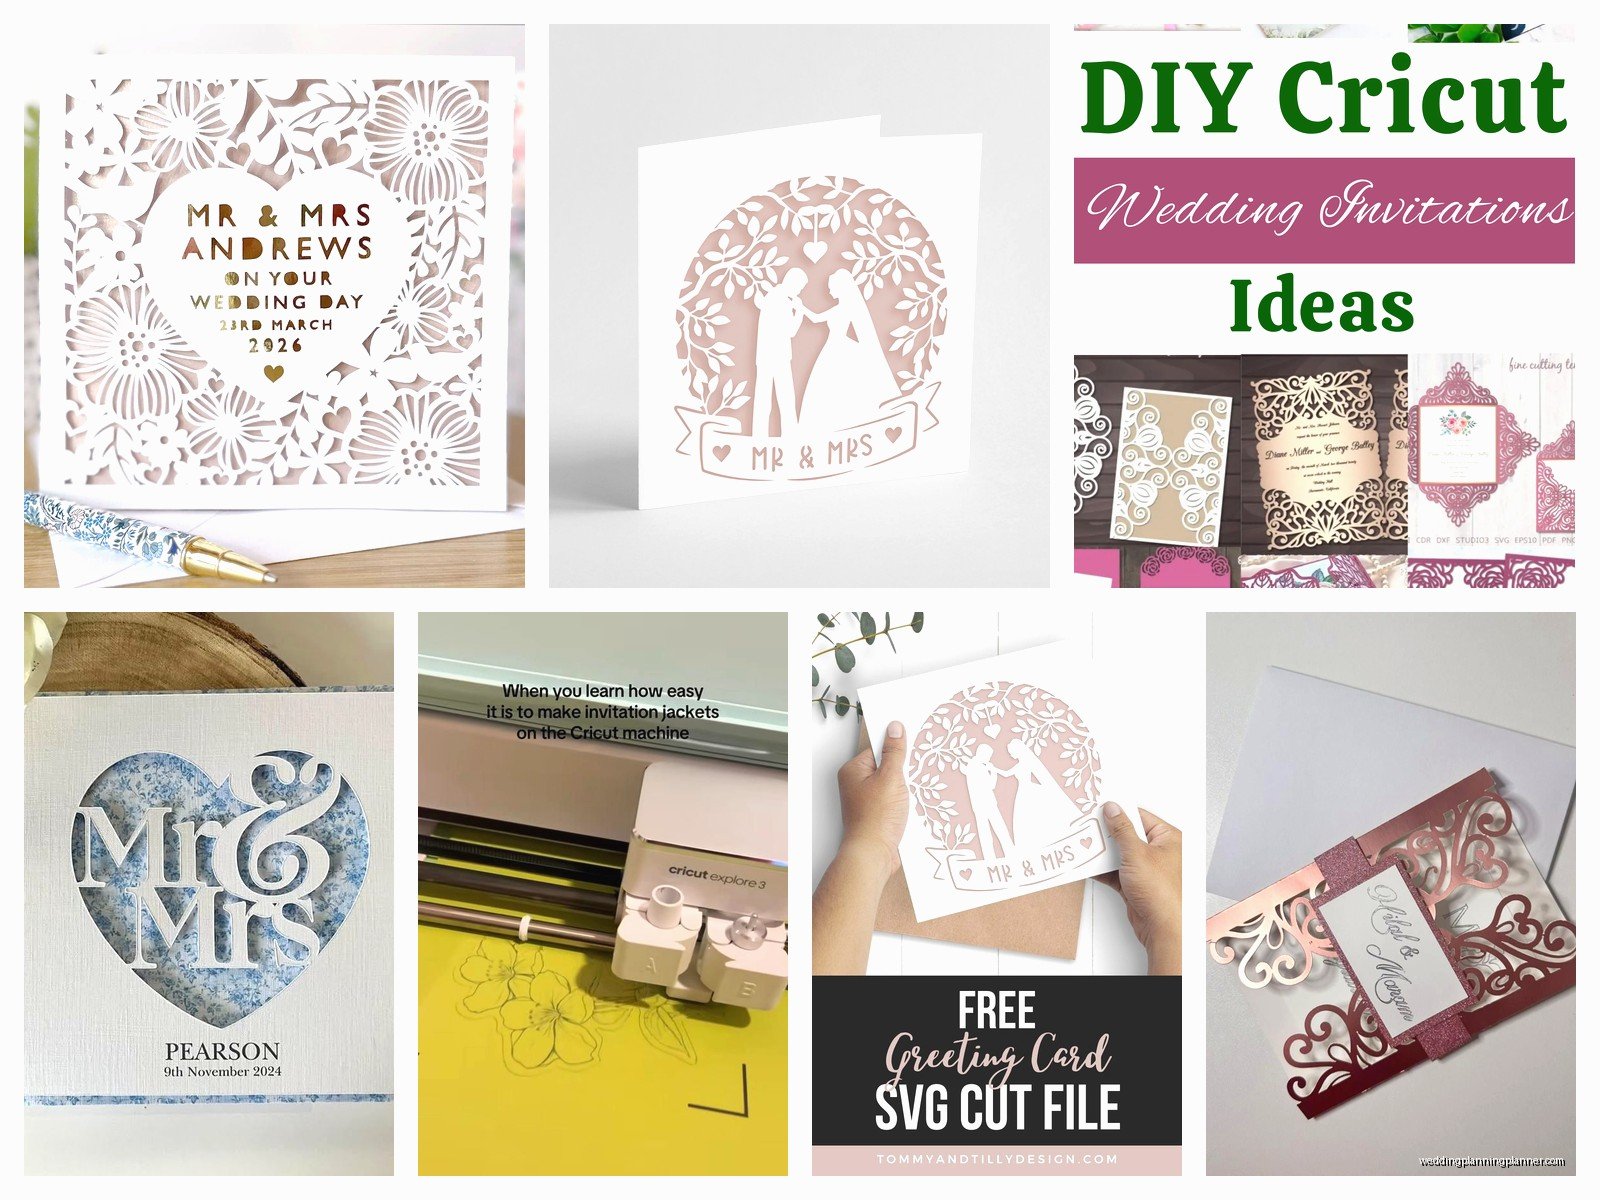
For wedding cards specifically, you’re probably looking at either single-layer cuts, score-and-fold cards, or more complex layered designs. Single layer is obviously easiest – just one piece of cardstock with cut details. Score-and-fold gives you that professional folded card look. Layered designs are where you stack different colored cardstock pieces to create dimension.
Picking Your Materials and Not Screwing It Up
Cardstock weight matters SO much and nobody tells you this upfront. For wedding invitations, you want 80lb to 110lb cardstock usually. Anything lighter feels cheap, anything heavier and your Cricut might struggle with intricate cuts. I typically use 100lb for the main invitation and 65lb for any envelope liners.
The brands that work consistently: Recollections from Michaels (cheap and reliable), Neenah (more expensive but gorgeous), and honestly the Cricut brand cardstock is fine for testing. Don’t use regular printer paper for your final product – I’ve seen people try this and it just looks… bad.
Specialty papers are where things get fun but also expensive. Vellum overlays look amazing on wedding invitations but they’re tricky to cut because the material is so delicate. Metallic cardstock, glitter cardstock, kraft paper – all create different vibes. That bride in 2023? She wanted rose gold metallic and we went through four different brands before finding one that didn’t shred during cutting.
The Actual Design Process
Start with your dimensions. Standard invitation sizes are 5×7 inches or 4×6 inches, but you can go custom. Just remember you need to account for bleed and for the actual cutting area of your Cricut. The Maker 3 can handle 12×24 inch mats but that doesn’t mean you should design something that large for an invitation.
When you’re designing, think about negative space – that’s the parts that get cut away. Too much intricate cutting in one area and the paper gets weak. I use the offset feature in Design Space constantly to create borders or backing layers. It basically creates an outline around your design at whatever distance you specify.
Typography is huge for wedding invitations and this is where I get kinda picky. Script fonts are beautiful but they need to be thick enough to cut cleanly. If the letters are too thin or have too many swirls, they’ll either not cut all the way through or they’ll tear when you try to weed out the excess paper. Test your fonts before committing to 150 invitations.
Oh and speaking of testing – always always ALWAYS do test cuts. I use cheap cardstock from Dollar Tree for testing because why waste the good stuff? Cut your design, check if everything cuts through, make sure the details are crisp, adjust your settings if needed.
Settings That Actually Work
Design Space has material settings built in but sometimes they’re not quite right. For cardstock, I usually start with the “Medium Cardstock” setting and then adjust pressure if needed. More pressure means deeper cuts, which is good for thicker paper but can cause tearing on delicate designs.
The blade matters too – the fine point blade is standard and works for most cardstock. The deep point blade is for thicker materials. I replace my blades way more often than Cricut recommends because a dull blade causes more problems than it’s worth. If you’re getting jagged edges or incomplete cuts, blade’s probably dull.
Multi-cut is a feature that makes the Cricut go over the same cut line multiple times. This is useful for thick cardstock or materials that aren’t cutting all the way through on the first pass, but it also increases cutting time significantly.
Assembly and Finishing Touches
After your pieces are cut, you gotta weed them – that means removing all the excess paper from around your design. I use a weeding tool (basically a tiny hook) and good lighting. This part can be therapeutic or incredibly annoying depending on how intricate your design is. My cat knocked over my weeding station once and I found tiny cardstock pieces for weeks.
For layered designs, adhesive is key. I use a tape runner for most applications because it’s quick and clean. Glue sticks work but can cause warping if you use too much. Foam dots or foam tape create dimension between layers which looks really professional.
Scoring is what you need for folded cards – Design Space has a score line feature and you’ll need the scoring stylus or scoring wheel. The Cricut scores the fold line and then you fold along it for a crisp, professional crease. This is where the Maker really shines compared to the Explore models because the scoring is more precise.
Ordering Materials in Bulk
If you’re doing this for a wedding with like 100+ invitations, buying in bulk saves money but also requires planning. Amazon has cardstock variety packs that are decent for testing colors. For the actual invitations, I order from Paper Source, Cards & Pockets, or directly from paper manufacturers.
Calculate how much you need and then add 20% for mistakes, tests, and inevitable screw-ups. Nothing worse than running out of the exact shade of blush pink halfway through your project and finding out it’s discontinued.
Envelopes are their own thing – you can cut custom envelope liners with your Cricut which is amazing, or you can buy pre-made envelopes that match your cardstock. A7 envelopes fit 5×7 invitations, A6 fit 4×6. Make sure you know your sizes before ordering.
What Drives Me Crazy About This
The thing that absolutely annoys me is when Design Space decides to rearrange your design elements randomly when you go to cut. Like I’ll have everything perfectly positioned and then I hit “Make It” and suddenly everything’s shifted or rotated. You have to use the Attach function to lock elements together but even then sometimes it gets weird. Always preview your cutting mat before starting the actual cut.
Also the subscription model for Cricut Access is kind of a cash grab – you can use Design Space without it but you get charged per image if you use their library, and fonts cost money unless you have Access. I keep the subscription because I use it enough that it’s worth it, but for someone doing just one wedding it might not be.
Time Management Reality Check
Cutting 100 invitations takes TIME. Like, more time than you think. Even a simple design might take 5-10 minutes per invitation when you factor in cutting, weeding, and assembly. Complex layered designs can take 20-30 minutes each. I learned this during that spring 2023 project when I confidently told the bride “oh yeah, two weeks is plenty of time” and then spent every evening for those two weeks cutting and assembling while watching The Great British Baking Show because I needed something mindless in the background.
Plan your timeline backwards from when you need them done. If the wedding is in June, you want invitations going out in April, which means you need to start production in March at the latest. Earlier if you’re doing this on top of a full-time job or… life in general.
Pricing If You’re Doing This for Clients
Okay so if you’re making these for someone else, you need to price appropriately. Calculate your material costs per invitation, add in your time (I charge $25-40 per hour depending on complexity), and don’t forget to factor in machine wear, blade replacements, and honestly the mental energy of precision work.
A simple Cricut-cut invitation might be $3-5 in materials and 10 minutes of labor, so you’re looking at charging maybe $8-12 per invitation depending on your market. Layered, complex designs with multiple cuts and assembly steps? Could easily be $15-25 per invitation.
Some brides see “DIY” and think it should be cheaper than professional printing but the reality is custom Cricut work is LABOR. It’s hands-on, personalized, and time-consuming. Price accordingly or you’ll end up resenting the project.
Troubleshooting Common Problems
Paper tearing during cutting usually means your blade is dull or you’re using too much pressure. Could also mean your design has details that are too intricate for the material thickness you’re using.
Not cutting all the way through means not enough pressure, wrong material setting, or again – dull blade. Sometimes your cutting mat loses its stickiness and the paper shifts during cutting, causing incomplete cuts. You can restick mats with repositionable adhesive spray.
Design elements welding together when you don’t want them to – use the Slice or Contour features in Design Space to separate them. Welding is useful when you WANT elements to merge into one cut, but annoying when it happens accidentally.
The Cricut making weird noises or getting stuck usually means something’s in the way – check for paper scraps in the roller area or a loose blade housing.
Special Techniques Worth Learning
Foiling is gorgeous on wedding invitations and the Maker can do this with the foil transfer tool. You need special foil transfer sheets and the right pressure settings, but the effect is stunning – metallic details without the mess of actual foil stamping.
Debossing and embossing create texture on your paper. You need the debossing tool or embossing folder for this. It’s subtle but adds a tactile, expensive feel to invitations.
Print then cut is where you print a design on your home printer and then use the Cricut to cut around it. This is perfect for invitations with both printed text and cut details. The Cricut reads registration marks on the printed page to know where to cut. It’s amazing when it works but finicky when your printer and Cricut aren’t cooperating.
Perforation is actually possible with the perforation blade – useful if you’re making RSVP cards that tear off or tickets that need to be separated. Not essential for basic invitations but a cool option.
Real Talk About Cricut vs Professional Printing
Cricut invitations have a handmade quality that some people love and others think looks… homemade. There’s a difference. If your cuts are clean, your assembly is precise, and your design is sophisticated, they look custom and expensive. If you rush it or don’t test enough, they look crafty in not a good way.
Professional printing gives you things Cricut can’t – letterpress, thermography, true foil stamping (not just foil transfer). But Cricut gives you complete design control, the ability to make last-minute changes without reprinting fees, and honestly it’s just more fun if you’re into that kind of thing.
For my clients, I usually recommend Cricut for smaller weddings (under 75 invitations), custom designs that would be expensive to print professionally, or brides who want to be involved in the creation process. For huge weddings or super formal events, professional printing might make more sense just from a time perspective.
The satisfaction of handing a bride a stack of invitations that you designed and cut yourself though… it’s pretty great. Even when you’ve spent hours weeding tiny details and your back hurts from hunching over the craft table and you’ve got paper cuts on three fingers. Worth it when they’re exactly what she wanted and couldn’t find anywhere else.