
Planning Guides, Style Guide
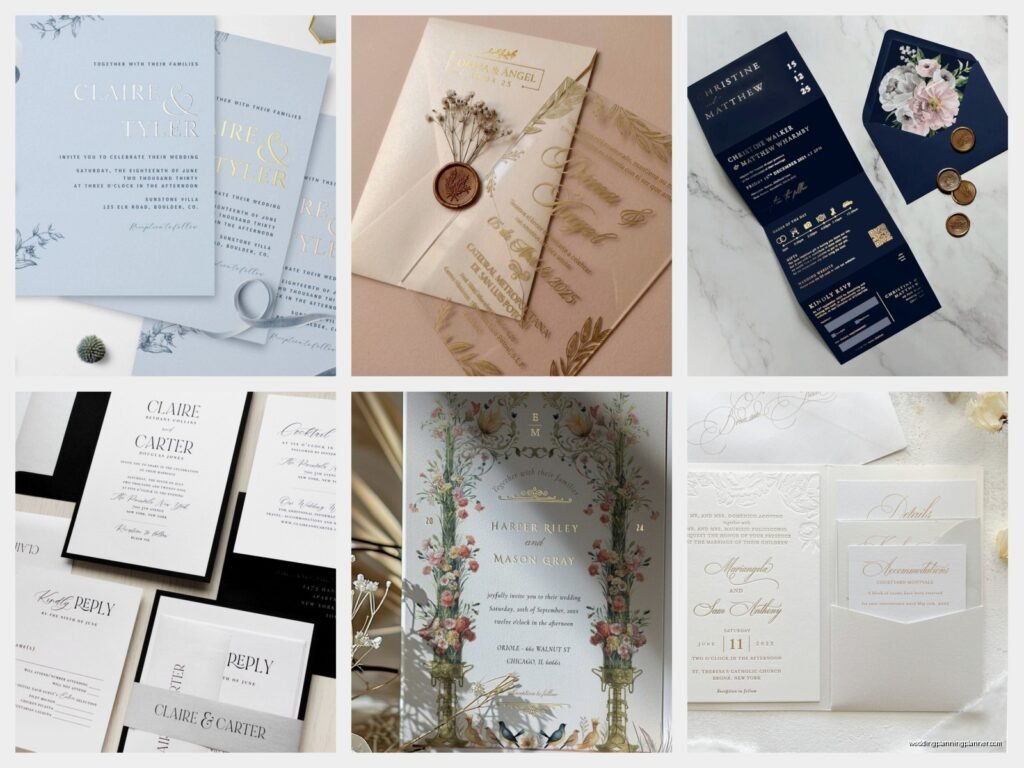
Foil Invitations: Metallic Stamped Pressed Designs
May
okay so foil invitations are basically the fancy option everyone drools over
Foil stamping is that shiny metallic finish you see on wedding invites that makes them look ridiculously expensive and elegant. It’s literally thin metallic film that gets heat-pressed onto paper, and when done right it catches the light in this gorgeous way that makes your guests actually pause before they toss the envelope aside. I’ve been obsessing over these for clients since like 2019 when they really started taking over the stationery world, and honestly the questions I get are always the same so let me just break this down.
The process involves a metal die (kind of like a stamp), foil film, heat, and pressure. The die gets heated up, presses the foil onto your paper, and the areas where the die touches become shiny and metallic while the rest of the foil peels away. It’s not printing – it’s more like… I dunno, imagine ironing a metallic transfer onto paper but way more precise and permanent.
types of foil you can actually get
Gold foil is the classic choice and what like 60% of my clients go for. You’ve got rose gold which peaked around 2021 but is still super popular (I did this gorgeous suite in spring 2023 for a vineyard wedding and the rose gold with burgundy paper was *chef’s kiss*). Silver and copper are your other metallics. Then there’s the fun stuff – holographic foils that shift colors, colored foils in basically any shade you can think of, and even clear or “blind” foil that gives you a subtle sheen without the metallic look.
What really annoys me though is when people call ANY shiny invitation “foil stamped” when it’s actually just metallic ink or digital printing with a shiny finish. Not the same thing AT ALL. Real foil stamping has this dimensional quality – you can feel it when you run your finger over it because there’s actual texture and a slight impression in the paper.
the whole design process thing
You gotta plan what elements you want foiled before anything else. Some couples want just their names in gold, others want borders, monograms, decorative elements, whatever. I always tell people – less is more with foil because it’s expensive per color and you want it to pop, not overwhelm.
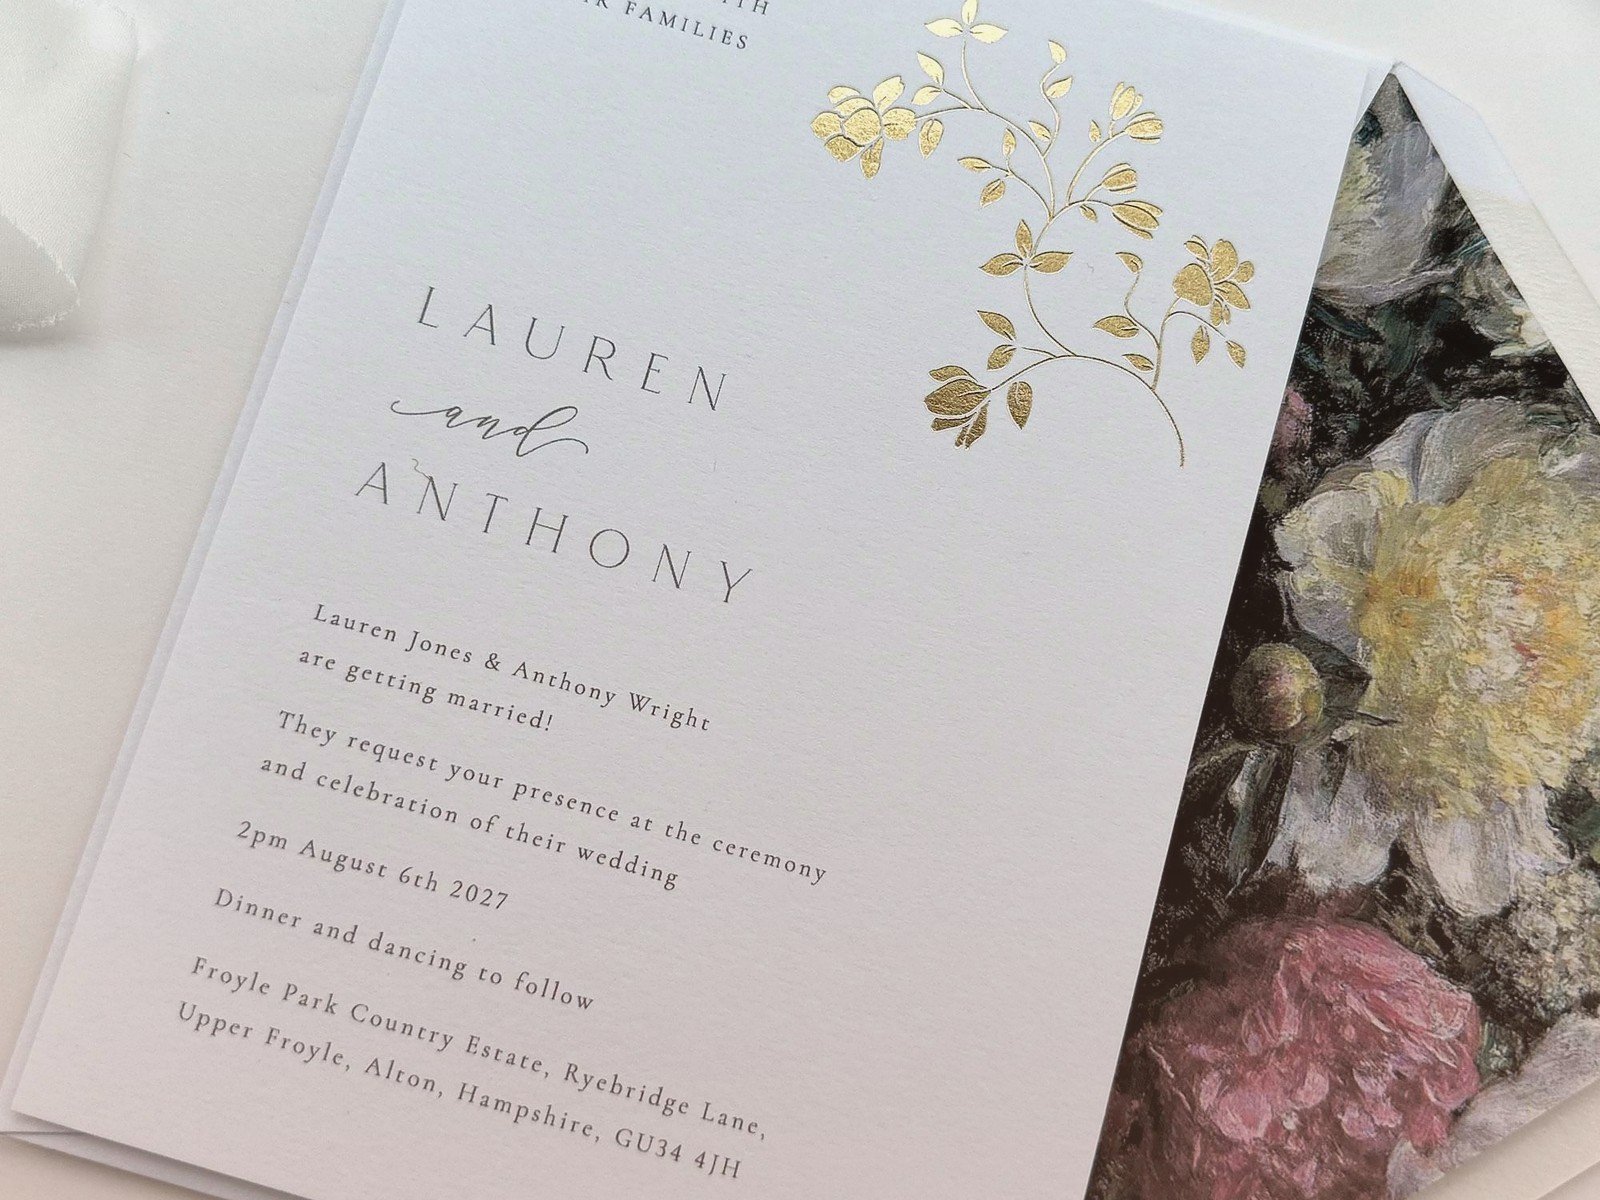
Here’s what I typically recommend clients foil:
- Names (bride and groom, obviously)
- Date and venue if you want those to stand out
- Borders or frames
- Monograms or crests
- Decorative flourishes or botanical elements
- Just the first letter of each name for a subtle touch
Each color of foil needs its own die, which means each color costs more. So if you want gold AND rose gold AND silver on one invite, you’re gonna be paying for three separate stamping processes. The dies themselves usually cost between $50-150 depending on complexity and size, and that’s a one-time setup fee per design element.
paper selection is weirdly important
Not all paper takes foil well and this is where people mess up constantly. You need a smooth surface – the smoother the better. Heavily textured papers like linen or laid finishes can be problematic because the foil won’t adhere evenly to all those little bumps and valleys. I learned this the hard way in summer 2021 when a bride insisted on this gorgeous handmade cotton paper with visible fibers and the foil stamping looked patchy and terrible. We had to reorder everything on smooth cotton instead.
Best paper types for foiling:
- Smooth cotton cardstock (my personal favorite)
- Coated stocks if you want super crisp lines
- Smooth uncoated papers work great too
- Vellum can be foiled but it’s tricky and you need a skilled printer
Paper weight matters too. You want at least 100lb cover weight, ideally 110-130lb. Anything thinner and the heat from the foiling process can warp or damage the paper. Thicker is better for foil work.
colors and contrast you should think about
The paper color affects how your foil looks. Gold on white is classic and clean. Gold on navy or black is dramatic and formal. Rose gold on blush pink is romantic but make sure there’s enough contrast or it’ll look muddy. I always do a test print because what looks good on screen doesn’t always translate.
Darker papers show off metallic foils better – the contrast is just more striking. If you’re doing light foil on light paper, it can look washed out unless you’re going for that really subtle elegant vibe. Silver on gray is gorgeous but subtle. Gold on cream is warm and inviting.
working with a stationer or printer
Find someone who actually specializes in foil work. Not all printers offer it, and the ones who do it occasionally versus the ones who do it constantly – there’s a huge quality difference. Ask to see physical samples, not just photos. Photos lie about metallic finishes.
Timeline is important because foil stamping takes longer than regular printing. You need to allow for:
- Design finalization and approval
- Die creation (usually 1-2 weeks)
- Test stamping and adjustments
- Actual production run
- Quality check and any reprints if needed
I usually tell couples to add 2-3 weeks to whatever timeline they’d need for regular printed invites. Rush fees for foil work are STEEP, like we’re talking 50-100% upcharges sometimes.
pricing reality check
Foil stamping is expensive. Just accept that now. You’re looking at anywhere from $8-25+ per invitation depending on complexity, paper quality, number of foil colors, and your printer. A basic one-color foil on decent paper might run you $10-12 per invite. Multiple colors, fancy die-cut shapes, thick luxury paper – you could easily hit $20-30 each.
For a 100-person wedding (so roughly 75 invitations when you account for families and couples), you’re spending $750-2250 just on invitations, not including reply cards, details cards, envelopes, or assembly. Add those in with foiling and you could be at $2000-4000 for a complete suite.
Some ways to keep costs down while still getting that foil look:
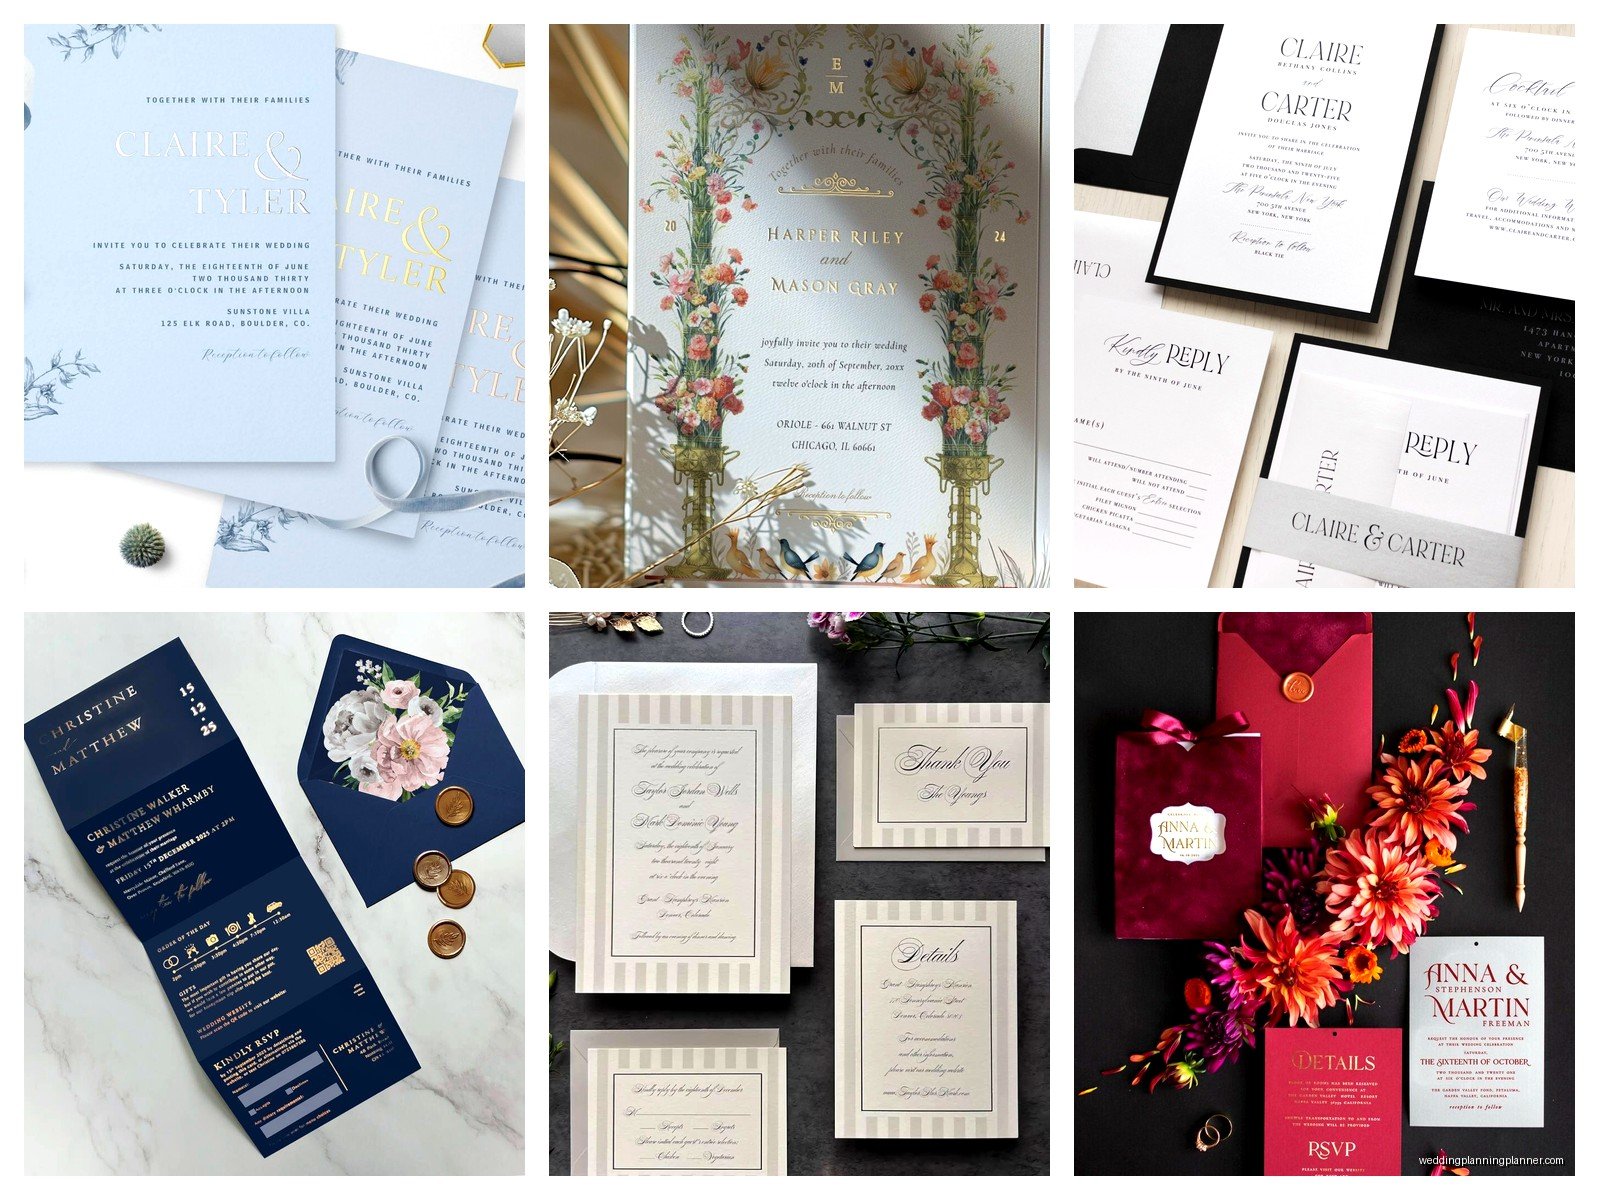
- Foil just the envelope liner or envelope flap instead of the whole invite
- Use one foil color instead of multiple
- Foil only your names or monogram, print everything else
- Skip foil on reply cards and details cards, just do the main invitation
- Choose a simpler design that requires a smaller, less complex die
digital foil vs real foil stamping
There’s this newer technology called digital foiling or toner-based foiling that’s cheaper and faster. It uses a digital printer and heat to apply foil without needing custom dies. It works for some designs but the quality isn’t quite the same – you don’t get that deep impression and the foil can look a bit flat or… I wanna say artificial? It’s fine for less formal events or if budget is tight, but for a wedding I usually push clients toward real foil stamping if they can swing it.
My cat knocked over an entire stack of foil samples once and I almost cried because those things are expensive and I’d organized them by color family. Anyway.
combining foil with other printing techniques
You can totally mix foil stamping with letterpress, digital printing, or thermography. Some of my favorite suites use letterpress for the main text and foil for accent elements. Or digital printing for the bulk of the info with foil just on names and dates. Just know that each additional technique adds cost and production time.
Letterpress + foil is particularly gorgeous because you get the debossed impression from letterpress and the shiny dimension from foil. But you’re also combining two of the most expensive printing methods so your budget needs to be ready for that.
design tips from someone who’s seen it all
Don’t foil tiny text or super thin lines – they won’t stamp cleanly and you’ll be disappointed. Foil works best on elements that are at least 8-10pt font size and have decent stroke weight. Delicate script fonts can work but they need to be thick enough or the foil will look spotty.
Test your design with a proof or strike-off before committing to the full print run. Most good printers will offer this and yes it costs extra ($50-150 usually) but it’s worth it to see exactly how your foil will look on your chosen paper. I’ve had clients change their mind about colors or placement after seeing the physical proof.
Think about readability – if you’re foiling text, make sure there’s enough contrast with the background. Gold foil on kraft paper sounds cute but can be hard to read, especially for older guests. Your invites need to be functional, not just pretty.
common mistakes people make
Ordering too few invites is the biggest one. You need extras for keepsakes, mistakes during assembly, last-minute additions to the guest list. I always recommend ordering 15-20% more than you think you need. And with foil stamping you can’t just easily reorder 10 more later because the printer might not have saved your die or you’ll have to pay setup fees again.
Choosing foil colors that don’t photograph well is another issue. Some foils look amazing in person but photograph terribly – they either blow out to white or look dull. If you’re planning to do flat lay photos of your invites (and everyone does now), ask your stationer which foils are most photogenic.
Not considering envelope addressing is a thing too. If you’re doing calligraphy or digital printing on envelopes, think about whether you want foil there too. Foil on envelope flaps or as a border around the address looks incredible but adds complexity.
the whole ordering and timeline thing
Order your invites 4-6 months before your wedding date if you’re doing foil stamping. That gives you time for design, proofing, production, delivery, assembly, and mailing with buffer room for problems. I had a client in a stressful situation once where she ordered foil invites 8 weeks before her wedding and the die broke during production and had to be remade and she was sending invites out like 5 weeks before the wedding which is cutting it SO close.
When you receive your invites, inspect them immediately. Check for smudging, incomplete foil coverage, paper damage, and color consistency. Foil stamping is done by hand in many cases so there can be slight variations from piece to piece, but anything really noticeable should be reported to your printer right away.
caring for and storing foil invites
Foil can scratch or rub off if you’re not careful, especially metallic foils. Store invites flat, not stacked too high, with tissue paper or glassine sheets between them if possible. Don’t wrap them with rubber bands or paper clips across foiled areas.
Humidity can affect foil adhesion, so keep them in a cool dry place. I learned this when a batch of invites I’d stored in my garage during a humid summer started looking dull and the foil was peeling slightly at the edges. Not ideal.
When assembling your suite, handle the foiled pieces by the edges to avoid fingerprints on the metallic areas. Foil shows fingerprints like crazy, especially the lighter colors like silver or champagne gold.
alternatives if foil isn’t in the budget
Look, foil is expensive and not everyone can drop $2k+ on invitations. Metallic ink printing is way cheaper and can give you a similar vibe from a distance. It won’t have the dimension or the same light-catching quality, but it’s shiny and pretty and costs a fraction of real foil.
Foil-pressed envelopes with regular printed inserts is another compromise – you get some of that luxury factor without foiling every single piece. Or just foil your names and print everything else in regular ink.
You could also do foil for just the invitation itself and skip it on reply cards, details cards, maps, whatever else you’re including. Most guests honestly don’t scrutinize every single card anyway.
I’m kinda rambling now but the point is there are ways to get the look without going fully broke over it. You just gotta prioritize which elements matter most to you and where you’re willing to compromise. Some couples care more about the paper quality, others want all the foil even if it means thinner paper. It’s all about what feels right for your wedding and your budget and your personal style, which sounds cheesy but it’s true
