Planning Guides, Style Guide
Wedding Card Order: Design & Ordering Guide
Jun
Figure Out Your Timeline First Because That’s Where Everyone Screws Up
Okay so the biggest mistake I see couples make is ordering their wedding cards way too late and then they’re messaging me at 11pm panicking because their wedding is in six weeks and nothing’s even at the printer yet. You need to start thinking about this stuff like 6-8 months before your wedding date. I know that sounds insane but here’s why: you’re gonna need save-the-dates out 6-8 months before the wedding, then invitations need to go out 8-10 weeks before, and if you’re doing any fancy printing techniques or custom design work, add another 4-6 weeks to that timeline.
In spring 2023 I had this couple who waited until 10 weeks before their wedding to even start looking at invitation designs and they wanted letterpress with custom illustrations and I just… I had to be really honest with them that we were cutting it incredibly close. We made it work but it aged me like five years in two months.
What Cards You Actually Need (And What You Don’t)
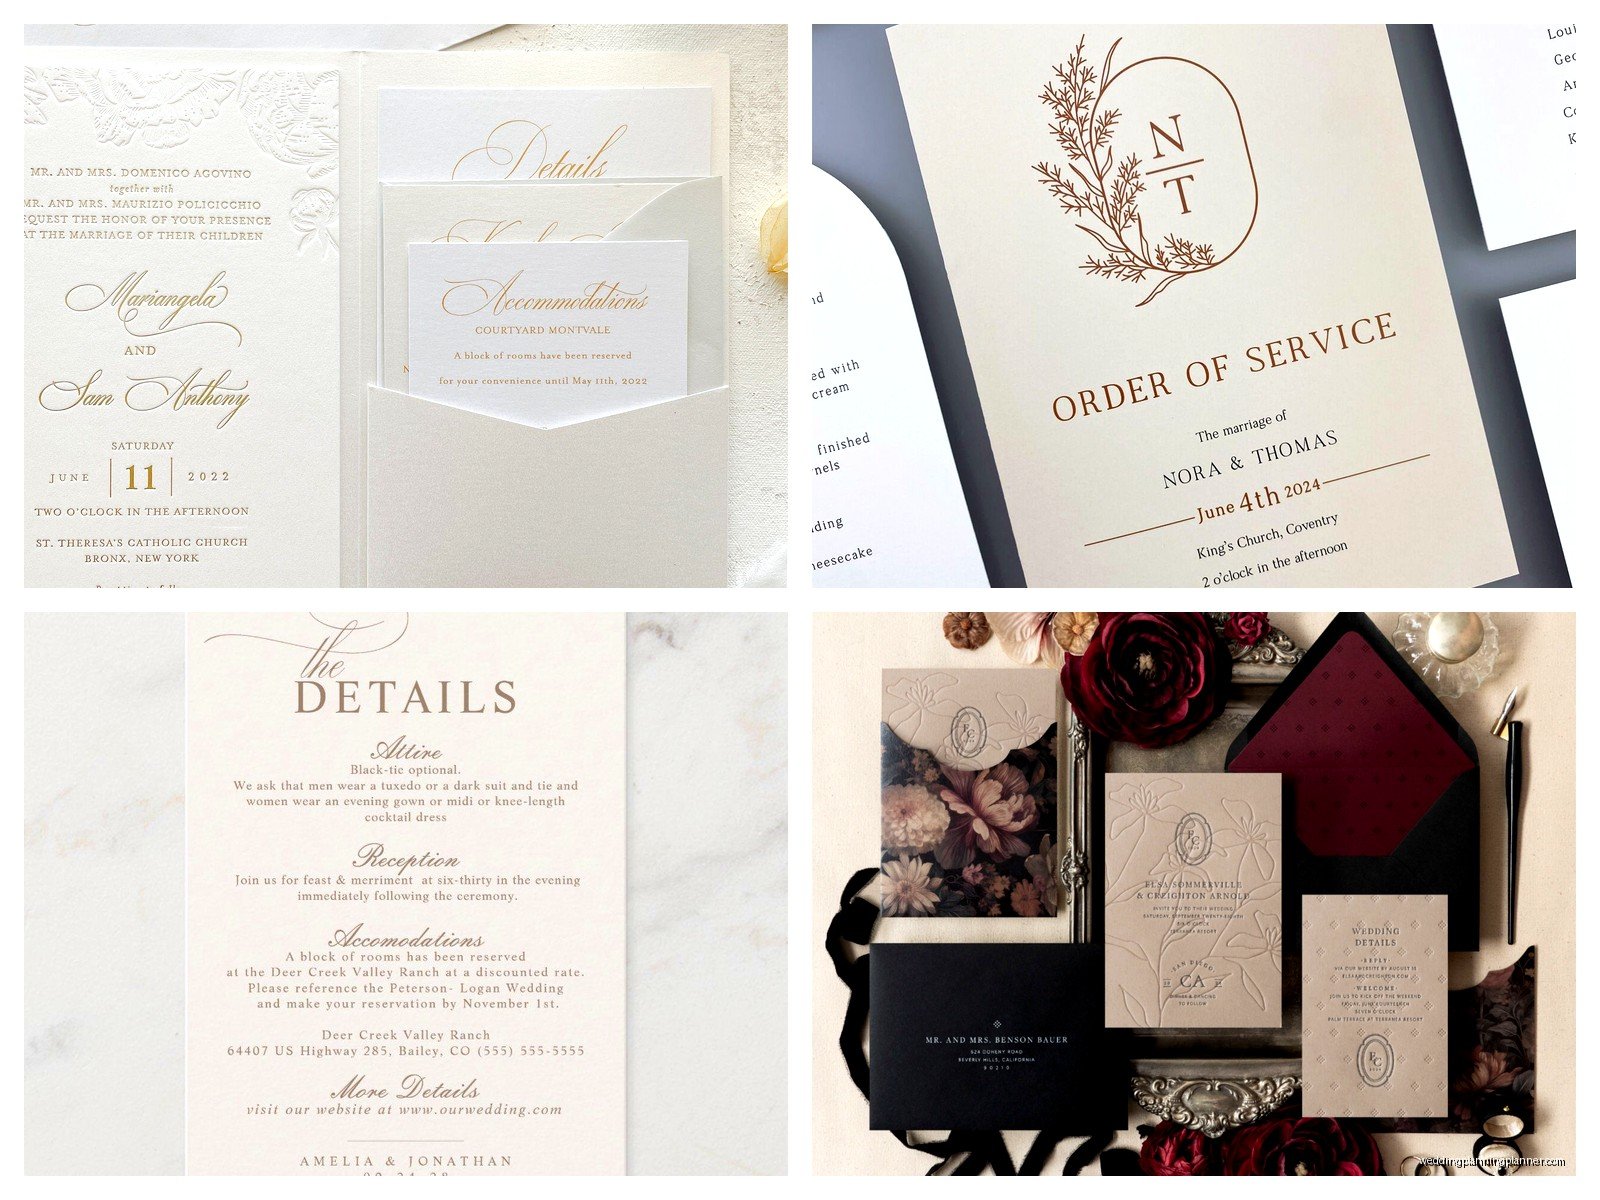
Let me break down the actual suite because people get confused about what’s required versus what’s just nice to have:
The Must-Haves:
- Save-the-dates (if your wedding is destination or holiday weekend)
- Main invitation card
- RSVP card with envelope
- Reception card if ceremony and reception are different locations
The Optional Stuff:
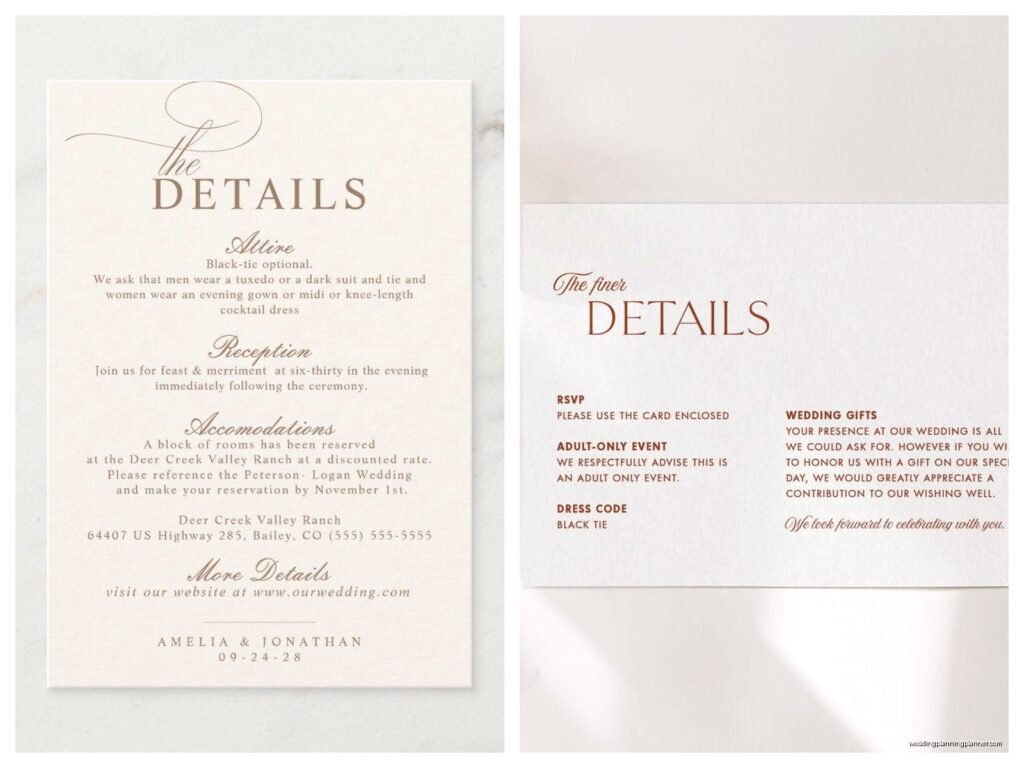
- Details card for hotel blocks, website, dress code
- Weekend events card if you’re doing welcome drinks or day-after brunch
- Map or direction card (honestly just use your website for this)
- Inner envelope (kinda outdated unless you’re doing formal traditional)
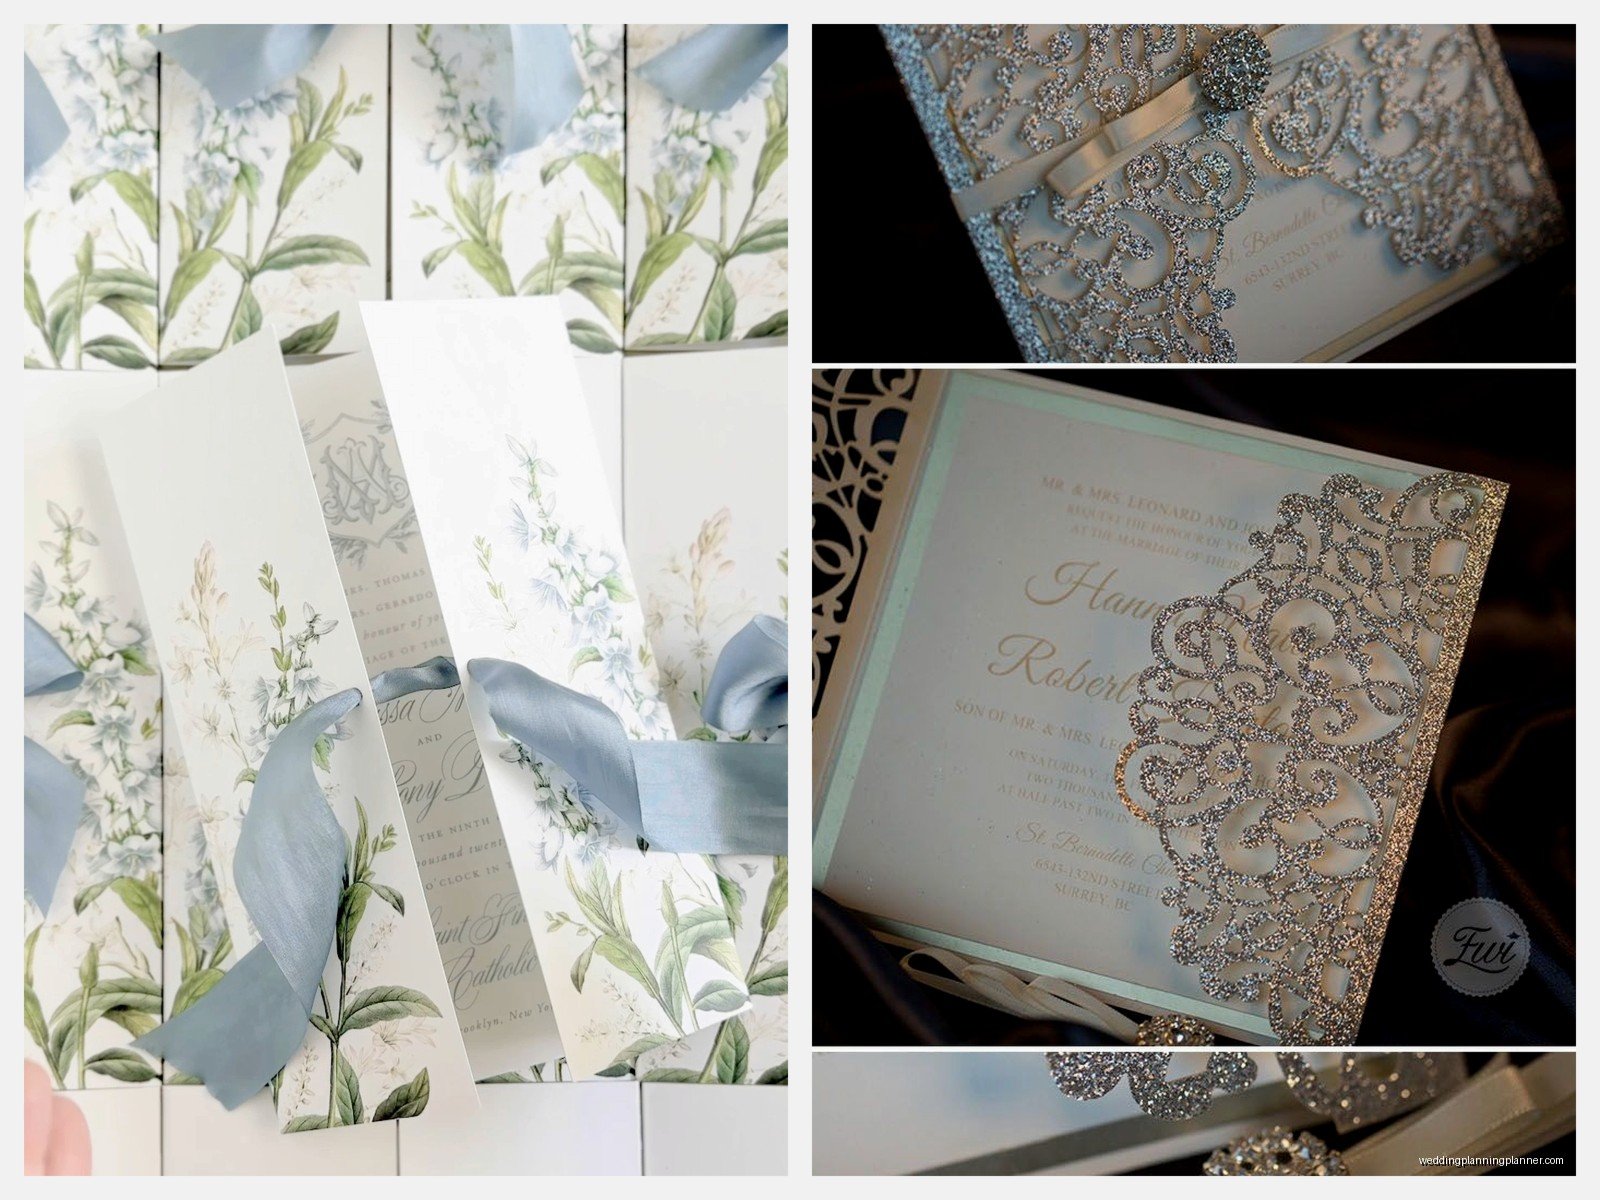
- Belly band or vellum wrap
- Wax seal
- Thank you cards (order these later, you don’t need them yet)
The thing that annoys me SO much is when vendors try to upsell couples on every single insert card possible. Like you do not need a separate card for parking information. Put it on your website or include it on the details card. Your guests don’t want to juggle seventeen pieces of paper.
Design Phase: Where This Gets Fun But Also Overwhelming
You’ve got basically three routes here and they all have pros and cons:
Online Templates (Minted, Zola, Paperless Post, etc.)
This is the most budget-friendly and honestly the templates have gotten really good. You can customize colors, fonts, wording, and some of them even let you upload your own photos. Turnaround is usually 2-3 weeks and you can see exactly what you’re getting. The downside is that other people will have the same design, but unless you’re inviting other brides to your wedding, literally no one will know or care.
Price range: $1.50-$4.00 per invitation suite
Semi-Custom with a Stationer
This is where I usually guide my clients. You work with a stationer (like me!) who has existing designs that can be customized with your colors, monogram, specific wording changes, different paper stocks. You get something that feels more unique without starting from absolute scratch. Timeline is usually 4-6 weeks from design approval to delivery.
Price range: $5.00-$12.00 per invitation suite depending on printing method
Fully Custom Design
This is when you hire a designer to create something completely original, maybe incorporating illustrations of your venue or a custom monogram or watercolor elements. It’s gorgeous and one-of-a-kind but it takes longer and costs more. You’re looking at 8-12 weeks minimum.
Price range: $12.00-$30.00+ per invitation suite
Printing Methods Matter More Than You Think
Okay so this is where I get really into the weeds because printing technique affects both your budget and your timeline and the overall feel of your invitations.
Digital Printing: This is standard color printing, same as what a nice office printer does but professional quality. It’s affordable, fast, and works great for designs with lots of colors or photos. Looks clean and modern. No shade to digital printing—most of my clients use it and their invitations look beautiful.
Letterpress: This is where the design is pressed into thick cotton paper so you get that gorgeous tactile debossed effect. It’s traditional and elegant and honestly my favorite but it’s expensive and time-consuming. You’re limited to one or two colors usually. Also it doesn’t work well on thin paper so you need thicker stock which adds cost.
Foil Stamping: Metallic foil (gold, silver, rose gold, copper) is pressed onto the paper. Super popular right now and it photographs really well. Can be done alone or combined with digital printing. Adds $2-4 per invitation.
Thermography: This creates raised printing that you can feel, kinda like engraving but less expensive. It’s a traditional method that was huge in the 90s and early 2000s. Still looks nice but feels a bit dated to me personally.
Engraving: The most expensive option where the design is etched into a metal plate and pressed into the paper. You can see the impression on the back. Very formal and traditional. Unless you’re having a black-tie affair at a country club, you probably don’t need this.
Paper Stock Because Apparently This Is Complicated Too
I never thought I’d become the kind of person who has opinions about paper weight but here we are. My cat knocked over my sample box last week and I genuinely gasped so… yeah.
Standard cardstock is 80-100 lb cover weight. That’s fine, it works, no one will complain. If you want something that feels more luxurious, go for 110-130 lb cover weight. Cotton paper (like Crane’s Lettra) is thicker and has a beautiful texture—it’s what you want for letterpress. Linen has a subtle texture that’s really pretty. Smooth paper shows color saturation better if you’re doing lots of colorful printing.
For RSVP cards, you can go lighter weight since they’re smaller, like 80 lb is totally fine. Just make sure the main invitation has some substance to it.
How to Actually Order: The Process Step by Step
Alright so once you’ve picked your design direction and printing method, here’s how this actually goes down:
1. Finalize your guest list count. Or at least get really close. You’ll need to know how many invitations to order—remember that couples and families get one invitation, not one per person. Add 10-15 extra for keepsakes, mistakes, and last-minute additions. I always order extras because someone ALWAYS forgets to invite their mom’s cousin or whatever.
2. Collect all your wording details. This means: exact names (including middle names if you’re being formal), dates, times, venue names and addresses, dress code, RSVP deadline (usually 3-4 weeks before the wedding), your wedding website. Also figure out how you want names printed on RSVP cards or if you’re doing blank ones and writing them in yourself.
3. Request a proof. Do NOT skip this step oh my god. You need to see a digital proof of exactly what’s gonna be printed. Check it seventeen times. Have someone else check it. Common mistakes I’ve caught: wrong date, misspelled venue name, AM instead of PM, typo in the website URL, missing suite number in the address.
4. Order envelopes early if you’re doing calligraphy. Whether you’re hiring a calligrapher or printing addresses, you might need envelopes 2-3 weeks before the actual invitations are done. Most printers will send envelopes ahead if you ask. This is also when you should order extra envelopes because addressing mistakes happen.
5. Approve and order. Once you sign off on the proof, the printer starts production. For digital printing, this usually takes 1-2 weeks. For letterpress or foil, it can be 3-4 weeks. Then add shipping time.
6. Assemble everything. When your invitations arrive, you gotta put them together—stuffing envelopes, adding belly bands or seals if you’re using them, the whole thing. This takes way longer than you think. Set aside like 3-4 hours and make it a wine night with your bridesmaids or something.
Addressing Options That Won’t Make You Want to Die
You’ve got a few ways to handle envelope addressing and honestly this is where people get stuck or… I had a bride in summer 2021 who insisted on hand-addressing 200 envelopes herself and then had a breakdown at envelope 47 and called me crying so let’s talk about realistic options.
Digital calligraphy printing: A calligrapher creates a custom font based on their handwriting, then your addresses get printed in that style. Looks hand-done but it’s printed. Costs about $1-2 per envelope. This is what I recommend most.
Actual hand calligraphy: Beautiful and personal but expensive, usually $3-5+ per envelope. Worth it if you’ve got a small guest list under 75.
Print at home: You can buy templates and print on your own printer. Just make sure you do test runs and that your envelopes feed through properly. Some printers hate envelopes.
Address labels: Clear labels can look really nice if the design matches your invitation style. Some people think labels are tacky but honestly if they’re well-designed, they’re fine.
Write them yourself: If you have nice handwriting and a small guest list, go for it. Use a nice pen, take your time, have extras on hand.
Postage Is Annoying But Here’s What You Need to Know
Okay so first, you need to take a fully assembled invitation to the post office and have them weigh it. Square envelopes cost extra. Anything over 1 ounce costs extra. Oversized envelopes cost extra. The post office is basically just looking for reasons to charge you more.
Standard postage right now is 73 cents for a regular letter but your invitation is probably not gonna qualify as a regular letter. Budget for $1-1.50 per invitation for outgoing postage. RSVP cards need their own stamp—that’s 73 cents if it’s a standard postcard size or regular envelope.
Also please use pretty vintage stamps if you’re gonna spend all this money on nice invitations. The forever flag stamps are fine but vintage botanicals or love stamps make everything look more intentional. You can order these online from USPS.
Budget Breakdown So You Don’t Have Sticker Shock
Here’s what you’re realistically looking at for 100 invitations:
Budget-Friendly Route:
- Online template invitations: $200-300
- Print-at-home addressing: $0
- Postage: $150
- Total: $350-450
Mid-Range Route:
- Semi-custom stationery: $600-800
- Digital calligraphy addressing: $150
- Postage: $150
- Total: $900-1,100
Luxury Route:
- Custom design with letterpress or foil: $1,500-2,500
- Hand calligraphy: $400
- Postage: $150
- Total: $2,050-3,050
And that’s just for invitations. Save-the-dates add another $150-400 depending on what you choose.
Things That Will Definitely Go Wrong So Just Prepare Yourself
Despite your best planning, something will probably get messed up. I’ve seen it all: the printer running out of a specific paper stock mid-order, colors looking different than the proof, addresses getting smudged, envelopes arriving damaged, someone’s name getting misspelled after you checked the proof five times.
Build buffer time into your timeline. If invitations need to mail by April 1st, plan for them to be done by March 15th. That gives you two weeks of cushion for problems, reprints, or delays.
Also be prepared for your family to have opinions about wording. Traditional invitation wording has the bride’s parents listed as hosts, but modern couples often host themselves or list both sets of parents or… honestly it gets complicated when there are divorced parents or multiple families involved. There are etiquette guides for this but ultimately it’s your wedding and you can word things however feels right to you.
Random Tips That Don’t Fit Anywhere Else
Use your wedding website for everything that might change or that guests need to reference multiple times. Hotel blocks, registry, schedule of events, dress code details, COVID policies if that’s still relevant—all of that lives on your website, not crammed onto invitation inserts.
Order your thank you cards at the same time as your invitations if you’re doing custom stationery. Most stationers give you a discount for ordering multiple items together, and then you’ve got coordinating thank you notes ready to go after the wedding.
Keep one complete invitation suite unassembled and sealed for yourself. You’ll want it for your wedding album or shadow box or whatever, and it’s nice to have one that’s pristine.
If you’re doing belly bands or ribbon, make sure they’re actually secure. I’ve seen so many invitations arrive with the band slipped off and everything’s just loose in the envelope looking messy.
Test your RSVP system before you send invitations. If you’re doing online RSVPs through your website, make sure the form works. If you’re doing physical RSVP cards, make sure you have a system for tracking responses—spreadsheet, app, whatever works for you.
Don’t forget about invite-only guests for the ceremony if you’re doing a smaller reception, or B-list guests if you’re waiting to see how many declines you get from the A-list. You’ll need to stagger when those go out and that affects your ordering timeline and quantities.