Planning Guides, Style Guide
Wedding Invitation Form: Design & Ordering Guide
Jun
Start With Your Timeline Because This Takes Longer Than You Think
Okay so wedding invitations should go out 6-8 weeks before your wedding date, which means you need to start the design process like 3-4 months out minimum. I learned this the hard way in summer 2021 with a bride who waited until 10 weeks before her wedding to even START looking at designs and we were both losing our minds trying to rush everything. The printer needed two weeks, then there was a paper shortage (remember that?), and she wanted to hand-assemble everything with ribbons and… it was a mess.
So work backwards from your wedding date. If you’re getting married October 15th, invites should mail by September 1st at the latest. That means you need them IN HAND by August 20th to give yourself time to address, stamp, and actually get them to the post office. Which means your printer needs the final files by early August. Which means you need to finalize your design by late July. See how this adds up?
Figure Out Your Guest Count First (Like Actually Count)
You can’t order invitations without knowing how many you need, and this is where couples always mess up. They’re like “oh we have 150 people on our list” but then when you dig deeper, some of those are families with kids, some are couples, some are single… you gotta count by HOUSEHOLD, not by individual guests.
Here’s my formula: take your total guest count, divide by 2.5 (rough average for household size), then add 10-15 extras. So if you’re inviting 150 people, that’s probably 60 households, plus 10 extras = 70 invitations. Order 75 to be safe because someone will mess up their calligraphy or you’ll spill coffee on one (I’ve seen it happen approximately a million times).
The Save-The-Date Confusion
Real quick—save-the-dates are NOT the same as invitations. Save-the-dates go out 6-8 months before (or even earlier for destination weddings), and they’re way more casual. Just your names, the date, and location city. That’s it. You don’t need all the details yet. I mention this because I had a client in spring 2023 who wanted to put the full ceremony timeline, dress code, registry info, and hotel blocks on her save-the-date and I was like… no, that’s what the actual invitation is for.
Choosing Your Design Style Without Going Insane
There are like eight thousand invitation designs out there and honestly it’s overwhelming. Here’s how I break it down for clients:
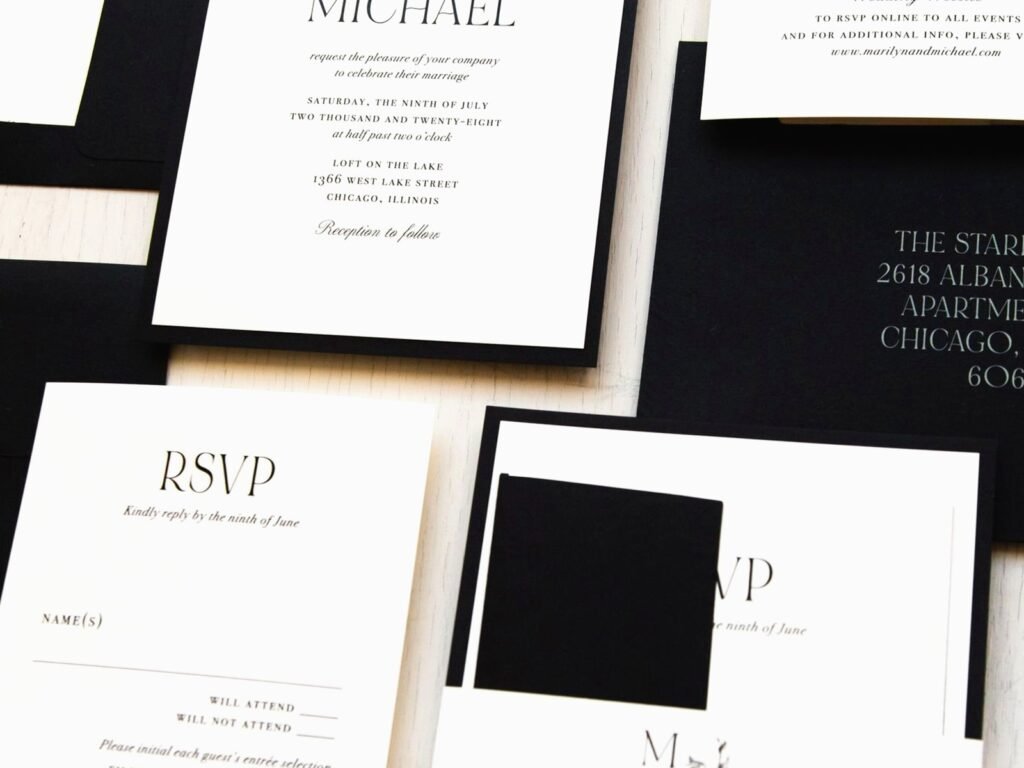
Traditional/Formal: Think engraved or letterpress, classic fonts, usually white or ivory with black ink. These are your “Mr. and Mrs. John Smith request the honour of your presence” vibes. Good for church weddings, ballroom receptions, black-tie events.
Modern/Minimalist: Clean lines, lots of white space, maybe one accent color. Simple sans-serif fonts. Very “less is more” energy. Works for contemporary venues, art gallery weddings, urban lofts.
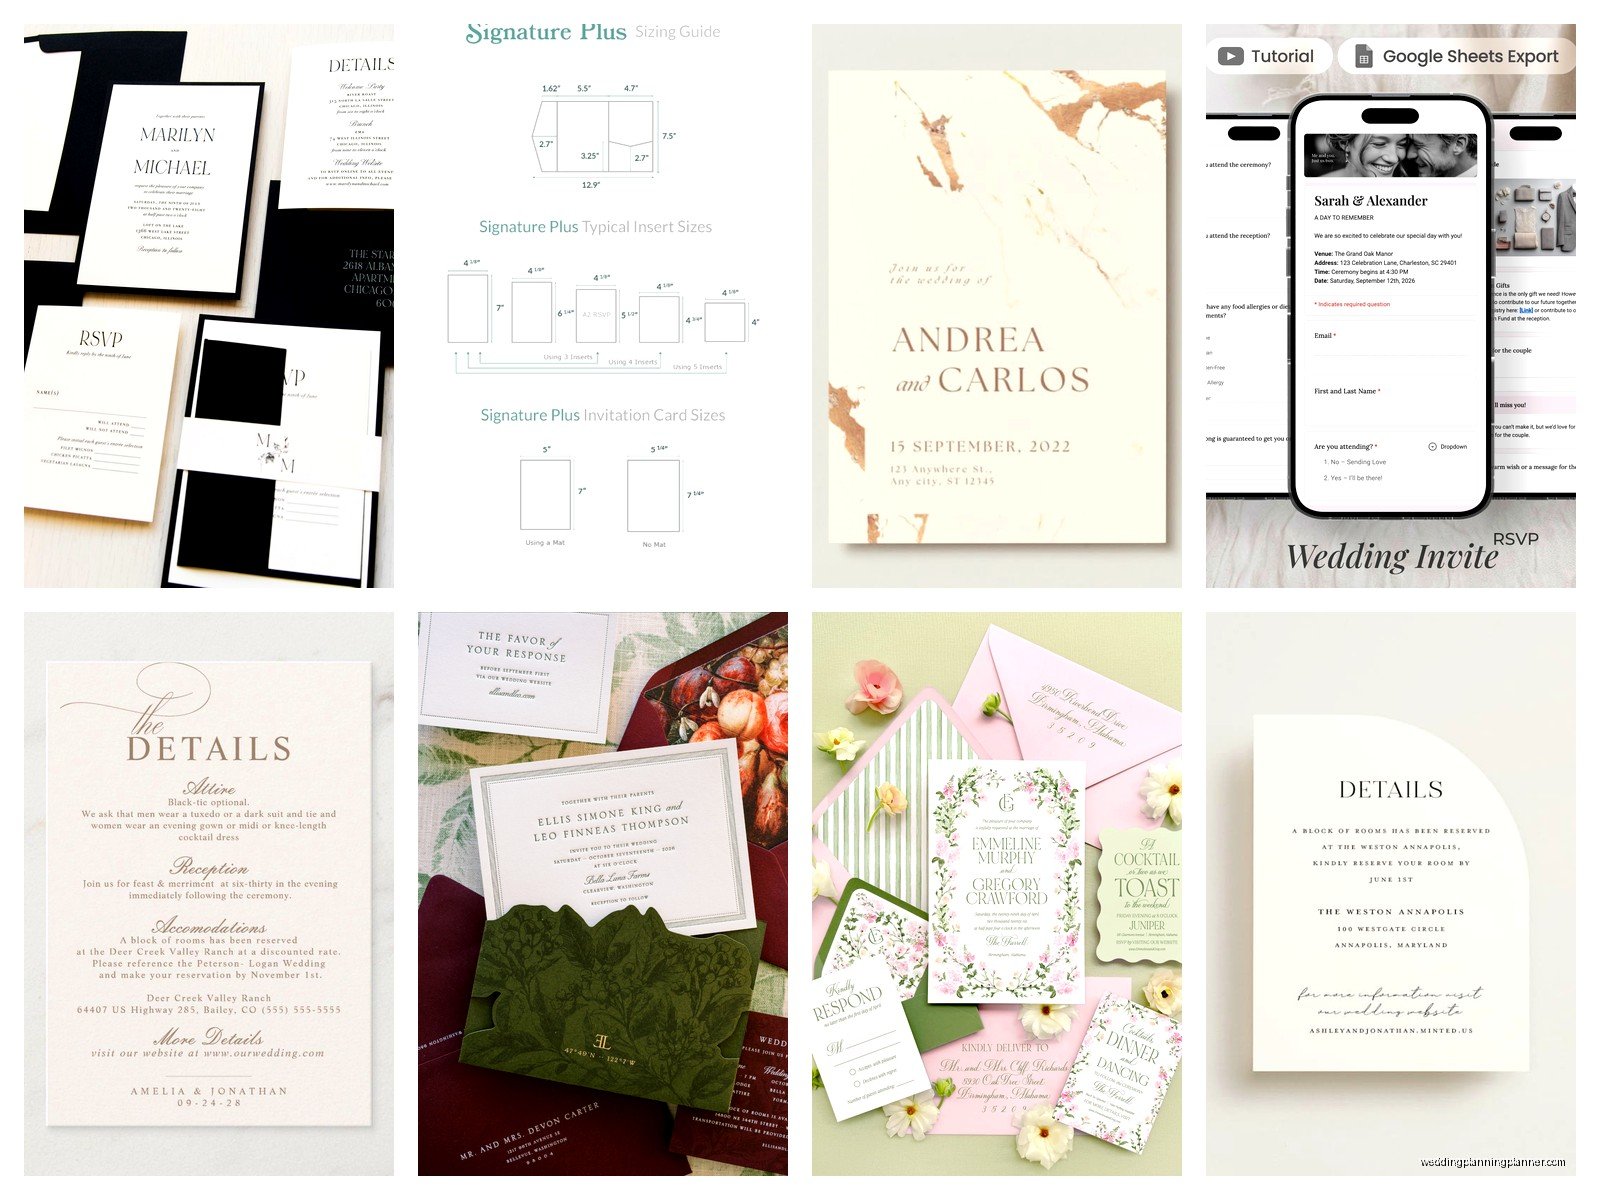
Rustic/Bohemian: Kraft paper, floral illustrations, hand-lettered fonts, maybe some twine or dried flowers attached. Good for barn weddings, outdoor ceremonies, vineyard receptions.
Romantic/Garden: Watercolor florals, script fonts, soft colors like blush or sage. Very Pinterest-y. Works for garden parties, spring weddings, anything at a botanical garden obviously.
The trick is matching your invitation style to your actual wedding vibe. If you’re having a formal ballroom wedding, don’t send rustic kraft paper invites because your guests will show up confused about the dress code. Your invitation sets expectations for the whole event.
What Actually Needs To Be On The Invitation
Okay this is where people either include too much or not enough. Here’s what MUST be on the main invitation card:
- Host line (who’s hosting/paying, or just the couple’s names)
- Request line (“request the pleasure of your company” or “invite you to celebrate”)
- Couple’s names (traditionally bride’s name first, but honestly do whatever feels right)
- Date and time (spell these out for formal invites, numerals are fine for casual)
- Venue name and city/state
- Reception info if it’s at the same location (“reception to follow”)
That’s it for the main card. Everything else goes on insert cards or your wedding website.
The Insert Cards Situation
Most invitation suites come with multiple cards and this confuses everyone. Here’s what’s typical:
Reception card: Only needed if your reception is at a different location than the ceremony. Include the venue name, address, and time.
RSVP card: This is where guests respond. Include a deadline (usually 3-4 weeks before the wedding), a place for their names, and checkboxes for accepts/declines. If you’re doing meal choices, list them here. Pre-address and stamp the return envelope because if you don’t, people won’t send them back. Trust me.
One thing that really annoys me is when couples don’t number their RSVP cards. Like, print a tiny number on the back that corresponds to your guest list spreadsheet, because I PROMISE you someone will send back an RSVP with illegible handwriting and you won’t know who “The Johnsons” are when you have three different Johnson families invited.
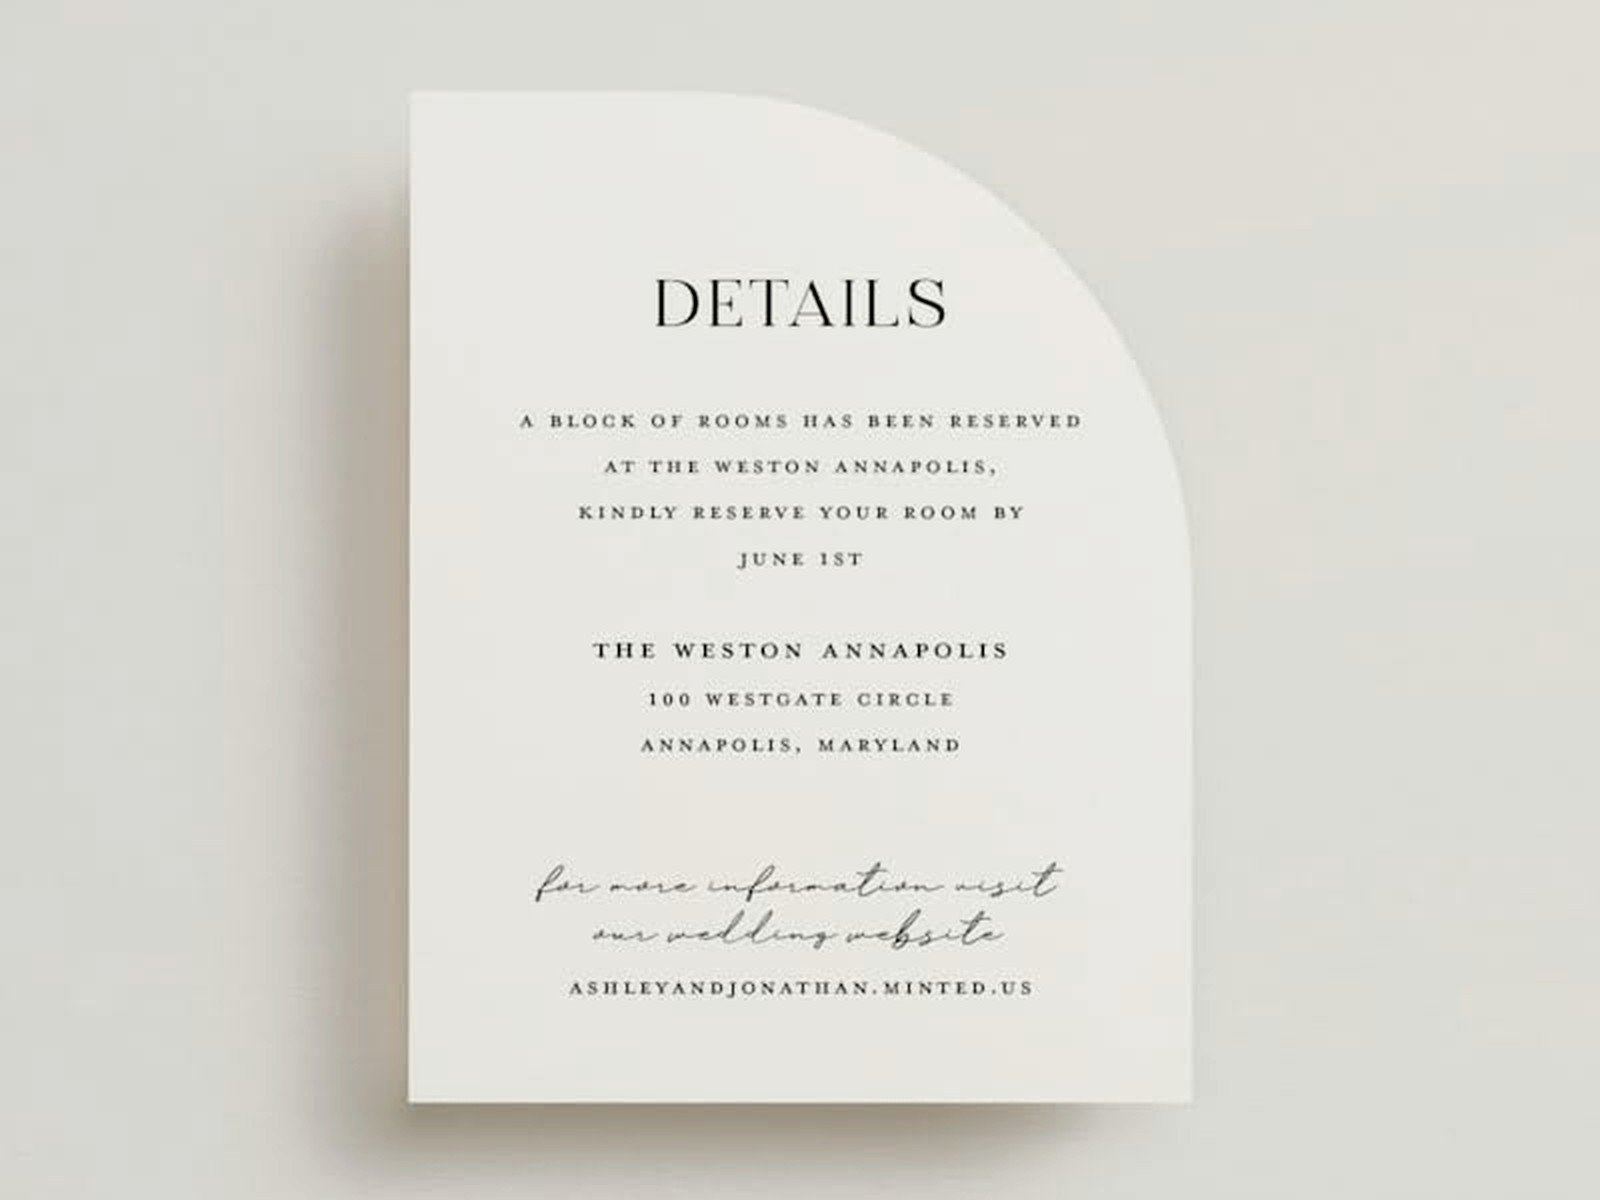
Details card: This is for your wedding website URL, hotel block info, dress code, transportation details, whatever. Don’t overload this—keep it to essential logistics.
Weekend events card: If you’re having a welcome party, day-after brunch, or other events. Only include this for guests who are actually invited to those events (you might need different versions).
Online Printers vs. Local Stationers vs. DIY
So you’ve got options and they’re all kinda different…
Online printers (Minted, Zola, Paperless Post, Shutterfly, etc.): These are gonna be your most affordable option. They have templates you can customize, the quality is decent, and everything’s pretty streamlined. Turnaround is usually 2-3 weeks. The downside is you can’t feel the paper quality beforehand and sometimes the colors print differently than they look on your screen. Order a sample first, always.
Local stationery studios: More expensive but you get personalized service and can see/feel everything in person. They’ll help you with wording, can do custom designs, and usually offer fancier printing methods like letterpress or foil stamping. Expect to pay 2-3x what you’d pay online. Turnaround is usually 4-6 weeks.
DIY printing: Nah. I mean, you CAN, but unless you’re a graphic designer with a good printer and lots of time, it’s not worth the stress. I’ve seen too many couples try to print 100 invitations at home and end up with ink smears, paper jams, and tears. Maybe DIY your save-the-dates as practice but leave the formal invitations to professionals.
Paper Weight and Printing Methods That Actually Matter
Okay I’m gonna get slightly technical here but not too much. Paper weight is measured in pounds (lb) or GSM. For invitations, you want at least 80lb cover weight (around 216 GSM). Thicker feels more luxe. Standard printer paper is like 20lb, so invitation cardstock should feel substantially heavier.
Printing methods from cheapest to fanciest:
Digital printing: Standard inkjet/laser printing. Most affordable, great for designs with lots of colors or photos. Looks fine, gets the job done.
Thermography: Creates raised text that you can feel. More formal-looking than digital, costs a bit more. This is that classic “fancy invitation” texture.
Letterpress: The text is pressed INTO the paper, creating an indent. Very tactile, very expensive, very beautiful. You need thick paper for this (220 GSM minimum). Usually limited to 1-2 colors.
Foil stamping: Metallic foil pressed onto the paper. Gorgeous for names or monograms but pricey. Gold, silver, rose gold, and copper are most common.
My cat just knocked over my coffee while I’m writing this and I had to clean that up, but anyway—you don’t need the fanciest printing method to have nice invitations. Digital printing has come a long way and unless your guests are stationery nerds, they probably won’t notice the difference between digital and thermography.
Addressing Envelopes Without Losing Your Mind
This is the part everyone underestimates. Addressing 75-150 envelopes takes HOURS. You’ve got options:
Hand calligraphy: Beautiful, personal, expensive. Expect to pay $3-8 per envelope. You need to send your envelopes to the calligrapher at least 3-4 weeks before your mail date.
Digital calligraphy/printed addresses: Your calligrapher creates a font from their handwriting, then you print addresses directly on envelopes. Looks hand-done but costs way less. Around $150-300 for a full guest list.
Print at home: Most online invitation companies offer envelope addressing as an add-on. It’s like $50-100 and saves you hours. Not as fancy-looking but totally acceptable, especially for modern/casual weddings.
DIY handwrite them: Free but time-consuming. Get a nice pen, use your best handwriting, and put on a good podcast. This is what I did for my own wedding because I’m a stationery person and I wanted that personal touch, but I also questioned my life choices around envelope number 87.
Inner Envelopes: Do You Need Them?
Traditional formal invitations have an outer envelope (with the mailing address) and an inner envelope (with just the guests’ names, no address). The inner envelope is where you’d specify who exactly is invited—like “Mr. and Mrs. Johnson” vs. “Mr. and Mrs. Johnson, Sarah, and Michael” if the kids are invited too.
Honestly? Most couples skip inner envelopes now to save money and because they’re kinda extra. Just be specific on your outer envelope about who’s invited. If you’re not inviting kids, address it to “Mr. and Mrs. Johnson” not “The Johnson Family.” People should get the hint, though some won’t and you’ll have to follow up anyway because… people.
Postage Is More Complicated Than It Should Be
You can’t just slap a regular stamp on a wedding invitation and call it done. Well, you CAN, but it might not be enough postage and your invites will get returned or your guests will have to pay postage due, which is embarrassing.
Here’s what affects postage costs:
- Weight (all those insert cards add up)
- Size (anything larger than 5×7 or non-standard dimensions costs more)
- Thickness (if it’s too thick, it can’t go through sorting machines)
- Square envelopes (these require hand-canceling and cost extra)
Take a fully assembled invitation to the post office and have them weigh it. They’ll tell you exactly how much postage you need. It’s usually $0.88-$1.50 per invite depending on all those factors. Then you need to decide if you want boring stamps or pretty ones. The USPS has botanical, love-themed, and vintage stamps that look way better on wedding invitations than flags or whatever.
Also—and this is important—ask for hand-canceling at the post office. It costs a bit extra but it means your invitations won’t go through the rough sorting machines that can bend or tear them. Some postal workers will give you grief about this, but stand your ground or find a different post office.
Wording That Doesn’t Sound Weird
Traditional invitation wording is super formal and honestly sounds stiff to modern ears, but there’s a reason for all those conventions… they communicate important info in a specific order. That said, you can totally adapt them to sound more like you.
Traditional formal example:
Mr. and Mrs. Robert Johnson
request the honour of your presence
at the marriage of their daughter
Emily Grace
to
Mr. Michael Anderson
Saturday, the fifteenth of October
two thousand twenty-five
at half after four in the afternoon
St. Mary’s Church
Boston, Massachusetts
Modern casual example:
Emily Johnson & Michael Anderson
invite you to celebrate their wedding
Saturday, October 15, 2025
4:30 in the afternoon
The Rooftop Garden
Boston, MA
Dinner and dancing to follow
See how different those feel? Choose wording that matches your vibe but make sure all the critical info is there. I had a couple once who got so creative with their wording that guests literally didn’t know what time the ceremony started because they wrote “as the sun sets” instead of an actual time and… the sun sets at different times depending on the season and your location, so.
Assembly and Extras You Might Want
Once you have all your printed pieces, you gotta assemble everything. Standard order from bottom to top in the envelope:
- Main invitation (face up)
- Tissue paper (optional, traditionally used to prevent ink smudging but not really necessary with modern printing)
- Reception card (if you have one)
- Details card
- RSVP card tucked under the flap of its return envelope
Some couples add belly bands (paper strips that wrap around everything), ribbons, wax seals, or vellum overlays. These look gorgeous but add time and cost. A wax seal is like $2-3 per invitation when you factor in supplies and the time it takes to melt and seal each one. But they do photograph beautifully and feel very luxe, so if you have the budget and patience, go for it.
Proofreading Because Typos Are Forever
Before you submit your final order, proofread everything like your life depends on it. Then have someone else proofread. Then proofread again. Check:
- Names (spelling, middle initials, titles)
- Date and day of week (make sure they match—October 15, 2025 is actually a Wednesday, not a Saturday, so don’t just make up my example)
- Times (AM vs PM, spelled out vs numerals)
- Addresses (venue name, street, city, zip code)
- Website URLs (test that they actually work)
- RSVP deadline
- Return address on RSVP envelopes
I once had a bride who printed 120 invitations with her fiancé’s name spelled wrong. WRONG. Like she’d been with this man for five years and somehow typed “Johnathan” instead of “Jonathan” and nobody caught it until the box arrived. We had to rush reorder and it cost her an extra $400 plus delayed her timeline. Don’t be that bride.
Digital Invitations Are Also An Option
Look, I’m a paper invitation person obviously, but digital invitations have gotten really sophisticated and they’re not just for casual events anymore. Paperless Post, Greenvelope, and other sites have gorgeous designs that you can customize. They’re way cheaper (like $50-150 for unlimited sends), faster, and you get instant RSVPs tracked automatically.
The downsides are they feel less formal and some older guests might not be tech-savvy enough to navigate them or might miss the email entirely. But for environmentally conscious couples or destination weddings where international postage is insane, digital can be a smart choice. You can also do a hybrid—digital save-the-dates and paper invitations, or vice versa.
Budget Breakdown So You Know What To Expect
Wedding invitation costs vary wildly based on printing method, paper quality, extras, and guest count. Here’s roughly what you’re looking at for 100 invitations:
Budget option: $150-300 (online template, digital printing, printed addressing, basic postage)
Mid-range: $500-800 (custom design or premium template, thermography or letterpress, hand-addressing or calligraphy printing, nice stamps)
Luxury: $1,200-2,000+ (fully custom design, letterpress with foil accents, hand calligraphy, wax seals, fancy paper, hand-canceling)
Most couples spend around $400-600 on invitations, which is about 2-3% of their total wedding budget. If that feels like a lot, remember you’re also paying for RSVP cards, envelopes, postage, and all the little extras that add up.
Order Samples Before Committing To Anything
Seriously, order samples. Every online printer offers them for like $5-15, and it’s worth it to see the actual paper quality, how colors print, and how the design feels in your hand. What looks good on a screen