Planning Guides, Style Guide
Custom Wedding Stationery: Personalized Paper Suite
Jun
Okay So Custom Wedding Stationery Isn’t As Scary As Everyone Thinks
The paper suite is literally one of the first things your guests interact with and I’ve watched so many couples stress about it when honestly it just needs a system. You’re gonna want to start thinking about this stuff like 8-9 months before the wedding, maybe 6 if you’re doing something simpler, but I had this couple in spring 2023 who waited until 10 weeks out and let me tell you that was a nightmare for everyone involved including the printer who basically wanted to murder us.
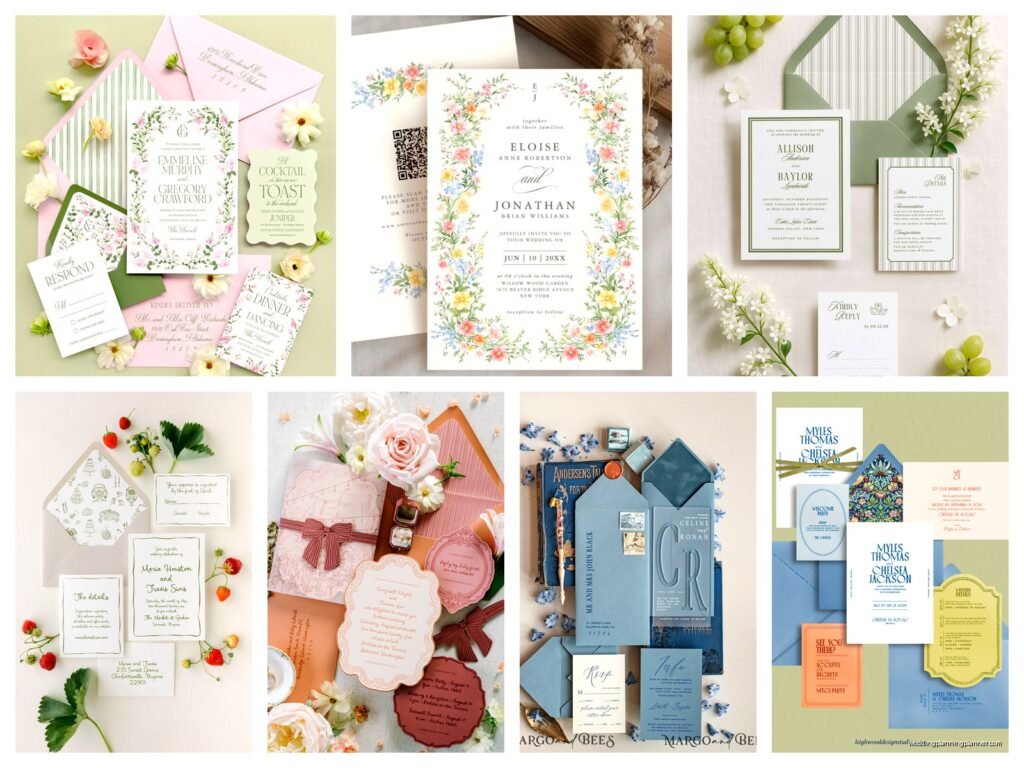
First thing is figuring out what pieces you actually need because the industry will try to sell you seventeen different paper items and most of them are kinda unnecessary. Your core suite is the save-the-date, the invitation itself, RSVP card with envelope, and details card. That’s it. That’s the foundation. Everything else—ceremony programs, menus, place cards, table numbers, welcome signs—those come later and honestly you can DIY some of that stuff if budget is tight.
The Save-The-Date Situation
These go out 6-8 months before the wedding, sometimes earlier if you’re doing a destination thing or holiday weekend. I always tell people the save-the-date doesn’t need to match your full invitation suite exactly, like it can be a little more playful or simple. You just need the date, your names, and the city/state. That’s literally it. Oh and a wedding website if you have one.
You can do magnets, postcards, or regular cards. Magnets are more expensive but people actually keep them on their fridge which means they won’t forget. Postcards are cheaper to mail because no envelope but some people think they look… I dunno, less formal? I personally think postcards are fine for most weddings unless you’re doing like a black-tie estate situation.
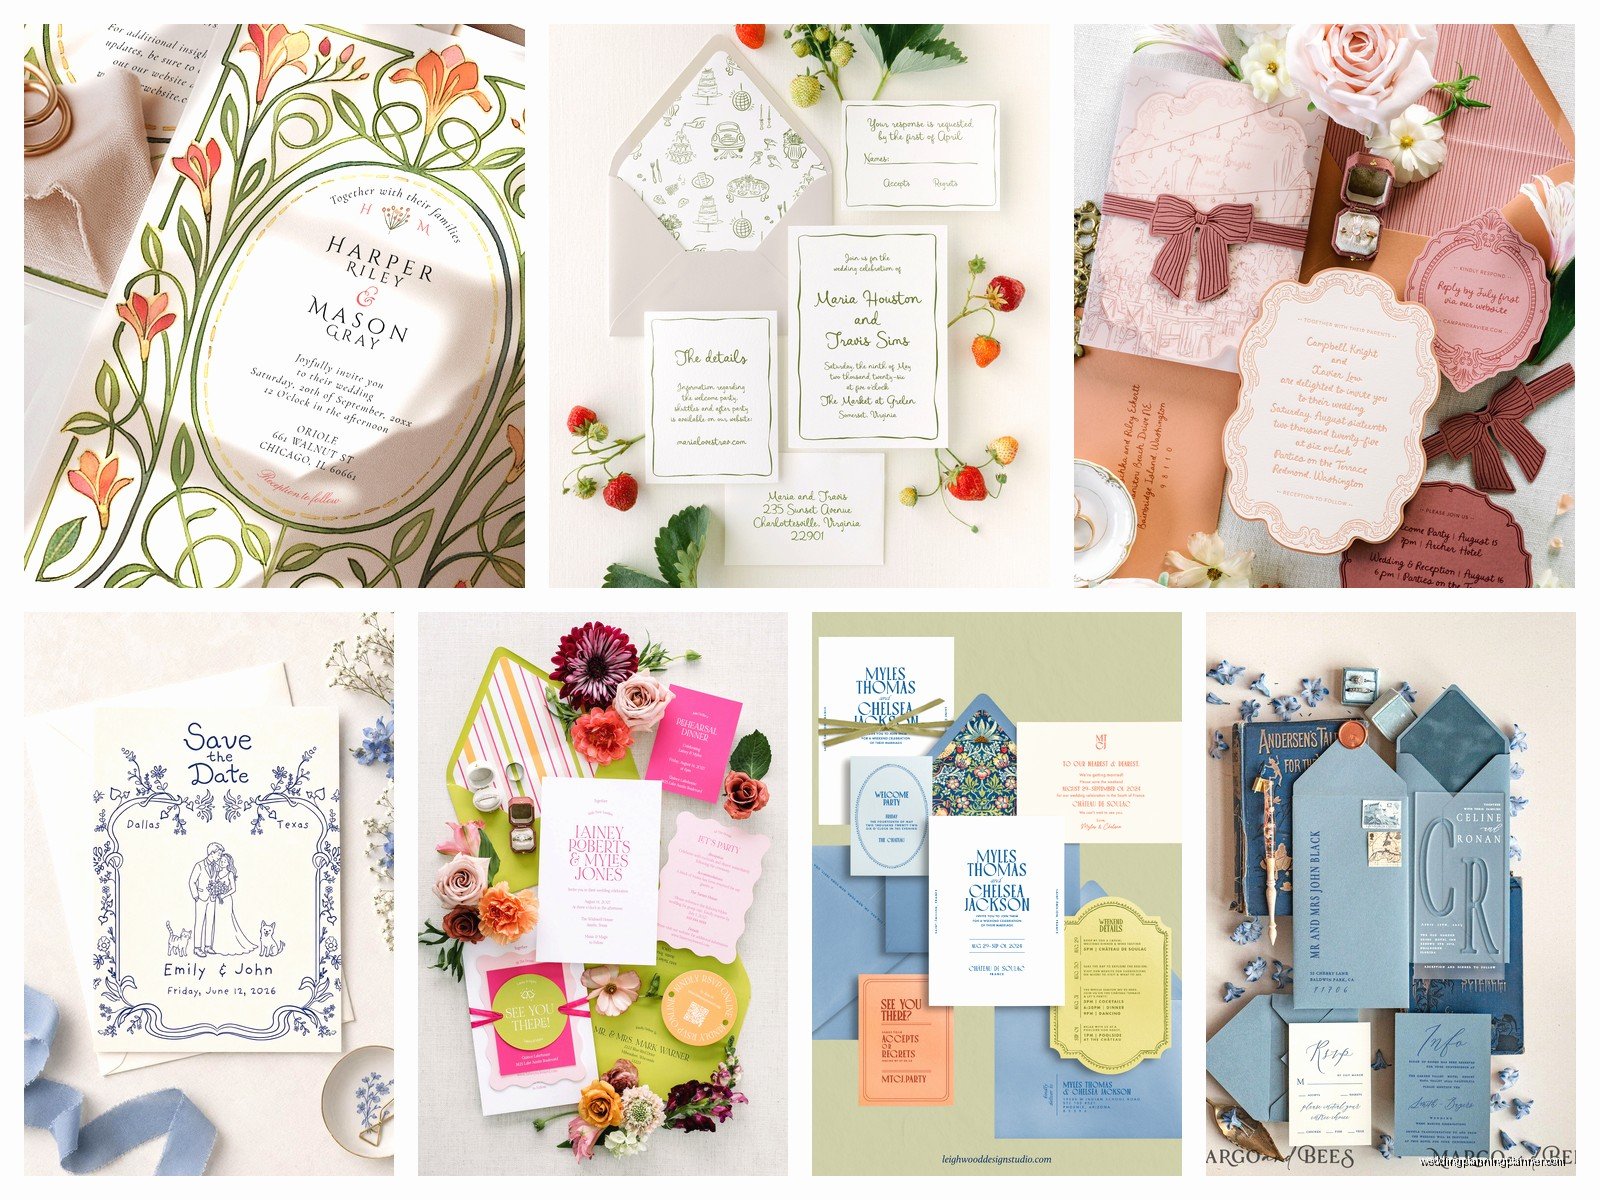
Building Your Actual Invitation Suite
Alright so this is where people get overwhelmed because there are so many decisions. Let me break down what actually matters and what’s just noise.
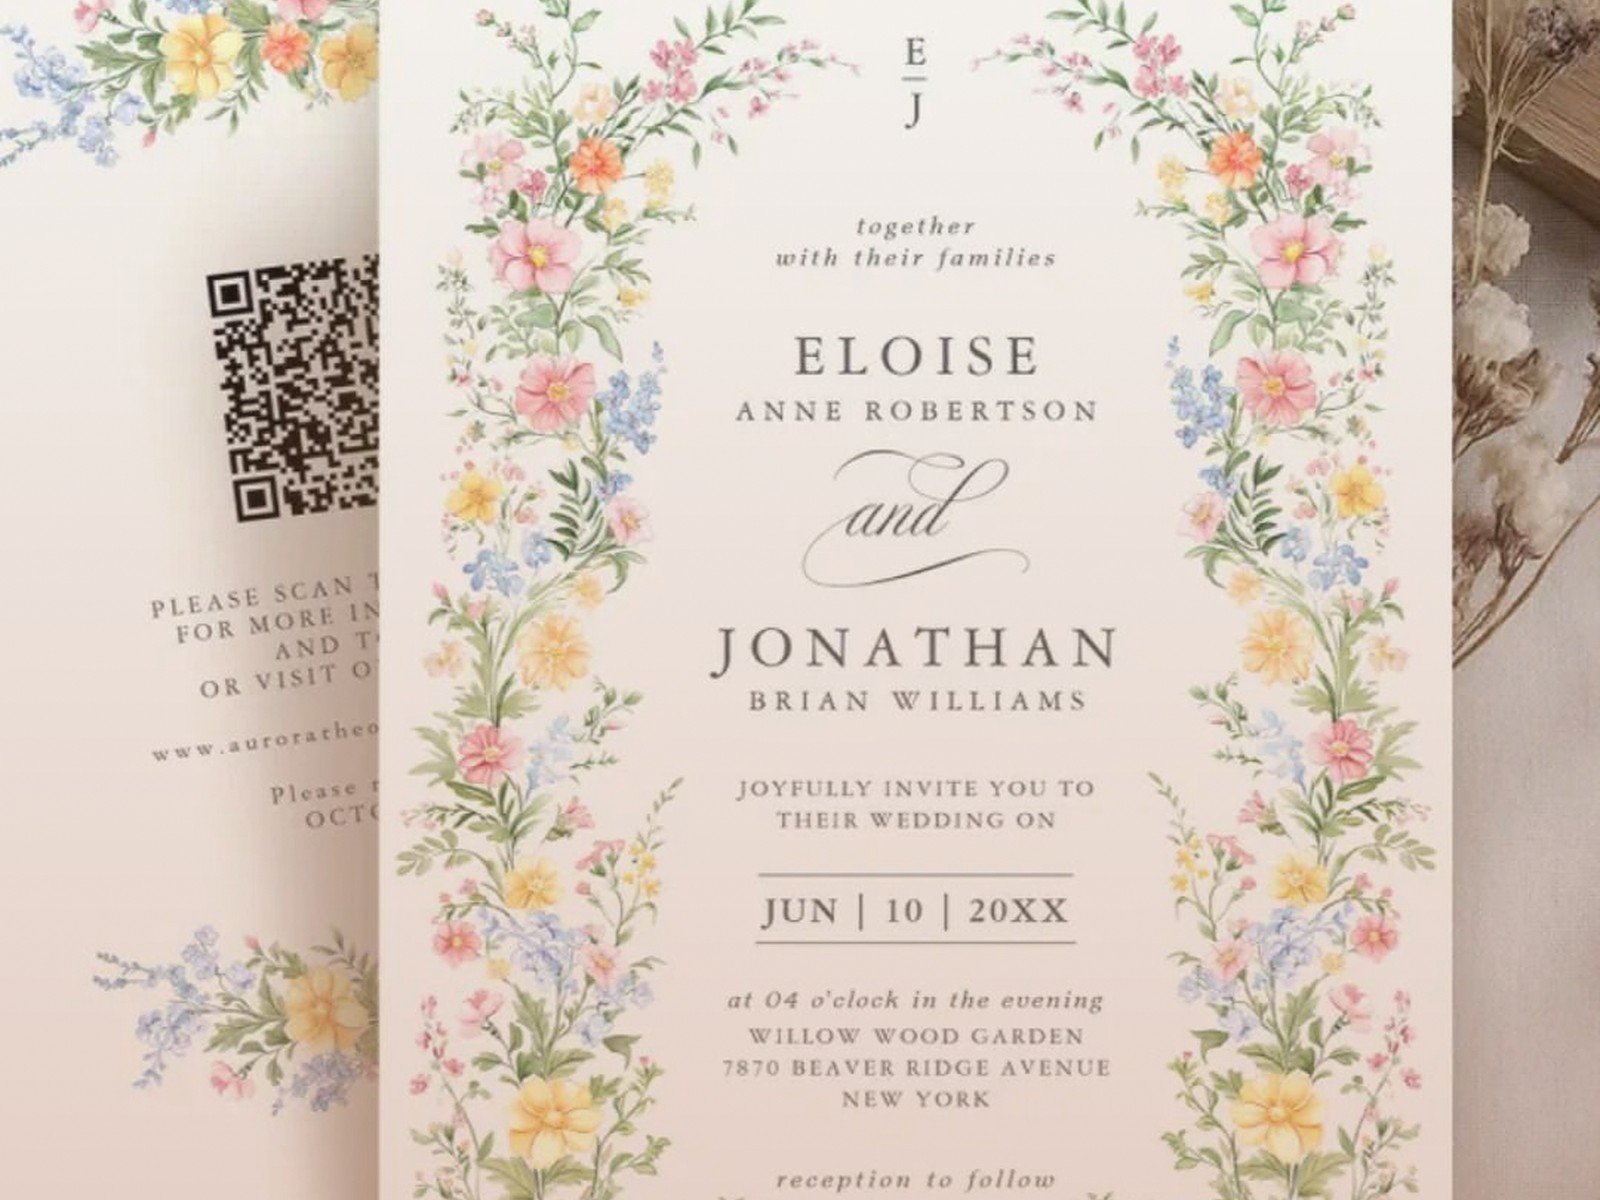
Invitation Card Itself
This is the main card with all your ceremony information. Standard size is 5×7 inches but you can do square, you can do oversized, you can do skinny and tall—whatever. Just know that non-standard sizes cost more to mail and sometimes need hand-canceling at the post office which is annoying. The wording is usually formal-ish even if your wedding isn’t super formal, and there are a million templates online if you get stuck.
Paper weight matters more than people think. You want at least 100lb cover stock, preferably 110-130lb for the main invitation. Anything thinner feels cheap in your hand and I cannot stress enough how much that matters. People notice even if they don’t realize they’re noticing.
RSVP Cards and Envelopes
These need to come with their own pre-addressed and pre-stamped envelope or like 40% of your guests won’t send them back, I’m not even exaggerating. The RSVP card should have a line for names, checkboxes for accepts/declines, meal choices if you’re doing a plated dinner, and a “reply by” date that’s about 3-4 weeks before your wedding.
One thing that annoyed me SO MUCH is when couples don’t number their RSVP cards. You need to put a tiny number on the back that corresponds to your guest list because I promise you someone will send back a card that just says “can’t wait!” with no actual name and you’ll have no idea who it is. Number them. Trust me.
Details Card or Insert Cards
This is where you put everything else—accommodations, transportation, dress code, registry info (though some people do a separate registry card), rehearsal dinner info if you’re inviting people to that. You can also direct people to your website here for the full schedule. I usually see couples do one details card that covers everything or sometimes they’ll split it into multiple cards if there’s a lot going on, like a whole weekend of events.
Design Direction and Finding Your Style
So you gotta figure out what aesthetic you’re going for and this should connect to your overall wedding vibe but doesn’t have to be like identical. Start a Pinterest board or whatever, save examples that feel right. Are you classic and elegant? Modern and minimal? Botanical and romantic? Vintage? Artsy?
Color palette is huge here. I always recommend pulling 2-3 colors max from your wedding colors to use in the stationery. More than that gets chaotic. And think about how colors print—some colors look different on screen versus on actual paper, especially if you’re doing digital printing versus letterpress.
Printing Methods Because This Affects Everything
Digital printing is the most affordable and works great for most designs. The quality has gotten really good in recent years and you can do full color, photos, whatever. Turnaround is usually faster too.
Letterpress is that gorgeous pressed-into-the-paper look that everyone loves. It’s expensive though, like significantly more expensive, and works best with simpler designs. You’re limited to 1-3 colors usually. But god it’s beautiful, that texture is just… anyway, if budget allows and you want that luxury feel, letterpress is stunning.
Foil stamping is metallic or colored foil pressed onto paper and it looks super fancy. Gold, rose gold, silver, copper, even colored foils. This also adds to the cost but can be combined with digital printing to get the best of both worlds—like digital print for most of it and foil for your names or a border or something.
Thermography is raised printing that mimics letterpress but cheaper. It’s fine, it works, some people love it. I think it can look a little dated but that’s just my opinion and plenty of couples choose it.
Working With a Designer or Stationer Versus DIY
If you have any design skills and time, you can absolutely DIY this. Sites like Canva have wedding invitation templates, or you can use Adobe if you know what you’re doing. Then you just send the files to a printer like Catprint or Minted or your local print shop. This route can save you hundreds or even thousands.
But hiring a custom stationer means you get something totally unique that nobody else has. A good stationer will ask you a ton of questions about your wedding, your style, your story, and then create something specifically for you. They’ll handle all the printing, assembly, logistics, everything. It’s way less stressful.
Semi-custom is the middle ground—you work with a stationer who has existing designs that you can customize with your colors, wording, fonts, etc. This is usually more affordable than full custom but still gets you professional quality and some personalization.
I worked with this couple summer 2021 who really wanted custom watercolor elements that matched their venue’s garden and we found this incredible illustrator on Instagram who painted their invitation suite and it was like actual art. Cost them more but they framed one of the invitations after the wedding and it’s hanging in their house, so like, the value was there for them.
Timeline For Ordering
You need to order invitations about 4-5 months before the wedding. They take 4-6 weeks to produce usually, sometimes 8 weeks for letterpress or complex custom work, then you need time to assemble them, address them, and mail them out 6-8 weeks before the wedding date. See how this all works backward? That’s why I said start thinking about this 8-9 months out.
Get your wording finalized, get your guest list addresses collected (use a Google form or your website to gather these, don’t do it manually), and have all your info ready before you place the order. Changes after you order can be expensive or impossible depending on where you are in production.
Personalization Ideas That Actually Work
Okay so “personalized” can mean different things. Sometimes it’s just using your wedding colors and monogram. Sometimes it’s incorporating meaningful details that tell your story. Here’s what I’ve seen work really well:
Custom illustrations of your venue or your pets or how you met. Like if you met at a coffee shop, maybe there’s a little coffee cup illustration somewhere. My cat Bruce knocked over my coffee this morning which reminded me of this couple who had their dog illustrated on their cocktail napkins and it was adorable but also that’s not really about invitations, sorry.
Custom maps are super popular for the details card, showing where the ceremony and reception are, hotels, airports, whatever. These can be simple and modern or detailed and illustrative depending on your style.
Wax seals on the envelope or belly band are having a moment. You can get custom wax seals made with your initials or wedding date. They look expensive and fancy even though they’re not that hard to do yourself if you have time, though your hand will cramp after like 50 of them.
Vellum overlays or jackets add a soft, romantic layer and can have your names or a design printed on them. They’re pretty but they add assembly time and cost.
Envelope liners are an underrated detail that makes a big impact when someone opens the envelope. You can do patterns, colors, florals, whatever matches your design.
The Envelope Addressing Situation
You have options here and they all have pros and cons. You can hand-address them yourself which is free but time-consuming and your hand will hurt. You can print addresses directly on the envelopes which is practical but some people think it looks less formal. You can hire a calligrapher which looks absolutely gorgeous but costs anywhere from $3-8+ per envelope depending on the calligrapher and style.
Digital calligraphy is a middle option where someone creates a calligraphy font from your guest list and prints it, so it looks hand-done but isn’t. Some people think this is cheating, I think it’s smart.
Inner envelopes used to be standard but they’re kinda going away because they’re extra cost and extra paper waste. They were traditionally for listing the actual names of who’s invited (like including kids’ names or plus-ones) but you can handle that on the outer envelope or through your website now.
Assembly and Mailing
Once everything arrives you gotta put it all together. Standard assembly is invitation on bottom, then any insert cards, then RSVP card and envelope on top, all facing the same direction. Then you put it in the envelope with the text facing the back flap so when someone opens it they see your invitation first.
If you’re doing belly bands or ribbon or vellum jackets, those go around the suite before it goes in the envelope. Wax seals go on the back flap of the outer envelope or on the belly band if you’re using one.
Get your invitations weighed at the post office before you buy all your stamps because anything over 1 ounce needs extra postage and anything with a wax seal or non-standard size usually needs hand-canceling which means you gotta ask for that specifically or they’ll jam up in the sorting machine and arrive destroyed.
Also buy a few extra stamps beyond what you need because someone will mess up an envelope and you’ll need to redo it, or you’ll forget someone and need to send a last-minute invitation.
Day-Of Paper Items
Programs, menus, place cards, table numbers, signage—these all should coordinate with your invitation suite but don’t need to be ordered from the same place necessarily. Some couples do programs themselves on nice paper from a craft store. Some skip programs entirely if the ceremony is straightforward.
Menus can be one per person or one per table. Place cards need to be clear and readable from a few feet away—I’ve seen gorgeous calligraphy that nobody could actually read which kinda defeats the purpose.
Welcome signs, bar signs, hashtag signs—you can go crazy here or keep it minimal. Just make sure everything feels cohesive, like it all belongs to the same wedding. You don’t want your invitations to be classic and elegant and then your signage is rustic farmhouse, you know? Unless that’s intentional I guess but it usually looks disjointed.
Budget Real Talk
Custom wedding stationery can range from like $300 if you’re DIYing most of it to $5,000+ for full custom letterpress everything. Most couples spend around $800-1,500 for semi-custom invitations for 100 guests including postage.
Ways to save money: print your own programs and place cards, skip the envelope liners, do digital addressing, choose digital printing over letterpress, reduce your guest count (okay that’s not really about stationery but fewer invitations definitely costs less), use an online service instead of a custom stationer.
Where to splurge if you can: the invitation itself because that’s the main thing people see and touch, calligraphy addressing because it really does look incredible, letterpress or foil if that aesthetic matters to you.
Don’t forget to order extras—usually 10-15 extra invitations for keepsakes, last-minute additions, mistakes, whatever. You can’t reorder just 5 more later, minimums don’t work that way.
Common Mistakes I See All The Time
Not proofreading enough. Have like five different people read everything before it goes to print because once it’s printed it’s printed and fixing it is expensive or impossible or you just have to live with the typo forever.
Forgetting to include critical information like the actual time of the ceremony or the dress code or where people should park. Your website can have details but the invitation should have the basics.
Ordering too late and then rushing everything and making mistakes because you’re stressed.
Not thinking about assembly time. If you have 150 invitations with multiple insert cards and belly bands and wax seals, that’s gonna take you hours and hours. Plan for that or hire someone to help.
Choosing a design you don’t actually like because it’s trendy or because someone else said you should. This is your wedding, your stationery should feel like you.