Planning Guides, Style Guide
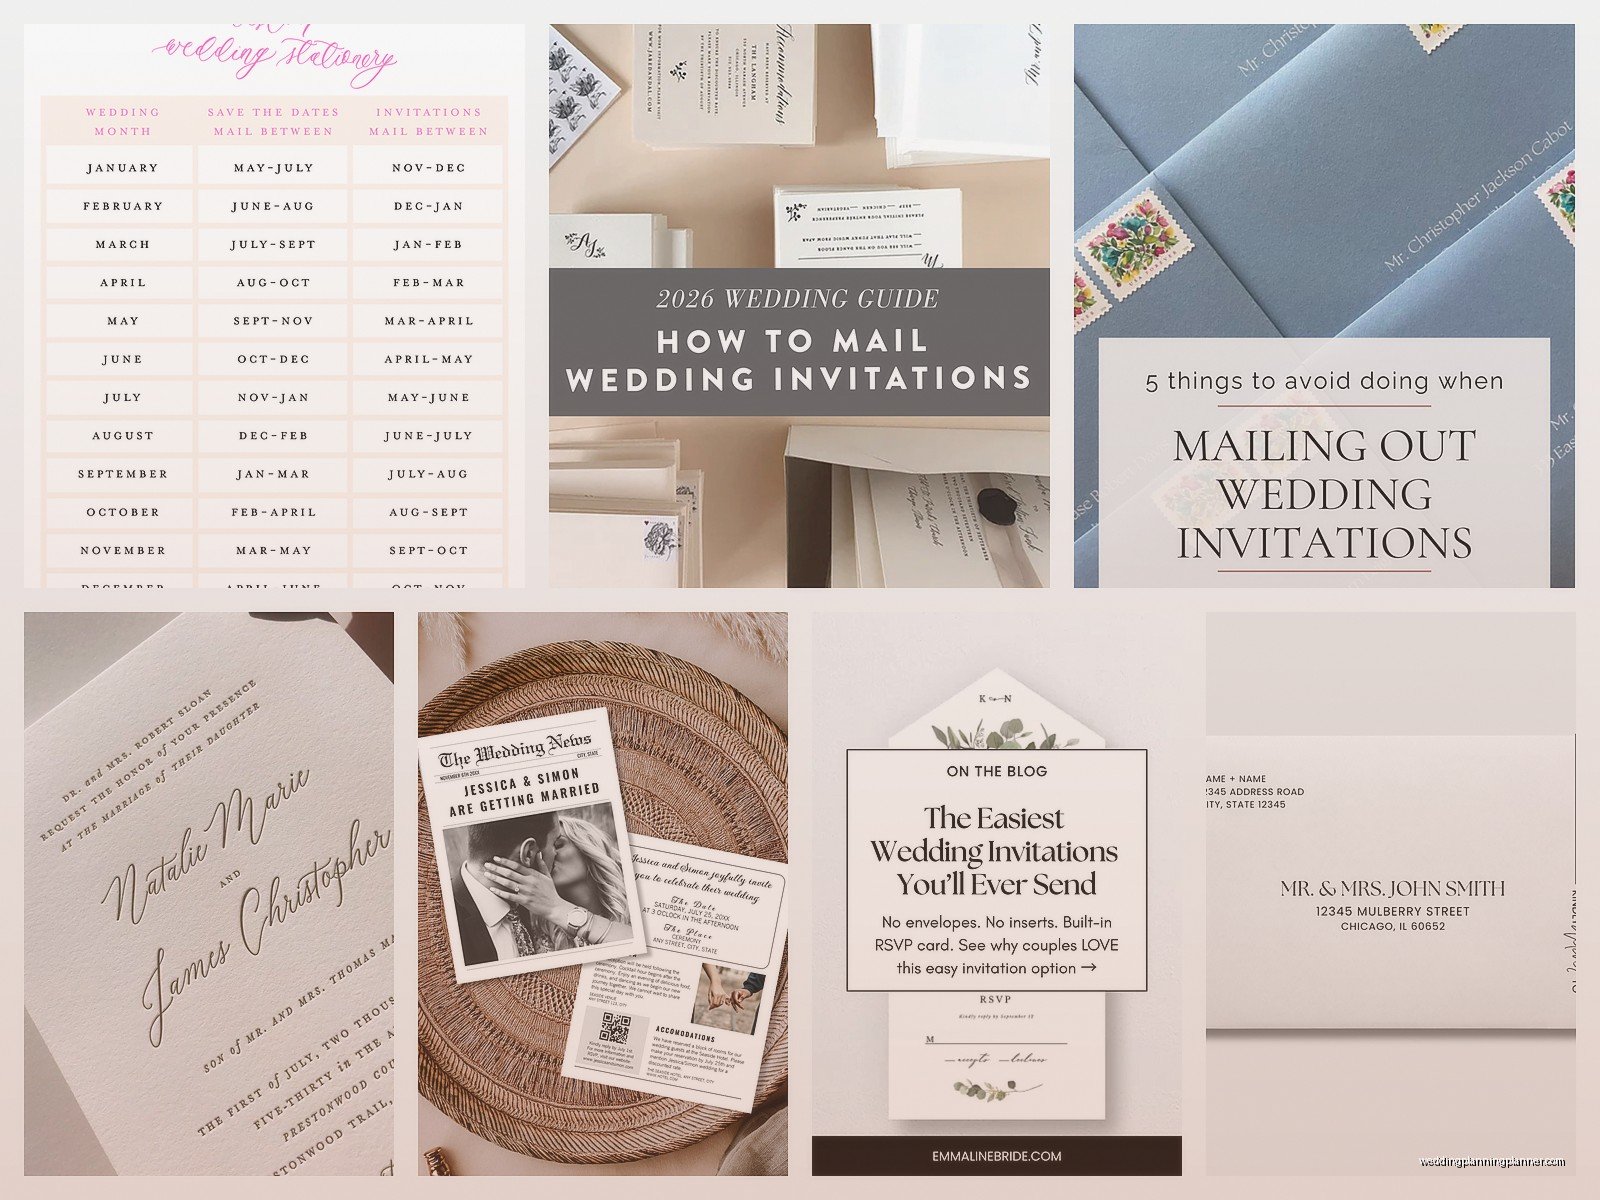
Mailing Wedding Invitations: Design & Ordering Guide
Jun
Timeline Is Actually Everything Here
Okay so first thing—you gotta mail wedding invitations 6-8 weeks before the wedding date. I know everyone says this but I had a bride in spring 2023 who ordered her invitations like 10 weeks out, felt super ahead of schedule, then the printer messed up her order twice and we ended up mailing them 4 weeks before her wedding and she was a MESS. So build in buffer time because literally every print shop will have at least one order that gets delayed or comes back wrong.
But before you even think about mailing, you need to order them like 4-5 months before the wedding. That gives you time to design, proof, print, receive them, address them (which takes forever btw), and then mail. If you’re doing custom designs or letterpress or anything fancy, add another month to that timeline.
Save The Dates Come First Obviously
Save the dates should go out 6-8 months before the wedding, or even earlier if it’s a destination wedding. These are way more casual than the actual invitations so you can have fun with them. Magnets, postcards, those weird video ones people text now—whatever fits your vibe.
The annoying thing about save the dates though is that people treat them like they’re optional and then complain when guests book other stuff on their wedding date. Like… that’s what they’re FOR. Send them early or don’t be surprised when your college roommate schedules a trip to Iceland the same weekend.
What Goes On A Save The Date
- Your names (just first names is fine)
- Wedding date
- City and state (you don’t need the venue yet)
- Note that formal invitation will follow
- Your wedding website URL if you have one
That’s it. Don’t overthink this part.
Designing The Actual Invitations
So you’ve got like three main options here and they’re all gonna give you different vibes and price points.
Option 1: Online Templates
Minted, Paperless Post, Zola, Greenvelope—these sites have templates you can customize. Super easy, usually pretty affordable, and you can’t really mess them up too badly. The designs are trendy and they handle everything. I use Minted a lot for clients who want something nice but don’t wanna spend $800 on invitations.
Price range: $1.50-$4.00 per invitation usually, depending on paper quality and finishes.
Option 2: Custom Designer
You hire a stationery designer (hi, that’s sometimes me) and we create something completely custom for you. This is where you get exactly what you want—specific colors, illustrations, unique layouts, whatever. But it costs more and takes longer because there’s back-and-forth on designs.
Price range: Anywhere from $5-$15+ per invitation depending on how extra you wanna get.
Option 3: DIY
Nah. I mean you CAN, but unless you’re actually a graphic designer or you have a really good eye for layout and typography, these usually end up looking kinda homemade. Which is fine if that’s your aesthetic but if you wanted formal and elegant… maybe don’t. I’ve seen too many Canva invitations with like four different fonts and clip art and it just—anyway.
What Actually Goes In The Invitation Suite
A full invitation suite has multiple pieces and this is where it gets expensive because you’re paying per piece. Here’s what you might include:
The Main Invitation (Required)
This is the big one with all the important info. Traditional wording is super formal (“Mr. and Mrs. John Smith request the honour of your presence…”) but honestly most couples now just write it however they want. Your wedding, your wording.
It needs to include:
- Who’s hosting (traditionally parents, but lots of couples host themselves now)
- Request line (“request the pleasure of your company” or whatever)
- Couple’s names
- Date and time (spell everything out for formal, you can use numbers for casual)
- Venue name and city/state
- Reception info if it’s at the same location
RSVP Card (Highly Recommended)
Give people a physical card to send back with a pre-addressed, pre-stamped envelope. Yes you have to pay for stamps for OTHER people to mail things back to you and yes it’s annoying but it increases your response rate by like 90%. People are lazy and if you make them go to a website or find an envelope or whatever, they just… won’t.
Set the RSVP deadline for 3-4 weeks before the wedding so you have time to hunt down the people who didn’t respond (there will be many).
Reception Card (If Needed)
If your ceremony and reception are at different locations or different times, you need a separate card with those details. Otherwise you can just put “reception to follow” on the main invitation.
Details Card
This is where you put everything else—hotel room blocks, transportation info, dress code, your wedding website, whatever. Some couples put EVERYTHING on this card and it ends up being like a full page of tiny text which… okay but make sure the font is readable because your grandma’s gonna need glasses for that.
Weekend Events Cards
If you’re having a welcome dinner or day-after brunch, you can include separate cards for those. Or just put it all on the details card or direct people to your website. There’s no rule here.
Paper Quality And Printing Methods
Okay this is where I get a little nerdy but it actually matters for how your invitations look and feel.
Paper Weight
Standard cardstock is like 80-100 lb. Nice invitation cardstock is 110-130 lb. Luxury thick stuff is 200+ lb. Heavier = fancier feeling but also more expensive and harder to work with if you’re DIYing.
Printing Methods
Digital printing: Most affordable, great color, works for everything. This is what most online services use. Totally fine for 95% of weddings.
Letterpress: Gorgeous, has that pressed-in texture, very tactile and expensive. Looks amazing for formal weddings. Takes forever to produce though.
Foil stamping: Shiny metallic foil pressed onto paper. Super trendy right now, especially rose gold or copper. Adds $$$.
Thermography: Raised printing that feels fancy but costs less than letterpress. It’s like a middle ground option.
I had this client in summer 2021 who insisted on letterpress invitations but had a tiny budget and I tried to explain that letterpress for 150 invitations was gonna cost like $1200 minimum and she kept saying “but I saw them on Pinterest” and I was like… okay but Pinterest doesn’t show you the invoice. We ended up doing digital printing with a pretty paper texture and she was happy but it took WEEKS to get her to that point.
Ordering The Right Quantity
This trips people up constantly. You don’t need one invitation per guest—you need one per household/couple/family unit.
So if you’re inviting 150 people but 50 of them are couples, you only need 100 invitations (150 minus the 50 partners, then those 50 couples need 50 invitations… wait that math doesn’t—okay you get what I mean). Count your households, not your headcount.
Order 10-15 extra for mistakes, last-minute additions, and keepsakes. I always keep a few for the couple’s wedding album or if their mom wants extras or whatever.
Addressing Envelopes
Umm so this is the part everyone underestimates time-wise. Addressing 100 envelopes by hand takes HOURS. Even if you’re just printing labels or using a Cricut, it still takes time to organize everything.
Your Options
Hand calligraphy: Stunning, personal, expensive. Professional calligraphers charge $3-$8+ per envelope. Worth it if you have the budget and want that wow factor.
Digital calligraphy/printed addresses: Many invitation companies now offer printed guest addressing that looks like calligraphy. Way more affordable, still looks nice.
Print your own labels or directly on envelopes: Totally acceptable for casual weddings. Get a nice font, make sure it’s readable.
Hire a calligrapher for outer envelopes only: If you’re doing double envelopes (outer + inner), you can save money by only having the outer ones done professionally.
My cat knocked over my coffee onto a stack of addressed envelopes once and I almost cried because I’d spent three hours on them. Now I keep beverages far away from any wedding stationery.
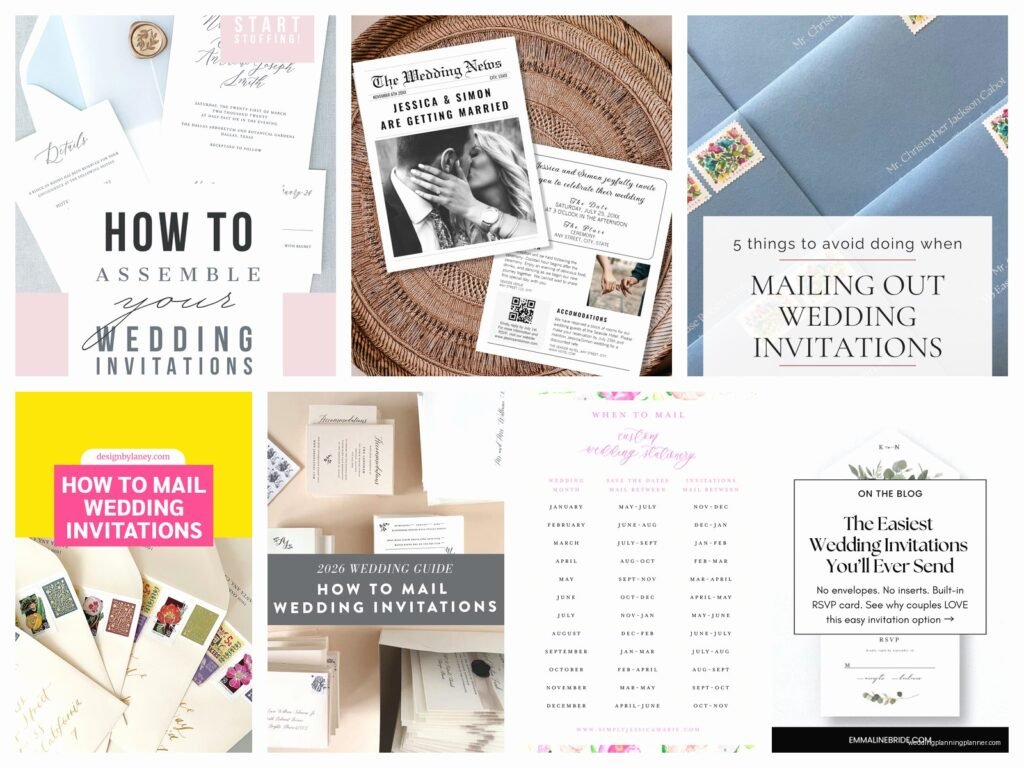
Assembly Tips
Put the invitation suite together in this order, all facing up:
- Main invitation (on bottom)
- Tissue paper if you’re using it (protects from smudging, kinda old-fashioned now)
- Reception card
- Details card and any other inserts
- RSVP card tucked under the flap of its envelope (also pre-stamped)
Then put the whole stack into the envelope with the text facing the back flap so when someone opens it, they see the invitation first.
If you have a belly band or ribbon or vellum wrap, do that before putting it in the envelope or it gets messy.
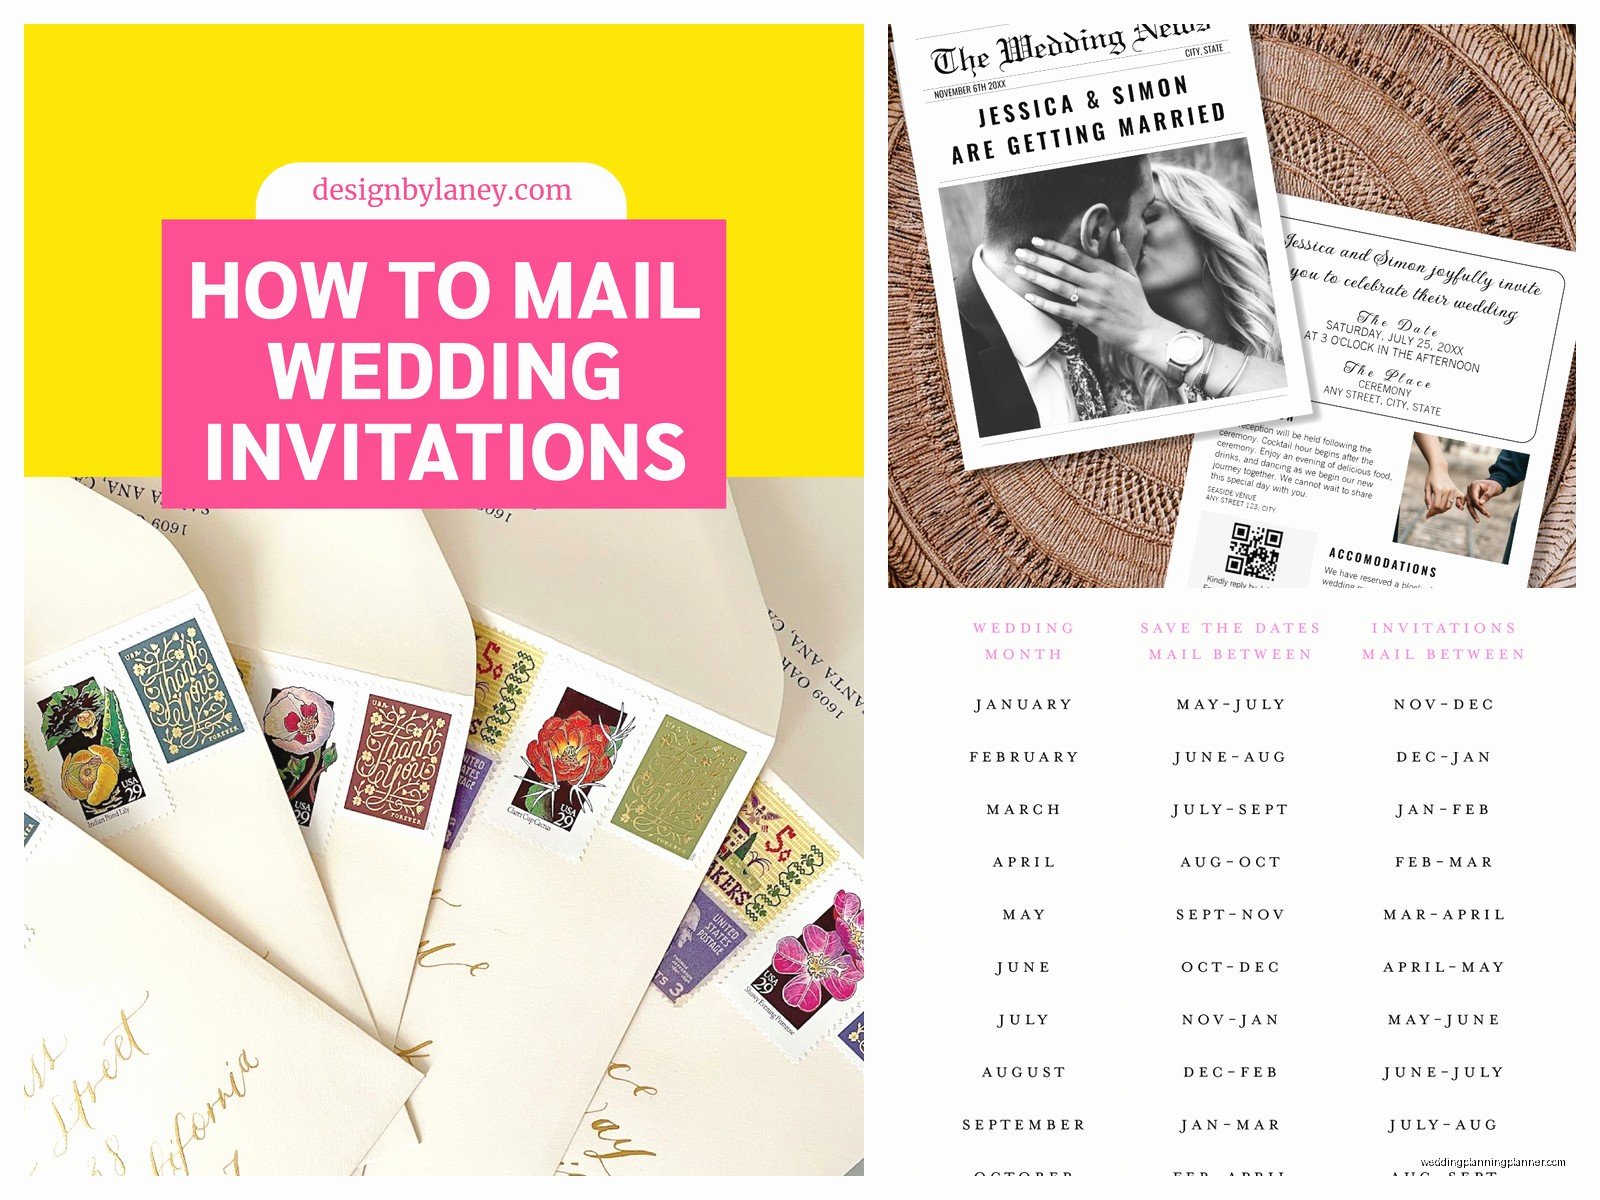
Postage Is Gonna Cost More Than You Think
A standard invitation with one insert is usually fine with a regular Forever stamp. But if you’ve got multiple inserts, a thick envelope, a square envelope (these cost extra!), or anything oversized, you need extra postage.
Take one fully assembled invitation to the post office and have them weigh it and tell you exactly what postage you need. Don’t guess. I’ve seen people mail 100 invitations with insufficient postage and half got returned and it was a nightmare.
Also get pretty stamps if you can—the Postal Service has some nice designs now. It’s a small detail but it makes the envelope look more intentional.
Square Envelopes Are The Worst
They cost an extra $0.20-$0.40 per piece to mail AND they can’t go through automated sorting so they’re more likely to get damaged. They look cool but functionally they’re annoying and this is my personal vendetta against square envelopes. Just get rectangles.
Proofread Everything Seven Million Times
Check the date, time, venue address, website URL, names, literally everything. Then have someone else check it. Then check it again. Typos on printed invitations are expensive to fix because you have to reorder everything.
I once almost sent invitations to print with the ceremony time listed as 4:00 PM when it was actually 5:00 PM and caught it during the final proof review and my heart nearly stopped. The bride would’ve killed me.
Mailing Timeline Breakdown
Here’s how the timing actually works in real life:
- 6-8 weeks before wedding: Mail invitations
- 2-3 weeks before that: Start addressing envelopes
- 1-2 weeks before mailing: Assemble all invitation suites
- 2-3 weeks before assembly: Receive invitations from printer
- 3-4 weeks before receiving: Order invitations (after finalizing design and proofs)
- 1-2 months before ordering: Design phase
So really you’re looking at starting the invitation process like 4-5 months before the wedding minimum.
Inner Envelopes And Other Old-School Stuff
Inner envelopes are a traditional thing where you have an outer envelope (with full formal address) and an inner envelope (with just names, no address). The inner one shows exactly who’s invited—like if you write “Mr. and Mrs. Smith” that means no kids, but if you write “The Smith Family” that means kids are included.
Most people skip inner envelopes now because they’re expensive and kind of unnecessary, but they do look fancy and they protect the invitation during mailing. Your call.
Digital Invitations Are A Thing Now
Paperless Post and Greenvelope do fully digital invitations that you email or text. They track RSVPs automatically, cost way less, and are obviously better for the environment. Some people think they’re too casual for a wedding but honestly for informal weddings or elopement announcements or whatever, they’re totally fine.
You can also do a hybrid—send digital save the dates but paper invitations, or vice versa. There are no rules anymore which is both freeing and overwhelming depending on how you look at it.
Don’t Forget The Return Address
Put your return address on the back flap of the envelope (or the upper left corner if you prefer). You can get a custom stamp, print it, use labels, or hand-write it. Just make sure it’s there so if something can’t be delivered, it comes back to you instead of disappearing into the postal void.
Also put your return address on the RSVP envelopes (as the main address obviously, since they’re mailing TO you). And stamp them. I know I said this already but people forget constantly.