Planning Guides, Style Guide
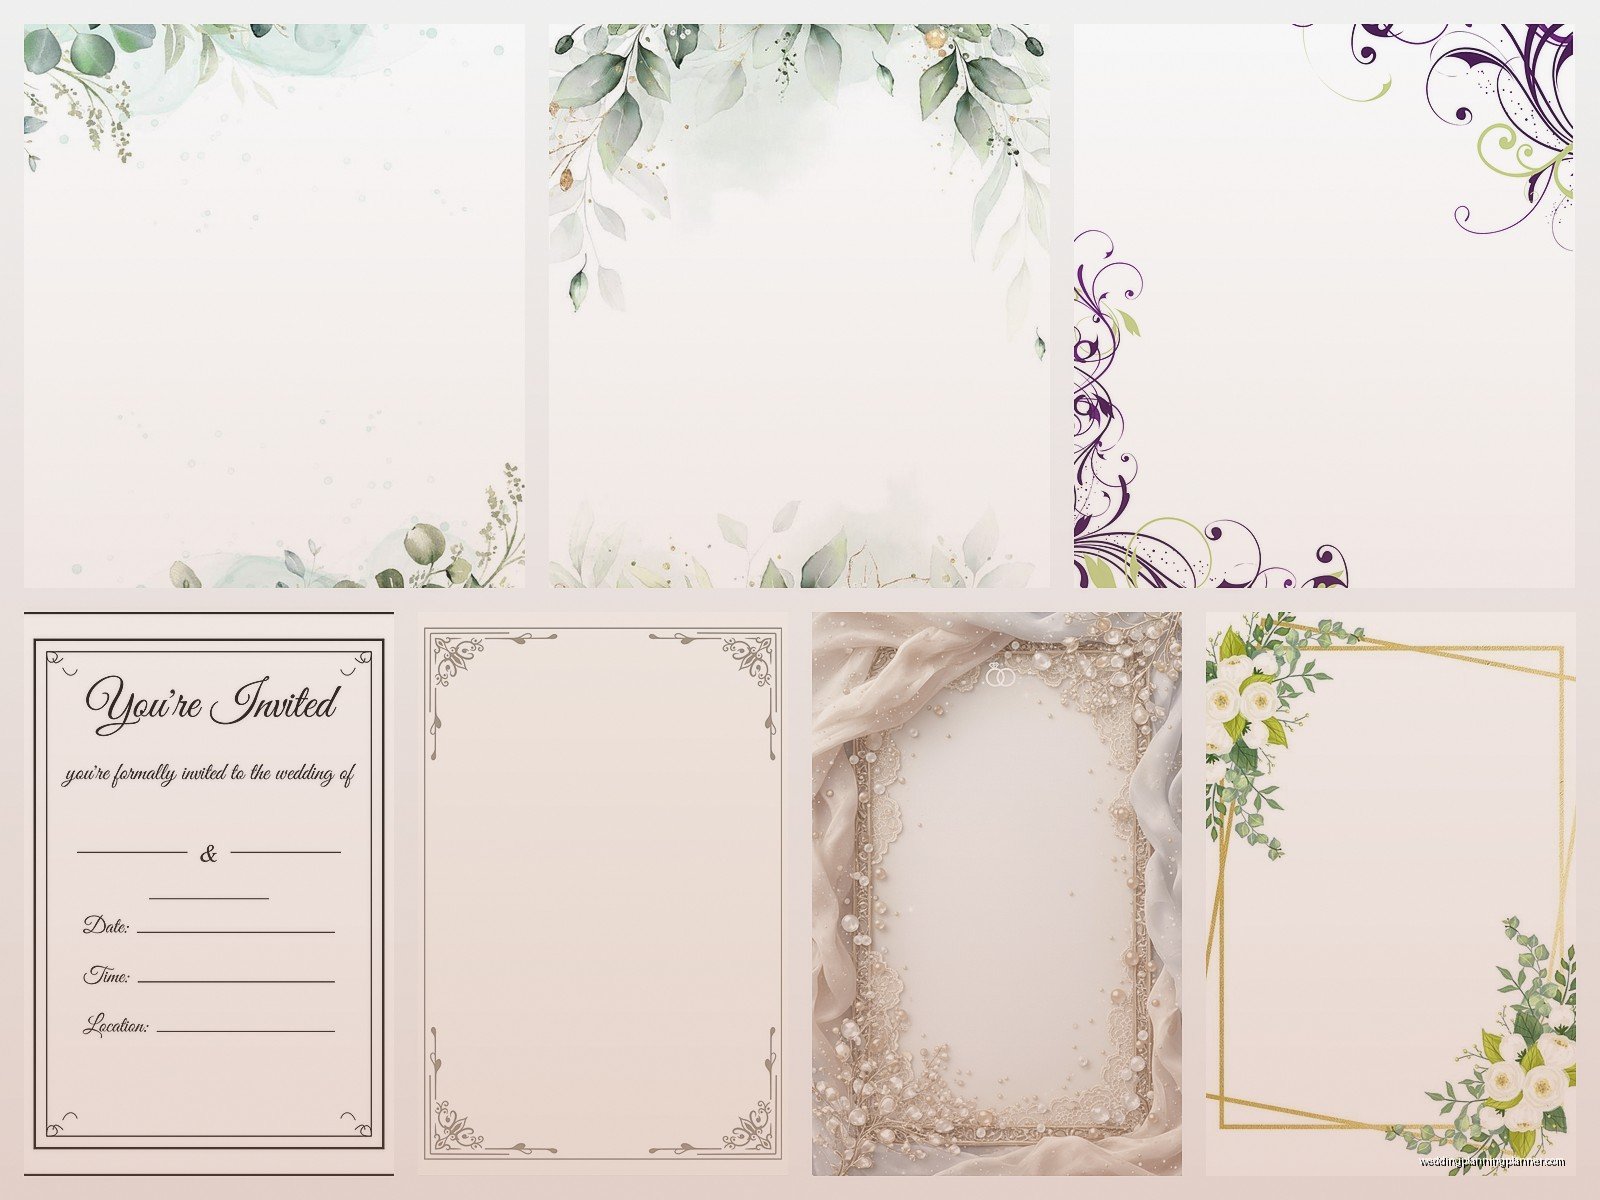
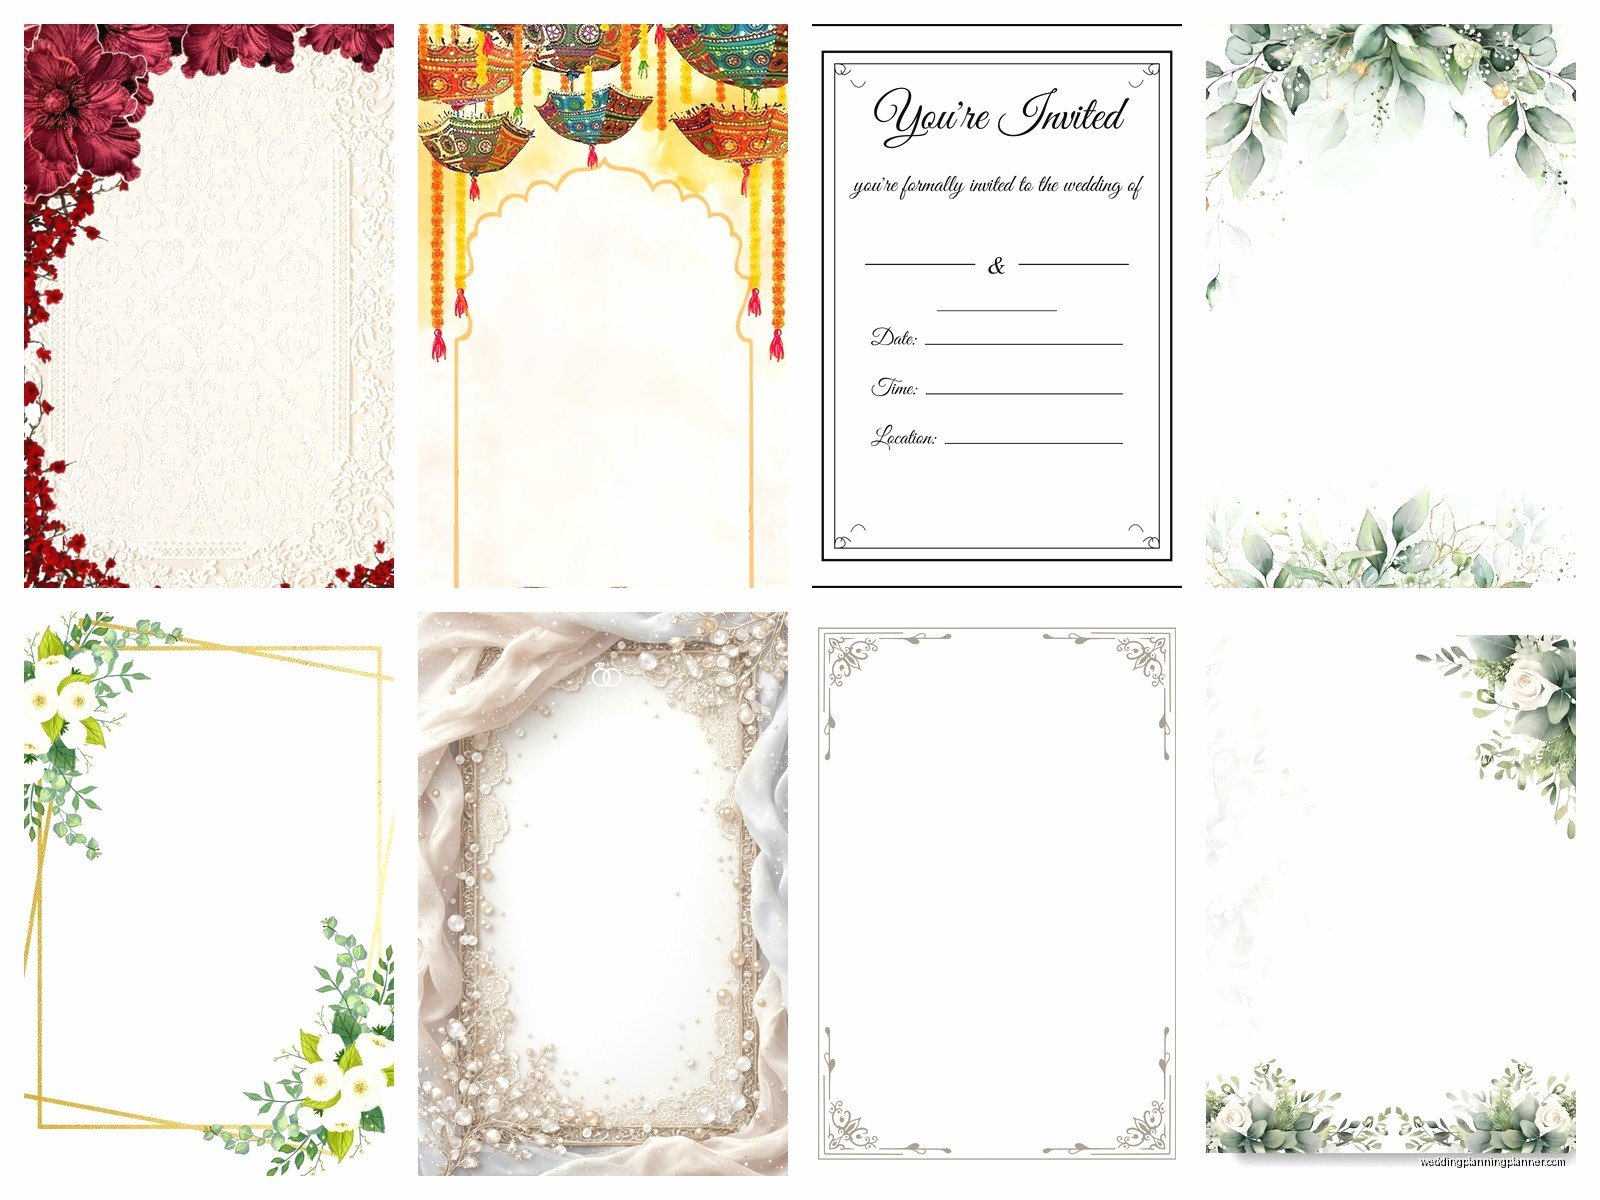
Blank Wedding Invitations: DIY Printing Card Stock
May
Getting Started with Blank Card Stock
So blank wedding invitations are honestly one of my favorite things to recommend to couples who want that custom look without dropping three grand at a letterpress studio. I had this bride in spring 2023 who was SO stressed about her budget and when I showed her what she could do with quality card stock and a decent printer she literally teared up in my office which… okay that sounds dramatic but wedding planning does that to people.
First thing you gotta know is that not all card stock is created equal. You’re gonna see weights listed in pounds (lb) or sometimes GSM if you’re ordering from European suppliers. For wedding invitations, you want 80lb cover stock minimum, but honestly I push people toward 100lb or 110lb because it feels substantial. Nobody wants a flimsy invitation that feels like you printed it on regular printer paper at Staples.
The texture matters too. Linen finish is super popular and hides printer imperfections really well which is clutch when you’re DIYing. Smooth finish looks more formal and modern but every little printing flaw shows up so… yeah. I usually steer people toward linen unless they’re absolutely committed to that sleek contemporary look.
Paper Types That Actually Work
Cotton card stock is the fancy option and it’s what professional stationers use. Crane, Neenah, and Mohawk make excellent cotton stocks. The thing that annoyed me SO much last year was when a client bought this gorgeous 100% cotton card stock from an art supply store without checking if it was inkjet compatible and then her printer just… rejected it completely. Like the ink just beaded up on the surface. We had to reorder everything.
So here’s what you need to check:
- Inkjet compatible if you’re using an inkjet printer (seems obvious but people miss this)
- Laser compatible for laser printers (laser printers use heat so some papers can’t handle it)
- The actual dimensions – A7 (5×7) is standard for invitations but you can do 5×5 square or other sizes
- Whether it comes pre-scored if you’re doing folded invitations
My cat knocked over my coffee onto a sample pack of Neenah last week and honestly the cotton fiber ones held up better than the regular ones which tells you something about quality I guess.
Printer Situations and What Actually Works
This is where people get tripped up. Your home printer might say it handles card stock but there’s a difference between handling 65lb and handling 110lb. I learned this the hard way during summer 2021 when I was helping my sister with her invitations and we jammed my printer so badly that I had to take it apart with a screwdriver.
Inkjet printers are usually more forgiving with thick card stock. The Epson EcoTank series and Canon PIXMA Pro models are solid choices. HP also makes some good ones but check the specs for maximum paper weight. You want a printer with a straight-through paper path or a rear feed tray because that C-shaped path that paper normally takes through a printer? That’s gonna jam with thick card stock.
Laser printers give you more crisp text and they’re faster but they’re pickier about paper weight and texture. Plus they use heat which means some specialty papers are off limits.
Test Prints Are Not Optional
I cannot stress this enough and I tell every single couple this. Buy extra card stock specifically for test prints. Like if you need 150 invitations, order supplies for 175 or 180. You’re gonna mess up. I’ve been doing this for years and I still mess up.
Things to test:
- Feed direction – which way does the card stock need to go into the printer
- Margin settings – most printers can’t print edge to edge
- Color accuracy – what looks perfect on screen might print too dark or too warm
- Ink drying time – some card stocks take forever to dry and you’ll smudge everything
Do a test print, let it sit for 24 hours, then handle it like you would handle the actual invitation. Does it smudge? Does the ink rub off on your fingers? This is especially important with inkjet printers because that ink sits on top of the paper more than laser toner does.
Design Software and Setup
You don’t need fancy software honestly. I mean professional designers use Adobe InDesign but for DIY invitations you can absolutely use Canva, Microsoft Word, or even Google Docs if you’re careful with your formatting. Canva is probably the easiest because they have templates already sized correctly and you can just customize them.
Here’s what I recommend for setup:
Create your design with at least 0.25 inch margins on all sides. I usually do 0.5 inches to be safe because printers are weird about edges. Set your document to the exact size of your card stock – if you’re using 5×7 cards, your document should be 5×7 inches.
Use high resolution images if you’re including photos or graphics. At least 300 DPI. That low-res image you saved from Instagram is gonna look pixelated and terrible when printed.
Font choices matter more than you’d think. Super thin delicate fonts look gorgeous on screen but can print too light or break up on textured card stock. I learned this when… actually I’m still learning this because couples keep choosing fonts that are basically unreadable when printed small. Script fonts should be at least 12pt for body text, preferably bigger.
Color Matching Is Gonna Be Annoying
Your screen shows colors in RGB (red, green, blue light) but printers use CMYK (cyan, magenta, yellow, black ink). They’re different color spaces so what you see on screen won’t match exactly what prints. This drives everyone crazy and there’s not a perfect solution for home printing.
The best you can do is calibrate your monitor if you’re really committed, or just accept that you’ll need to do multiple test prints to get colors close. Navy blue is especially tricky – it often prints more purple than you expect. And don’t even get me started on trying to match specific wedding colors exactly.
The Actual Printing Process
Alright so you’ve got your card stock, your printer is ready, you’ve done test prints, now you’re actually printing the real things. Set aside more time than you think you need. If you think it’ll take an hour, plan for three hours because something will go wrong.
Print in small batches. Don’t load 50 sheets into your printer and walk away. Do like 5-10 at a time, check them, then continue. This way if something shifts or the printer starts acting weird, you haven’t ruined 50 invitations.
Handle the card stock by the edges only. The oils from your fingers can affect how ink adheres to the paper. Some people wear those white cotton gloves but that feels excessive to me unless you’re doing like 300 invitations.
Let each print dry completely before stacking them. I use a drying rack or I literally spread them out on every flat surface in my office. My desk, the floor, the windowsill… it looks chaotic but it works. Stacking wet prints is how you get smudges and offset ink where one invitation’s ink transfers to the back of another.
Troubleshooting Common Problems
Paper jams are gonna happen. When they do, don’t yank the paper out. Open all the printer doors and carefully remove the jammed sheet following the direction it was feeding. Check for torn pieces left inside because those will cause more jams.
If your prints are coming out too light, check your printer settings. You might need to select “card stock” or “heavy paper” in the print dialog which tells the printer to use more ink. Also make sure you’re not in draft or economy mode.
Uneven printing or lines across your invitations usually means your print head needs cleaning. Most printers have an automatic cleaning function in their settings. Run it a couple times.
If the paper keeps feeding crooked, check that your card stock stack is aligned properly in the tray and that the paper guides are snug against the edges but not too tight.
Envelope Printing
Oh right, envelopes. You can hand-write addresses which is traditional and personal, or you can print them which is faster and looks clean. Printing envelopes is honestly trickier than printing the invitations themselves because envelopes are… they’re not flat, there are flaps, printers hate them.
Most printers have an envelope setting and specific instructions for how to load envelopes. Actually read those instructions because every printer is different. Some want envelopes face up, some face down, some flap side first, some flap side last.
A7 envelopes (which fit 5×7 invitations) are pretty standard and most printers handle them okay. Square envelopes are cute but they’re harder to print and they cost more to mail because the post office considers them irregular.
You can also buy pre-printed envelopes or use labels if envelope printing is making you crazy. The clear labels look nice if you use a good font and design. Just… not the standard Avery address labels with the blue grid. Please.
Finishing Touches and Assembly
Once everything is printed and dry you’ve still gotta assemble them. If you’re doing layered invitations with backing cards or vellum overlays, get yourself a good paper cutter or use a ruler and bone folder for crisp edges. Craft stores sell corner rounders too if you want that softer look.
Adhesives matter. Glue sticks are fine for most applications. Double-sided tape is cleaner. Those glue dots are great for attaching embellishments. Whatever you use, test it first because some adhesives can warp card stock or show through.
Ribbon, wax seals, envelope liners – these are all things you can add to elevate your DIY invitations. Just remember that anything bulky affects postage. Take a fully assembled invitation to the post office and have them weigh it before you buy stamps. Wedding invitations usually need extra postage and square ones definitely do.
Realistic Timeline
People always underestimate how long this takes. For 100 invitations, plan on:
- Design and testing: 3-5 hours
- Actual printing: 2-4 hours depending on your printer speed and how many jams you get
- Drying time: 24 hours minimum
- Assembly: 3-6 hours if you’re adding layers or embellishments
- Addressing envelopes: 2-4 hours whether printing or hand-writing
So you’re looking at a weekend project minimum, maybe two weekends if you’re working alone. Recruit help for assembly – make it a party with your bridal party or family. Put on a show (I binged Succession while assembling my sister’s invitations), order pizza, make it fun.
Where to Buy Supplies
For card stock, I usually send people to Cards & Pockets, Paper Source, or LCI Paper. They sell to consumers and have good selection. You can also find blank invitation kits on Amazon or Etsy that come with cards and envelopes already matched which takes out some of the guesswork.
Don’t buy everything from the craft store though because you’ll pay like three times what you should. Their stuff is fine for small projects but when you need 150 of something, order online in bulk.
Some online retailers will send you sample packs for a few dollars so you can feel the paper quality before committing to a full order. Do this. Photos online don’t tell you how paper actually feels in your hand and that tactile quality matters for wedding invitations.
You can also check wholesale sites like Nashville Wraps or Paper Mart if you’re doing a really large quantity because the per-unit cost drops significantly when you buy 250+ of something but then you’ve got 100 extra invitations sitting around forever so… depends on your situation.
When DIY Doesn’t Make Sense
Look, I’m all for DIY but sometimes it’s not the right call. If you’re doing more than 200 invitations, the time investment gets kinda ridiculous. If you want foil stamping or letterpress, you can’t DIY that at home with regular equipment. If your design is super color-intensive with lots of photos or graphics, professional printing will look better.
Also if you don’t have a good printer or don’t want to buy one, factor in that cost. A decent printer that handles heavy card stock costs $150-400. If you’re only saving $200 by DIYing versus ordering from a professional, maybe just order from a professional and save yourself the stress.
But for couples on a budget who have time and don’t mind a learning curve, blank card stock and DIY printing can produce really beautiful results. You’ve got complete control over the design, you can make changes up until you print, and there’s something satisfying about creating part of your wedding yourself. Just go into it with realistic expectations and extra supplies because you’re definitely gonna mess some up and that’s totally normal.