Planning Guides, Style Guide
Denim And Diamonds Invitation: Design & Ordering Guide
Jun
Getting Your Denim and Diamonds Invites Right
Okay so denim and diamonds is literally one of my favorite party themes to design invitations for because it’s so forgiving and also kinda fancy but not uptight? Like you can go full cowgirl glam or keep it sophisticated and both work perfectly fine. I had this client back in spring 2023 who wanted denim and diamonds for her 50th birthday and she kept sending me inspiration photos that were all over the place—some were giving country western vibes, others were full-on black tie with just a denim accent, and I was like… we gotta narrow this down.
The main thing you need to figure out before you even think about ordering is what VERSION of denim and diamonds you’re doing. Are we talking actual denim texture on the invite? Denim blue color palette? Just the concept with rhinestones and bling? Because I’ve seen all of it and they all require different design approaches.
Deciding Your Design Direction
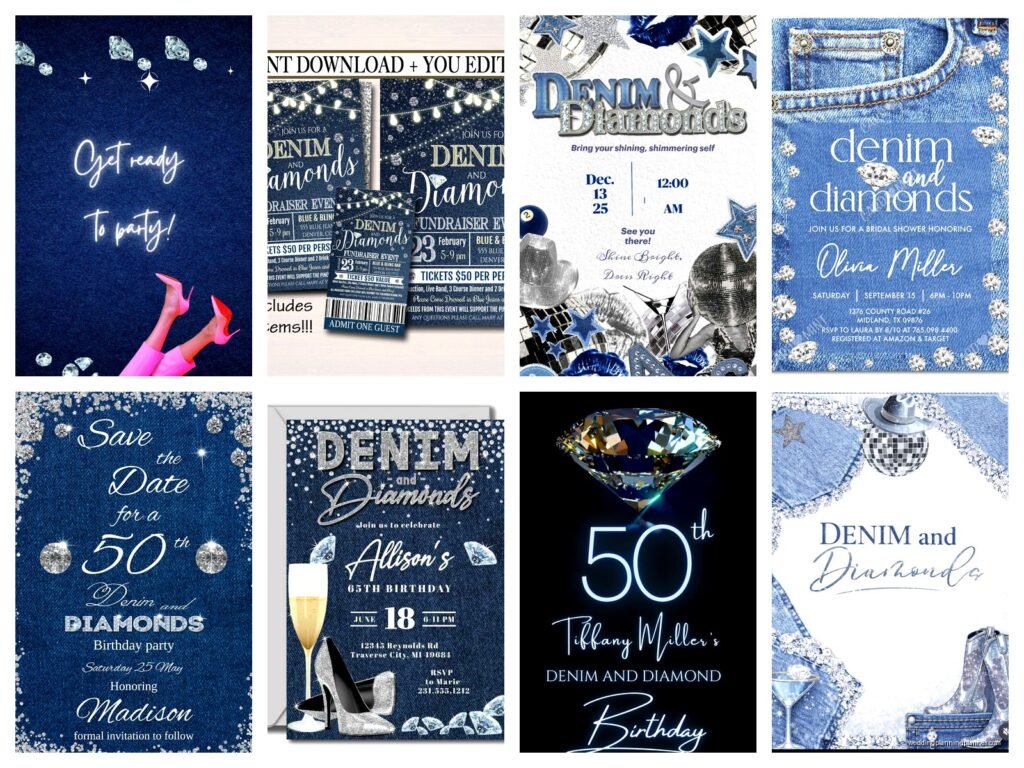
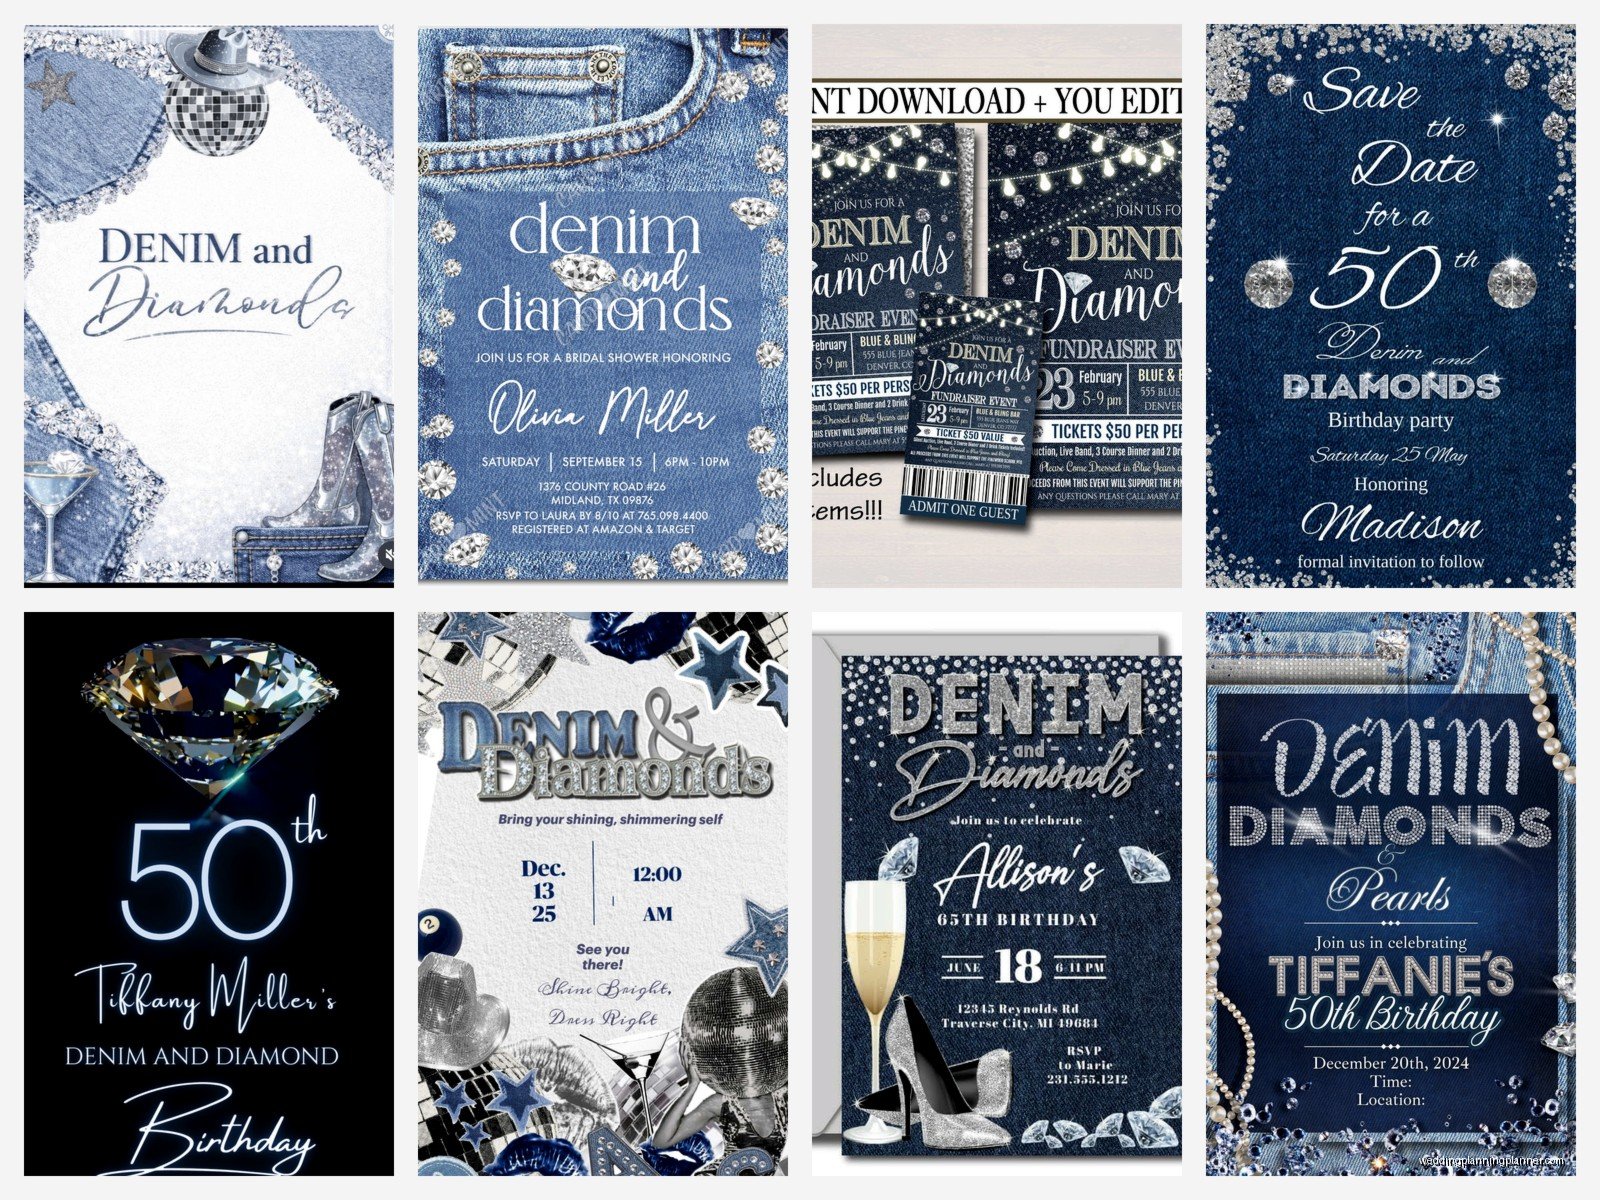
Start by picking your vibe. Rustic denim and diamonds usually means burlap textures, mason jar graphics maybe, wooden backgrounds, with silver or crystal-looking diamond accents. You’ll want fonts that are either script-y and elegant OR chunky western-style fonts. Don’t mix too many font styles though—that’s gonna look messy and cheap even if you’re spending good money on the printing.
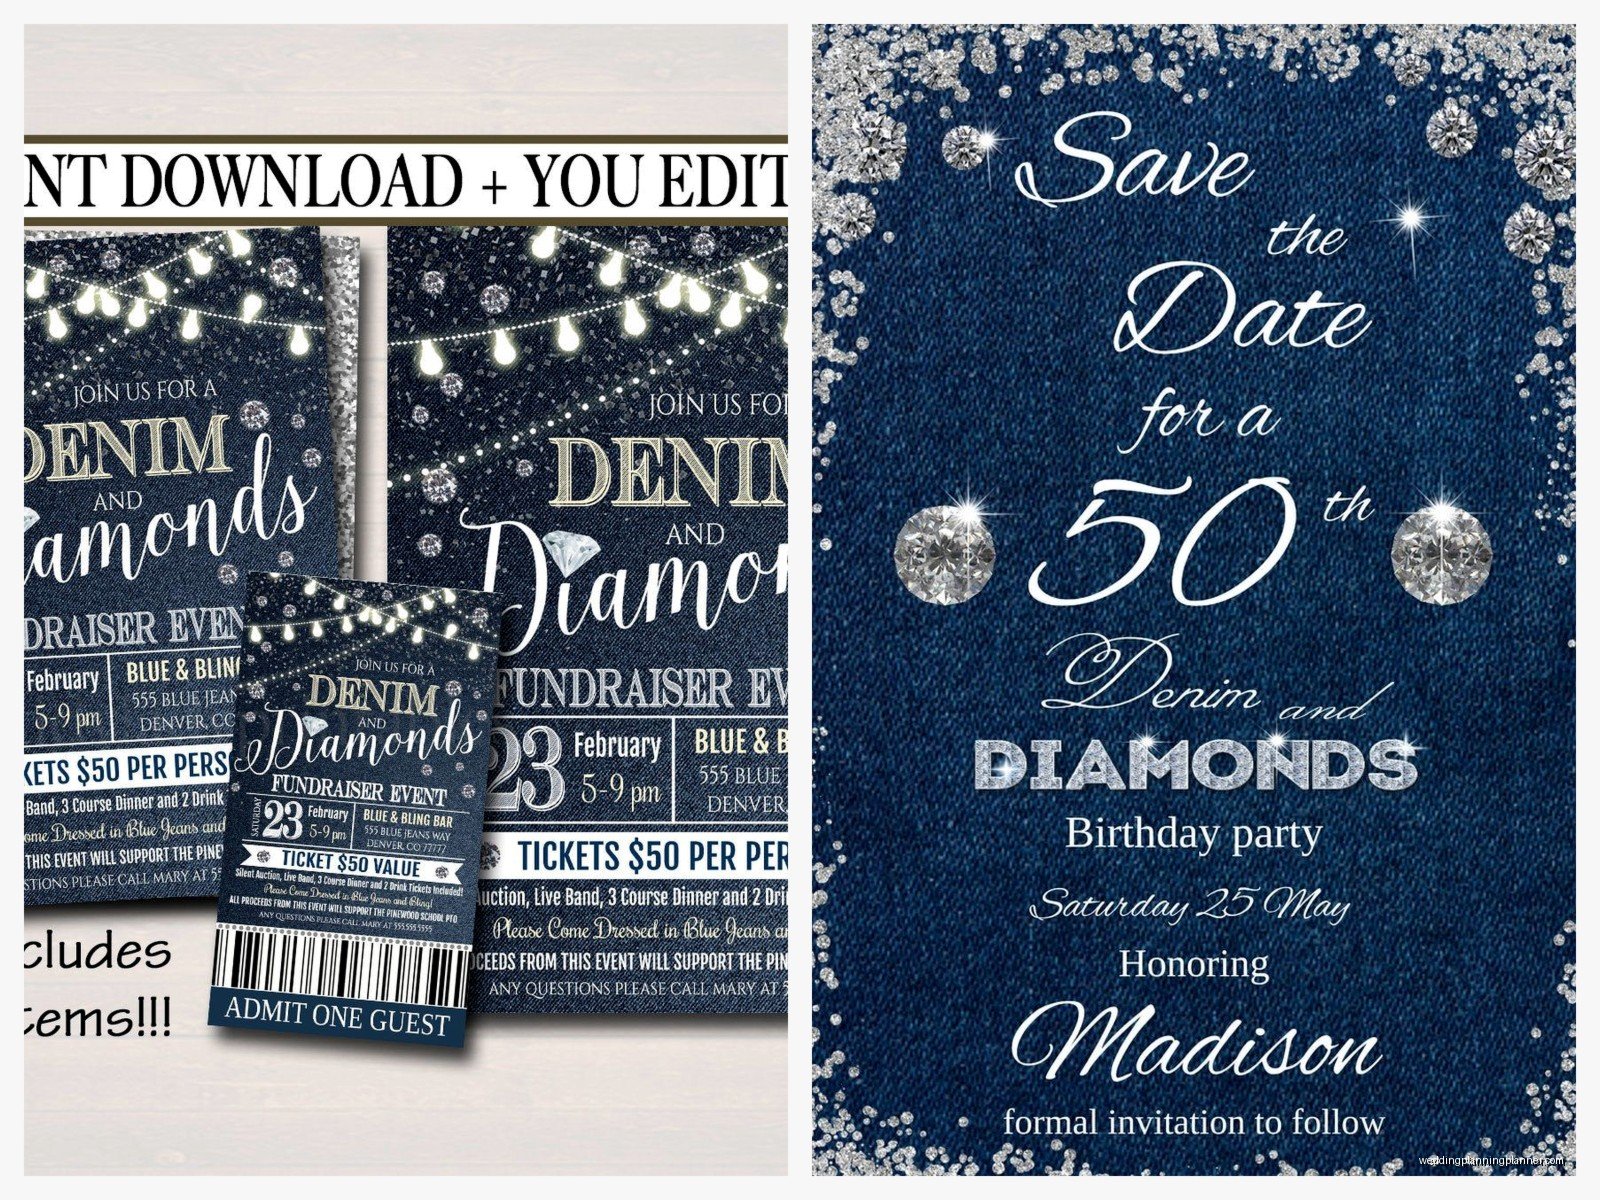
Glamorous denim and diamonds leans more into the diamonds part honestly. Think deep denim blue or even black backgrounds with silver foil, lots of shimmer, geometric diamond shapes, art deco vibes sometimes. The denim reference might just be in the dress code you mention rather than actual denim imagery on the card.
I usually tell people to make a quick Pinterest board with like 8-10 images max that show what they want. Any more than that and you’re gonna confuse yourself and your designer. Also it helps you see if everything actually goes together or if you’re trying to do too much—which, no judgment, I do this with literally everything including my living room decor and that’s why I have a vintage lamp next to a modern couch and my cat Miso just knocks things off both of them equally.
Design Elements That Actually Work
For the denim texture, you’ve got options. Real fabric-backed invitations exist but they’re stupid expensive and heavy which means extra postage. I only recommend them if you’re doing like 30 invites max and have the budget. Otherwise a good denim texture background printed on heavy cardstock (at least 110lb cover stock) looks great and nobody’s gonna know it’s not fabric unless they’re standing there analyzing it.
Diamond elements—here’s where you can have fun. Rhinestone stickers that you apply yourself are cheap but time-consuming, and if you’re doing 150 invitations you’re gonna hate your life about halfway through, trust me. I learned this the hard way with a client order in 2021 where I offered to help apply rhinestones to save them money and my fingers were literally cramping and I had glue everywhere. Just pay for printed diamond graphics or go with foil stamping if your budget allows.
Foil stamping is where metallic foil gets pressed into the paper and it looks SO much more expensive than it costs. Silver foil for diamonds, maybe rose gold if you want something different. You can get this done through most online invitation companies now—it used to be only custom printers did it but companies like Minted and Shutterfly have foil options.
Color schemes: denim blue + silver is classic. Denim blue + rose gold is trendy and softer. Navy + diamonds + white is sophisticated. You can throw in some cream or kraft paper tones if you want that rustic element. What annoys me is when people try to add too many colors—I had someone who wanted denim blue, silver, rose gold, turquoise, AND coral all on one invitation and it looked like a craft store exploded.
What Information You Actually Need On There
Okay so obviously the basics: who, what, when, where. But for a denim and diamonds party you NEED to be super clear about the dress code because people genuinely don’t know what this means. I’ve seen guests show up in full evening gowns to parties where everyone else was in jeans and a sparkly top, or vice versa.
Write it out clearly: “Dress Code: Denim and Diamonds—wear your favorite jeans with sparkly accessories and dressy tops” or “Dress Code: Denim and Diamonds—cocktail attire with denim or diamond accents welcome” or whatever your actual expectation is. You can put this on the main invite or on a separate details card if you’re doing a formal multi-card suite.
RSVP info needs to be there with a clear deadline—usually 3-4 weeks before the event. Give people options to RSVP by text, email, or through a wedding website/party website. Those RSVP cards that need to be mailed back? Kinda outdated unless you’re doing a very formal event, and even then people lose them or forget to mail them and then you’re chasing people down anyway.
DIY vs Custom vs Template Options
Let’s be real about what you can actually do yourself. If you’re crafty and have decent design skills, Canva has denim and diamonds templates you can customize. They’re like $1-15 depending on what you get, and then you just download and print. This works fine if you’re printing at home on good cardstock or taking the file to a print shop.
Print shops—FedEx Office, local printers, even Costco—can print your design on nice paper for way less than you’d think. I usually recommend 110lb cardstock minimum, and if you can do 130lb it feels even more substantial. Get a sample printed before you commit to 100 copies because colors look different on screen vs printed and you might need to adjust.
Online invitation companies like Minted, Shutterfly, Zazzle, Etsy—they all have denim and diamonds options now. Etsy is great because you’re working with actual designers who can customize things, and prices range from like $15 for a digital file you print yourself to $200+ for printed suites with all the extras. Read the reviews though because some Etsy sellers are… not great with communication or they send low-resolution files.
Minted and Zazzle let you preview everything before ordering and they have good quality control. Shutterfly is cheaper but sometimes the color printing isn’t as crisp, though their sales are amazing—never pay full price there, just wait for a 40% off sale which happens like every other week.
Custom designers (like working with someone like me) makes sense if you want something totally unique or you’re doing a big event and want everything coordinated—invites, programs, signs, thank you cards. Budget minimum $300-500 for custom design work plus printing costs. Worth it if you have specific vision that templates can’t achieve or if you’re just… not a design person and don’t wanna deal with it.
Paper and Printing Quality Stuff
This is gonna sound picky but paper weight matters so much. Those flimsy invitations that are basically regular printer paper? They make your event look cheap even if you spent money on the design. Go for at least 110lb cover stock, or if you want that really thick luxury feel, 130lb cover with a matte or linen finish.
Linen texture adds a nice touch without being too casual. Smooth matte is sophisticated. Glossy—nah, it looks dated unless you’re specifically going for that photo-print look. Pearl or shimmer finishes work great for the diamonds vibe but they cost extra and some printers don’t offer them.
If you’re doing envelopes (which you should because just… do), match them to your invite or go with a contrasting color that makes sense. Denim blue envelopes with silver addressing looks sharp. White or cream envelopes with denim blue invites inside works too. Kraft envelopes if you’re going rustic. You can get envelope liners printed with patterns—little diamonds or denim texture—which is a nice detail that people notice when they open it.
Timing and Ordering Quantities
Order your invitations at least 8-10 weeks before your event date, and mail them 6-8 weeks before. That gives you time for design, printing, addressing, and actual mailing. If you’re doing custom work add another 2 weeks minimum because revisions take time and designers have other clients.
Quantity-wise, order 10-15% extra beyond what you need for guests. You’ll want extras for keepsakes, last-minute additions to the guest list, or replacements if something gets damaged. Printing companies usually have price breaks at certain quantities—like 50, 100, 150—so sometimes ordering 100 instead of 85 only costs like $20 more and then you have extras.
Addressing and Mailing
Hand addressing looks personal but takes forever. Printed labels are fine and nobody really cares as much as you think they do. You can get clear labels that just show the text, or white labels, or go fancy with custom envelope printing where your guests’ addresses are printed directly on the envelope in a nice font.
If you do want calligraphy or fancy addressing, Etsy has people who do this or you can find local calligraphers. Budget at least $2-3 per envelope for this service. Or learn basic faux calligraphy yourself with brush pens—it’s not that hard and there’s like a million YouTube tutorials, I taught myself during lockdown when I had nothing better to do and now I do my own envelope addressing sometimes when I’m feeling motivated.
Postage: weigh your complete invitation at the post office before you mail them all. Anything over 1 oz needs extra postage, and non-standard sizes (square envelopes, oversized) cost extra. Those rhinestone embellishments? They add weight and thickness which means hand-cancel-only and extra postage. Just… be aware of this before you go too crazy with the 3D elements.
Digital Invitations—Yes or No?
Look, digital invitations are totally acceptable now especially post-pandemic when everyone got used to virtual everything. Paperless Post, Greenvelope, even Canva has digital invitation options. They’re obviously cheaper—like $15-40 for a full event vs $200+ for printed—and you get instant RSVPs tracked automatically which is super convenient.
But for certain crowds, especially older guests or very formal events, printed invitations still carry more weight. It feels more special to get something physical in the mail. I usually suggest hybrid approach: printed invitations for your VIP guests or older relatives who appreciate that, and digital for everyone else or as your save-the-date option.
Extras Worth Considering
Details cards—if you’ve got a lot of info (hotel blocks, website, registry, shuttle info) don’t cram it all on the main invite. Use a smaller details card that coordinates with your design. Keeps the main invitation clean and readable.
RSVP cards if you’re doing formal—include a stamped return envelope because asking people to provide their own stamp means fewer people will actually mail them back, even though they should but… people are lazy, what can I say.
Thank you cards matching your invitation design are nice to have on hand. Order them at the same time as your invitations to save on setup fees and have them ready to go after your event.
Belly bands, vellum overlays, wax seals—these are pretty details that elevate the whole presentation. Wax seals with a diamond-looking stamp or in silver/blue are perfect for this theme. You can get DIY wax seal kits for like $25 and do them yourself, or order pre-made seals. Just remember they add thickness so more postage and you gotta request hand-canceling at the post office.
Avoiding Common Mistakes
Don’t forget to proofread like seventeen times. Have someone else proofread too. I once had a client approve invitations that said “dinmer” instead of “dinner” and didn’t catch it until they were printed and I wanted to die. Most companies charge full price for reprints if it’s your error not theirs.
Don’t order the absolute minimum quantity—you’ll regret not having extras. Don’t skip the RSVP deadline or you’ll be chasing people forever. Don’t make your design so busy that people can’t actually read the important info—I see this ALL the time where someone uses light blue text on a dark blue denim background with sparkles everywhere and you literally cannot read what time the party starts.
Test your printing at home before doing all 100 if you’re DIYing it. Different printers handle color differently and you might need to adjust your design file. And for the love of everything, check your paper orientation before printing—landscape vs portrait mistakes are painful when you’ve just printed 50 invitations upside down.