
Planning Guides, Style Guide
Vellum Paper Wedding Invitations: Translucent Overlay Designs
May
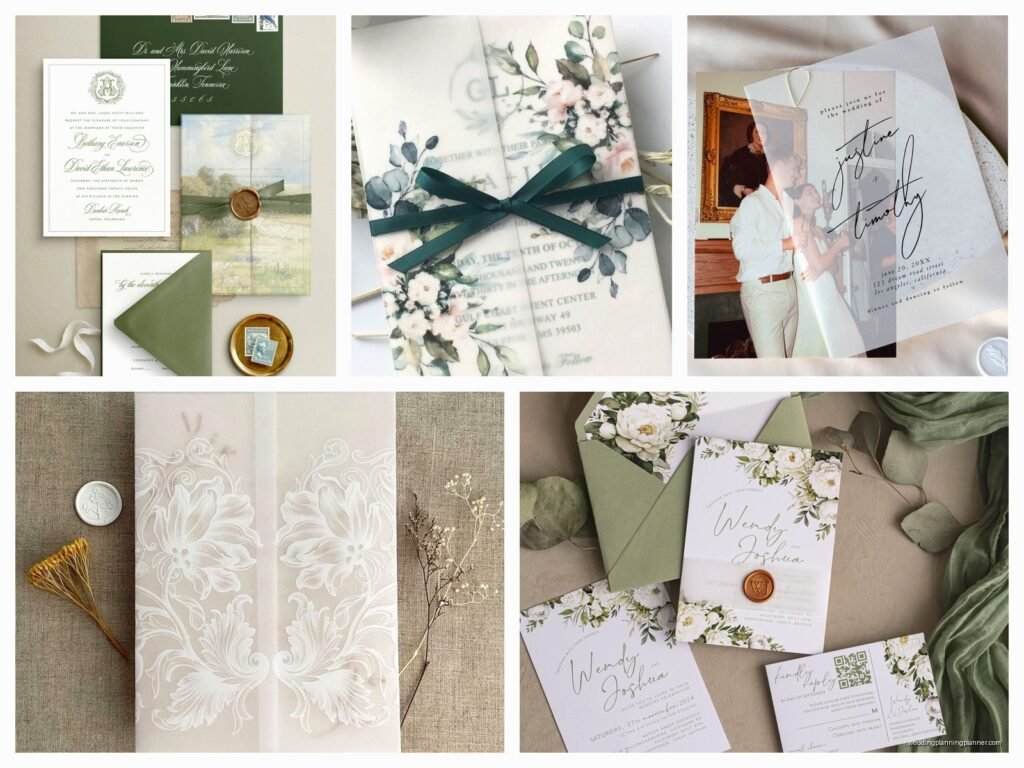
Okay So Vellum Overlays Are Having A Moment
Vellum paper overlays are basically those translucent sheets you layer on top of your actual invitation card and they look ridiculously elegant when done right. I’ve been working with them since like 2019 but honestly they became HUGE during the pandemic when couples wanted something special to mail out since they couldn’t do the big in-person events they’d planned.
The thing with vellum is it’s not actually one type of paper—you’ve got different weights, different finishes, and the quality varies SO much between suppliers. I learned this the hard way in spring 2023 when a client ordered vellum from three different sources and we laid them all out on my dining table and they looked completely different. One was practically see-through like tracing paper, another was more opaque and had this weird texture, and only one was that perfect frosted look we were going for.
Weight Actually Matters More Than You Think
Vellum comes in different weights measured in pounds or GSM (grams per square meter). For wedding invitations you’re gonna want something between 29-48 lb or about 110-180 GSM. Anything lighter feels cheap and flimsy—it’ll wrinkle if someone breathes on it wrong. Anything heavier starts looking more like frosted cardstock than true vellum.
I usually tell clients to go with 32 lb vellum as a sweet spot. It’s substantial enough to feel quality but still has that beautiful translucency that makes vellum special in the first place. You can hold it up to light and see the invitation underneath which is kinda the whole point.
What Actually Goes On The Vellum Layer
This is where people get creative but also where things can go wrong. The vellum overlay typically contains:
- Guest names (super elegant and personalized)
- A monogram or wedding logo
- Decorative borders or botanical illustrations
- A quote or meaningful phrase
- Event timeline or weekend schedule
- Venue illustration or skyline
What you DON’T want is too much text because it becomes hard to read through the translucent material. I had this one couple who wanted their entire love story printed on the vellum and I had to be like… that’s gonna be a no from me. It looked cluttered and you couldn’t read half of it because of the text on the invitation card showing through underneath.
Printing Methods Because This Gets Technical
Alright so here’s what annoys me about vellum printing—not every print method works well on it and a lot of print shops won’t tell you that upfront. Vellum is slick and non-porous which means ink doesn’t absorb the same way it does on regular paper.
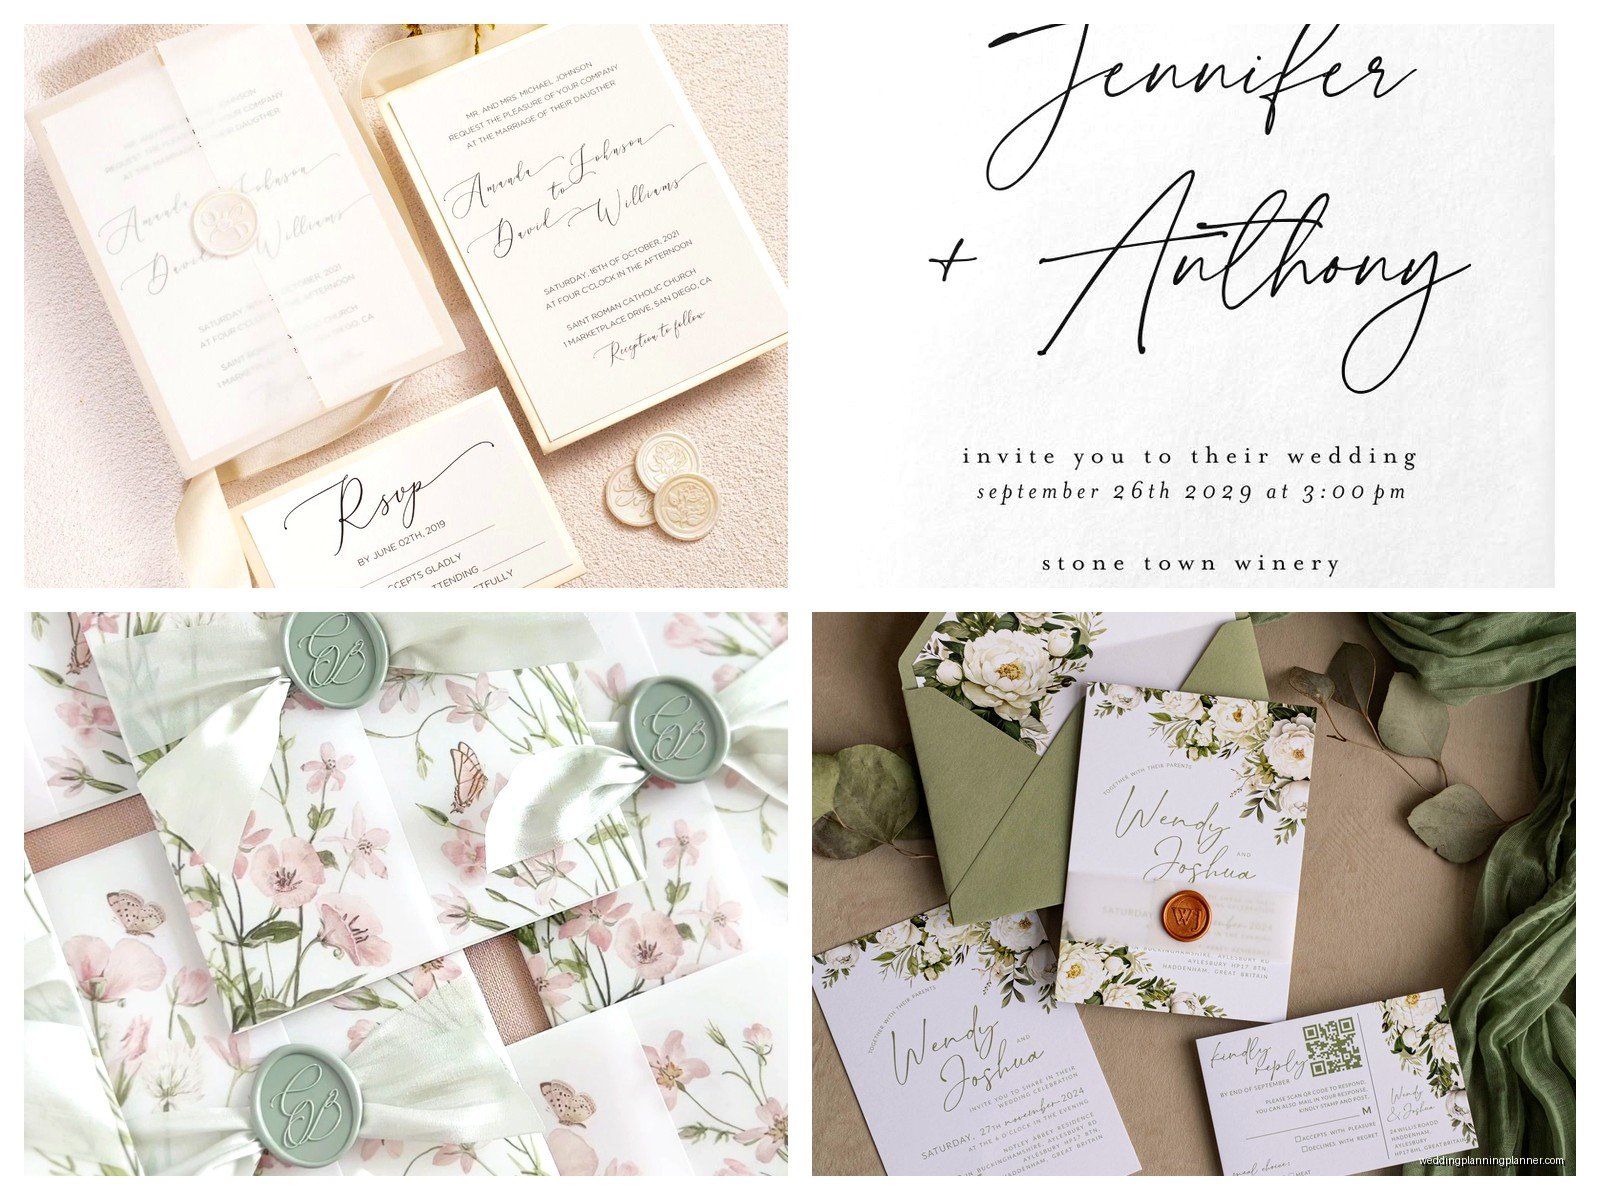
Digital Printing
Standard laser printing usually works okay but the toner can smudge if you’re not careful. I always tell people to let digitally printed vellum sit for at least 24 hours before handling it much. Some laser printers also have trouble feeding vellum through without jamming—you gotta test it first or you’ll waste a bunch of sheets. Cut your vellum slightly smaller than standard sizes if you’re doing this at home so it feeds better.
Foil Stamping
This is my favorite method for vellum honestly. Gold foil, silver foil, rose gold, copper—it all looks stunning on vellum and it doesn’t smudge. The foil sits on top of the vellum surface so you don’t have that ink absorption problem. Downside is it’s expensive. You’re looking at probably $8-15 per invitation just for the foil stamping depending on how much coverage you want.
I worked with this couple in summer 2021 who did white foil on vellum over a navy blue invitation card and it was GORGEOUS. The white foil looked almost opalescent against the vellum. Their guests were taking photos of the invitation suite and posting them which honestly doesn’t happen that often.
Letterpress
Letterpress on vellum is tricky because the impression can tear the paper if the presser isn’t experienced with it. You need someone who knows to use lighter pressure. When it works though… wow. That subtle deboss on translucent paper is really something special.
Screen Printing
Works great on vellum actually. The ink sits on top and dries well. Good option if you want opaque colors that really pop.
How To Actually Attach The Vellum Overlay
This is where I see people mess up constantly. You’ve got a few options and each gives a different look.
Belly Band
A belly band is a strip of paper (or ribbon or vellum itself) that wraps around the entire invitation suite holding everything together. Super clean look, no visible adhesive, and it’s easy for guests to remove. I use these probably 60% of the time. The belly band can match your wedding colors or be another piece of vellum.
Vellum Wrap
Instead of the vellum being a flat overlay, it wraps completely around the invitation card. You secure it on the back with a wax seal, sticker, or small piece of double-sided tape. This gives that really upscale boutique look. My cat knocked over an entire box of these once while I was assembling them and I wanted to cry because they’d taken forever to wrap perfectly.
Corner Attachments
You can use tiny glue dots in the corners to attach vellum to the invitation card. Use TINY amounts—if you use too much the glue shows through the translucent paper and looks weird. I learned this the hard way and had to reorder vellum for a client because I got overzealous with the glue dots and it looked spotty.
Wax Seals
A wax seal at the top center can hold the vellum overlay in place and looks incredibly romantic and old-world. Just know that wax seals can break in the mail and they also make your invitations non-machinable which means you’ll pay extra postage. Take a finished invitation to the post office and have them weigh it and tell you the exact postage—don’t guess.
Ribbon
Threading a ribbon through the vellum and invitation card works but you’ll need to punch holes which requires either a proper hole punch or taking everything to a print shop with the right equipment. Ribbon adds bulk too so again, extra postage.
Design Considerations That’ll Save You Headaches
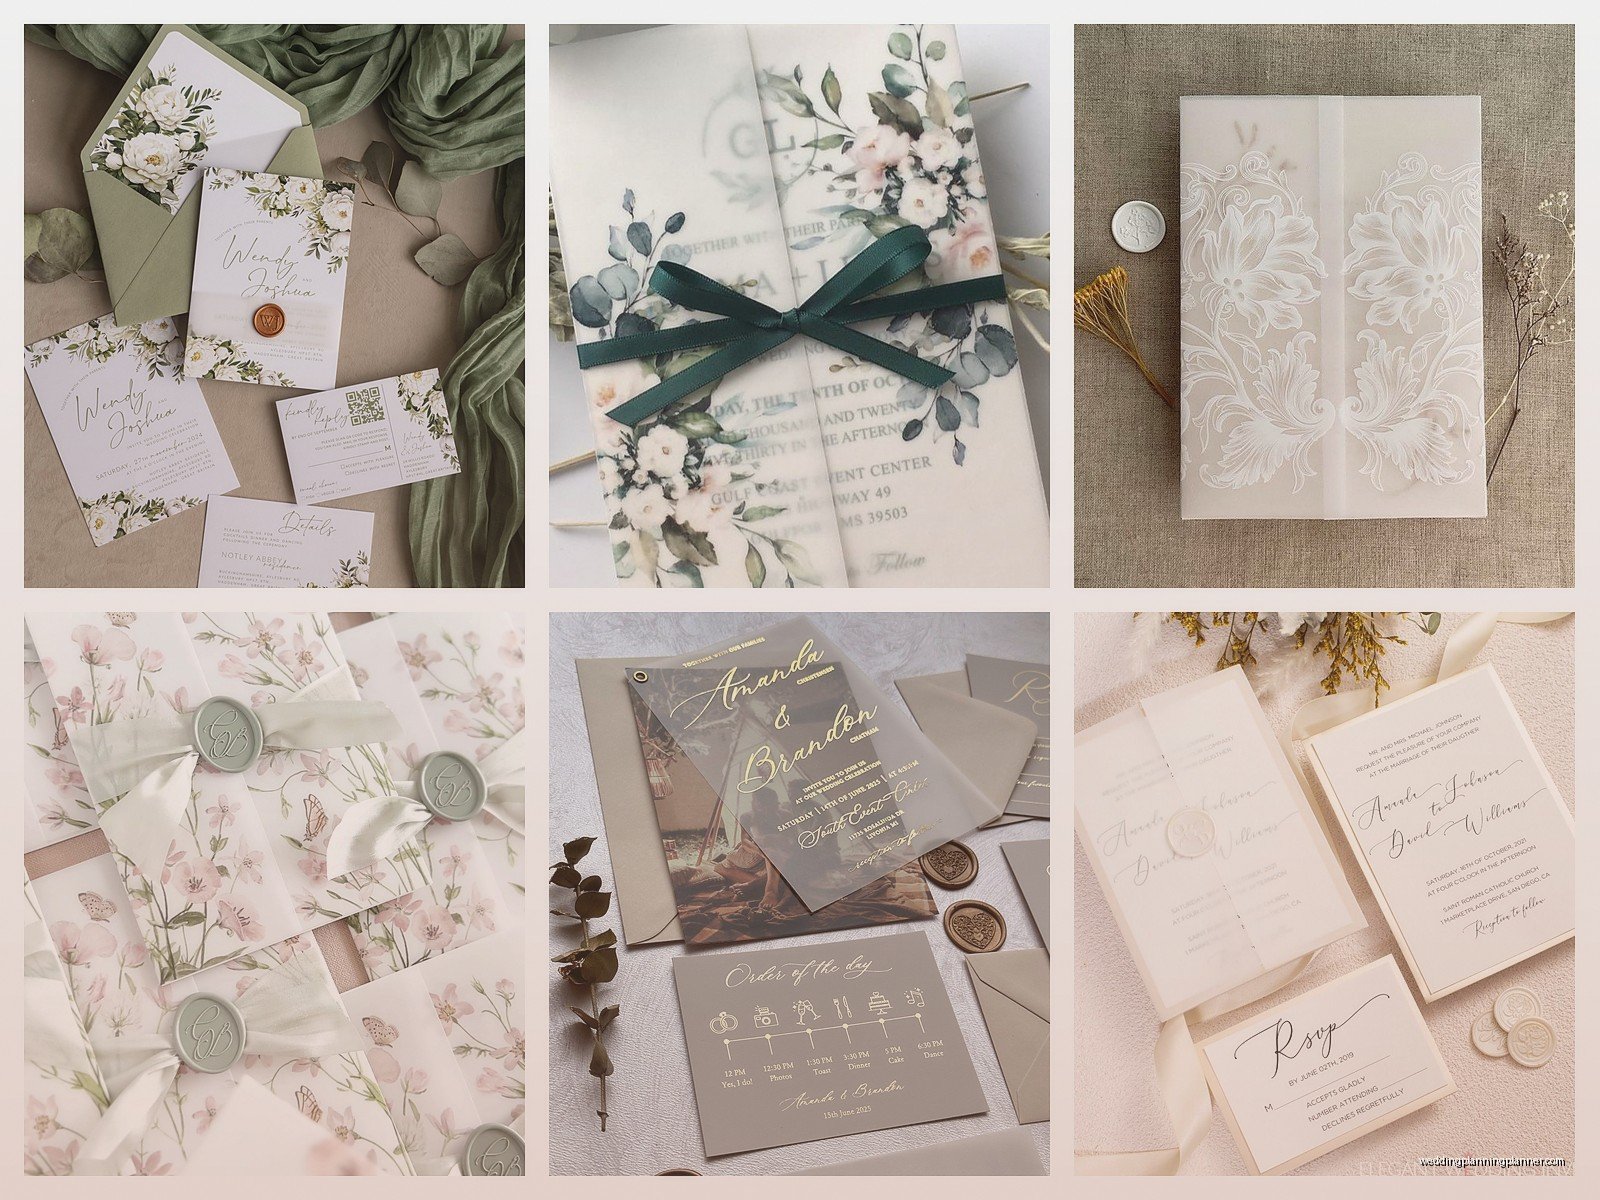
When you’re designing the actual invitation card that goes underneath the vellum, you gotta think about what shows through. If your vellum has text or designs on it, make sure they’re not competing with or obscuring important information on the card below.
I usually recommend keeping the top third of the invitation card relatively minimal if you’re putting guest names or a monogram on that area of the vellum overlay. Otherwise you get this visual clash where people can’t tell what they’re supposed to read first or… I don’t know it just looks messy.
Test your color combinations by literally putting them together and looking at them. What looks good in theory might look muddy when layered. Light colored vellum over dark cardstock usually works better than dark over dark because you maintain that translucent quality.
Text Color On Vellum
Black and dark colors show up well obviously. But I love using metallics because they catch the light differently through the vellum. White ink on vellum over a dark invitation card creates this really ethereal ghostly effect that’s perfect for evening weddings or winter events.
Just remember that whatever color you choose needs enough contrast to be readable. I’ve seen couples pick gray text on vellum over a cream card and it’s just too subtle—guests have to squint to read it.
Practical Assembly Tips From Someone Who’s Done This Too Many Times
Set up an assembly line situation. Seriously. Don’t try to complete each invitation one at a time because you’ll go insane. I usually organize it like: stack of cards, stack of vellum overlays, whatever attachment method, envelopes, and move down the line.
Work on a clean surface because vellum shows fingerprints and dust like crazy. I keep those white cotton gloves around that jewelers use—sounds extra but it actually helps.
If you’re using adhesive, less is more. Way more. A tiny glue dot the size of a pencil eraser is enough. Those big glue dots you can buy at craft stores? Cut them in half or even quarters.
Let everything sit for a few hours after assembly before stuffing envelopes. The glue needs to set, foil needs to cure, whatever—just let it be. I binge-watched some show about people renovating houses while waiting for a batch to be ready and honestly the break was needed.
Ordering Quantities
Order at least 15-20% more vellum and invitation materials than you need. You WILL mess some up during assembly. Someone will spill coffee (me, it was me). You’ll misalign something. A belly band will tear. Your printer will jam and mangle three sheets. Just trust me on this.
Cost Breakdown So You Know What You’re Getting Into
Vellum overlays add cost, there’s no way around it. Here’s roughly what you’re looking at:
- Vellum paper itself: $0.50-2.00 per sheet depending on size and quality
- Printing on vellum: $1.00-4.00 per sheet (digital to foil stamping)
- Assembly materials (belly bands, wax seals, ribbon): $0.50-3.00 per invitation
- Labor if you’re paying someone: $1.00-2.50 per invitation for assembly
So you’re adding anywhere from $3-10 per invitation just for the vellum overlay element. For 100 invitations that’s $300-1000 extra. Some couples think it’s worth it for the wow factor, others decide to do vellum only for certain pieces like the rehearsal dinner invitation but not the main wedding invite.
Common Problems And How To Fix Them
The vellum curls: This happens with humidity changes. Store your vellum flat with a heavy book on top. If it’s already curled, you can try putting it under weight for 24-48 hours or very carefully using a low-heat iron with a protective sheet over it (test this first on a scrap piece).
Smudging after printing: Let it dry longer. If you’re using digital printing, try hairspray as a fixative—spray very lightly from about 12 inches away. Sounds weird but it works sorta like a sealant.
Can’t get the vellum to stay put: You might need to switch attachment methods. What works for one paper combination doesn’t always work for another. I had a situation where the cardstock was too textured for glue dots to stick properly and we had to switch to a belly band system.
Guests don’t know what to do with it: Include a small note in your invitation suite if the overlay serves a specific purpose like being a keepsake or if it contains important information they need to save separately.
Envelope Considerations
Vellum overlays can add bulk and texture to your invitations which affects mailing. Always take a completed invitation to the post office before you mail all of them. The thickness, the wax seal, any ribbons—all of that can bump you into a higher postage tier or require hand-canceling which costs extra.
I recommend using envelope liners with vellum overlay invitations because it just completes the whole elegant look. When someone opens the envelope and sees that lined envelope plus the vellum overlay, it feels really special and intentional.
Also get a few extra envelopes because you’ll address some wrong or they’ll get damaged. This is just how it goes with wedding invitations in general but especially with fancy ones that have multiple components.
