Planning Guides, Style Guide
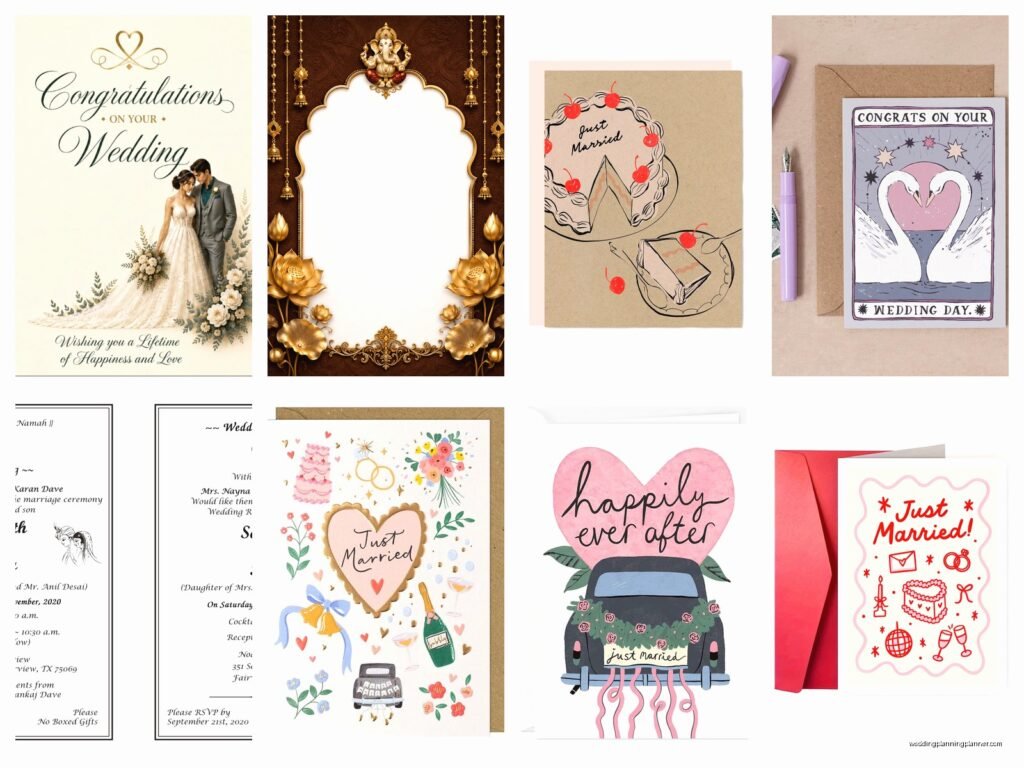
Marriage Card: Traditional Wedding Invitation Design
Jun
Traditional Wedding Invitation Design: What Actually Matters
Okay so traditional wedding invitations are having this massive comeback and honestly I get why. There’s something about holding a properly designed card with real letterpress or engraving that just hits different than those trendy acrylic invites everyone was doing in 2019. When you’re planning a traditional wedding invitation, you need to understand the actual components first because I’ve had clients show me Pinterest boards with like seven different styles mixed together calling it “traditional” and that’s… not how this works.
The Core Elements You Actually Need
Traditional invitations follow a pretty specific format and there’s reasons for all of it. The main invitation card is the star obviously, and it should include the hosts’ names (usually the bride’s parents if we’re going fully traditional), the request line, the couple’s names, date, time, venue, and city/state. That’s it. You don’t need to explain parking or your wedding website or your registry on this main card—that’s what enclosure cards are for.
The wording matters more than people think. Like, “request the honour of your presence” is for religious ceremonies (notice the British spelling of honour—that’s intentional and traditional), while “request the pleasure of your company” is for non-religious venues. I had this bride in spring 2023 who insisted on using “honour” for her country club wedding and her future mother-in-law kept calling me about it being wrong and honestly? The MIL was right but try telling a bride that six weeks before her wedding.
Paper Weight and Quality
This is where people either go way overboard or completely cheap out. Traditional invitations should be on cardstock that’s at least 100lb cover weight, but 120lb is better. You want it to feel substantial when someone picks it up. I always tell clients to hold it and see if it feels like something you’d frame or something you’d recycle immediately, because your guests are gonna make that same judgment.
Cotton paper is the gold standard for traditional invites. It has this texture that you can actually feel, and it takes printing differently than regular cardstock. The thing that annoys me though? When couples spend like $8 per invitation on fancy cotton paper and then print it on their home inkjet printer. Just… no. If you’re going traditional, you gotta commit to proper printing methods or it looks worse than if you’d just done simple cardstock with good printing.
Printing Methods That Actually Look Traditional
Engraving is the most formal and expensive option. It creates raised lettering on the front and you can feel the indentation on the back. It’s gorgeous but we’re talking $15-30 per invitation suite depending on complexity. Letterpress is having a moment and it’s technically traditional—it creates an impression INTO the paper rather than raised. Both of these methods take weeks though, so if you’re six months out from your wedding, you need to order like… now.
Thermography is the budget-friendly option that mimics engraving. It creates raised lettering but without the back indentation, and it costs maybe $3-8 per suite. Honestly for most weddings this is perfectly fine and your guests won’t know the difference unless they’re stationery nerds like me. Digital printing has come so far that high-quality digital on good paper can look amazing too, but it won’t have that tactile raised element.
Foil stamping is kinda traditional kinda trendy? Gold foil has been used on wedding invitations forever, but the rose gold and colored foils are more modern. If you’re doing traditional, stick with gold, silver, or maybe copper.
Color Choices for Traditional Designs
Black ink on white or ecru paper is the most traditional combination you can do. It’s classic, it’s readable, it’s formal. Navy ink is also acceptable and slightly less formal. When couples tell me they want traditional invitations but then show me burgundy ink on gray paper, I have to redirect because that’s… that’s not traditional, that’s modern with traditional fonts.
Ecru, cream, and ivory papers are all traditional. Bright white is fine too but feels slightly more contemporary. You can add a colored liner to your envelopes—that’s totally traditional and actually recommended. A tissue paper overlay is traditional too, though most people skip it now because it seems fussy.
Typography and Font Selection
This is where people mess up constantly. Traditional wedding invitations use script fonts for names and serif fonts for details, or sometimes all script if you want maximum formality. But not all script fonts are created equal—you need something that’s actually readable. I’ve seen invitations where I literally couldn’t figure out the couple’s names because they chose some super ornate calligraphy font.
Copperplate, Garamond, Bickham Script, Edwardian Script—these are your friends. Avoid anything that looks like it came from a fairy tale book or has too many swirls. The goal is elegant, not decorative. And for the love of everything, don’t mix more than two fonts on your invitation. Main card should have maybe a script for names and a serif for details, done.
Sizing and Layout Standards
Traditional invitation sizes are usually 5×7 inches or 5.5×8.5 inches. The 5×7 is most common and fits nicely in an A7 envelope. Some formal invitations go larger, but then you’re paying more for postage and honestly it doesn’t make it more traditional, just bigger.
Layout should be centered and balanced. Everything aligns down the middle. You’re not doing asymmetrical layouts or off-center text blocks in traditional design—that’s contemporary styling. The text should have proper spacing so it’s not crowded but also not weirdly spread out across the page. I usually work with about 0.5 inch margins on all sides as a starting point.
The Envelope Situation
Okay so traditional invitations have this whole double envelope thing that confuses everyone. The inner envelope holds the actual invitation and is left unsealed—it has the guests’ names without addresses. The outer envelope has the full mailing address and protects everything during shipping. Do you need both? Not really, unless you’re going for ultra-formal or your venue is literally a castle.
Envelope addressing is a whole thing too. Traditionally you’d hire a calligrapher to hand-address everything. That costs like $3-5 per envelope. Digital calligraphy (printed to look like handwriting) is way more affordable and looks great. Regular printed labels are… fine but not traditional. My cat knocked over my coffee onto a stack of addressed envelopes once during a client meeting and I’ve never recovered from that stress.
Return addresses can go on the back flap (most traditional) or upper left corner of the outer envelope (more practical for USPS). If you’re doing back flap, it should be printed or written small and centered.
Enclosure Cards You’ll Actually Need
Reception card is necessary if your ceremony and reception are at different locations or different times. It follows the same design as your main invitation but with reception details. Response card with a pre-addressed and stamped envelope is standard—make the deadline at least 3-4 weeks before your wedding. Direction cards or map cards are helpful but honestly most people just look it up on their phone now, so only include if your venue is hard to find.
Weekend events card if you’re doing a whole wedding weekend. Accommodations card with hotel blocks. You can also do a details card with your website and other info. These should all match your invitation design but they’re smaller—usually 4×6 or even smaller.
Assembly Order Because It Matters Apparently
There’s a specific order for stacking everything and I had a bride in summer 2021 who decided to reorganize everything her own way after I’d assembled 150 invitations and then got mad when I charged her to redo them. The correct order from bottom to top is: main invitation (face up), tissue paper if you’re using it, reception card, then any other enclosure cards in size order largest to smallest, then response card tucked under the flap of its envelope face up.
All of this goes into the inner envelope (if using) with the printed side facing the back flap so guests see it when they open. Then inner envelope goes into outer envelope. If you’re not using inner envelopes, everything stacks the same way and goes into your outer envelope.
Timing for Ordering and Mailing
You need to order invitations at least 4-5 months before your wedding date, especially if you’re doing engraving or letterpress. That gives time for design revisions, production (which can take 3-4 weeks for formal printing), addressing, and assembly. Mail them 8-10 weeks before the wedding for a traditional timeline, or 12 weeks if you’re doing a destination wedding.
Order 10-15 extra invitations beyond your guest count. You’ll want extras for keepsakes, mess-ups during addressing, last-minute additions… just trust me on this. I’ve never had a client regret ordering extras but I’ve had plenty scrambling to reorder because they ran out.
Wording Etiquette That People Ask About
If the bride’s parents are hosting traditionally, their names go first: “Mr. and Mrs. John Smith request the honour of your presence at the marriage of their daughter Jessica…” If both sets of parents are hosting, list both. If the couple is hosting themselves, you can say “Together with their families” or just start with the couple’s names.
Titles matter in traditional invitations. It’s “Doctor” not “Dr.” when spelled out. Military ranks get included. “Ms.” is fine for adult women, “Miss” for under 18, “Mrs.” for married women if you know they use it. When in doubt, ask the person.
For same-sex couples, names typically go in alphabetical order by last name, or whoever you’re closer to first if one set of parents is hosting. There’s no hard rule here because traditional etiquette didn’t account for this, so you get to decide what feels right.
Budget Reality Check
Traditional invitations are gonna cost more than digital or simple printed ones—that’s just reality. You’re looking at minimum $5-8 per suite for nice thermography on good paper, up to $30+ per suite for engraving on cotton paper with all the bells and whistles. For 100 guests that’s $500-3000 just for invitations. Add in save the dates, thank you cards, day-of stationery, and you’re looking at a significant chunk of your budget.
Where you can save: skip the inner envelope, do digital calligraphy instead of hand calligraphy, choose thermography over engraving, reduce the number of enclosure cards by putting more info on your website. Where you shouldn’t cheap out: paper quality and printing method. A well-printed invitation on good paper with simple design beats an ornate design on flimsy paper every time.
Working With a Stationer vs DIY
You can definitely DIY traditional invitations if you’re crafty and have time. Download templates, order good paper from a specialty supplier, and use a professional printing service. But—and this is a big but—traditional invitations have a lot of etiquette rules and design conventions that are easy to mess up if you don’t know them.
A stationer or invitation designer knows proper wording, can guide you on printing methods, has connections with quality printers, and will handle assembly or teach you how to do it right. We also catch mistakes before they’re printed on 150 invitations. The number of times I’ve caught misspelled venue names or wrong dates… it pays for itself honestly.
Common Mistakes I See All The Time
Using too many fonts or decorative elements. Traditional means restrained and elegant, not busy. Forgetting to include the year—yes you need the full year spelled out. Not leaving enough time for production and addressing. Choosing fonts that are unreadable. Putting too much information on the main invitation card when it should go on enclosures. Not ordering enough invitations or ordering way too many (I had a couple order 400 for 150 guests which was… excessive). Skipping proofreading—always have at least three people proofread everything before it goes to print.
Also postage—please go to the post office and have them weigh your assembled invitation before you buy stamps. Square envelopes, heavy invitations, and thick suites all cost more to mail than a regular letter. You might need $1+ in postage per invitation, and nothing says “oops” like 100 invitations returned for insufficient postage.
Modern Touches That Still Feel Traditional
You can add some personality while keeping it traditional. A custom monogram or crest is very traditional actually. Colored envelope liners in your wedding colors. A wax seal on the envelope (though this adds postage cost). Deckled edges on the paper. A belly band or ribbon to hold everything together—silk ribbon is traditional, grosgrain works too.
What doesn’t work: photos on the invitation, super trendy design elements, plastic or acrylic elements, neon colors, memes or inside jokes in the wording. If you want those things that’s totally fine but call it modern or contemporary, not traditional. Words mean things and traditional has a specific aesthetic and set of conventions that have been around for decades or even centuries in some cases… okay I’m getting preachy but you get what I mean.