Planning Guides, Style Guide
Wedding Stencils: DIY Sign & Decoration Templates
Jun
Getting Started with Wedding Stencils
Okay so wedding stencils are honestly one of those things I wish more couples knew about because they can save you SO much money on signage and decorations. Like, you don’t need to order custom vinyl decals for everything or pay a calligrapher $200 for a welcome sign when you can stencil it yourself for maybe twenty bucks total.
The basic idea is you’re using pre-cut templates to paint letters, designs, or patterns onto wood signs, fabric, glass, whatever surface you’re working with. I’ve seen couples stencil everything from their ceremony backdrop to cocktail napkins to those big wooden welcome signs everyone wants now.
Where to Actually Get Your Stencils
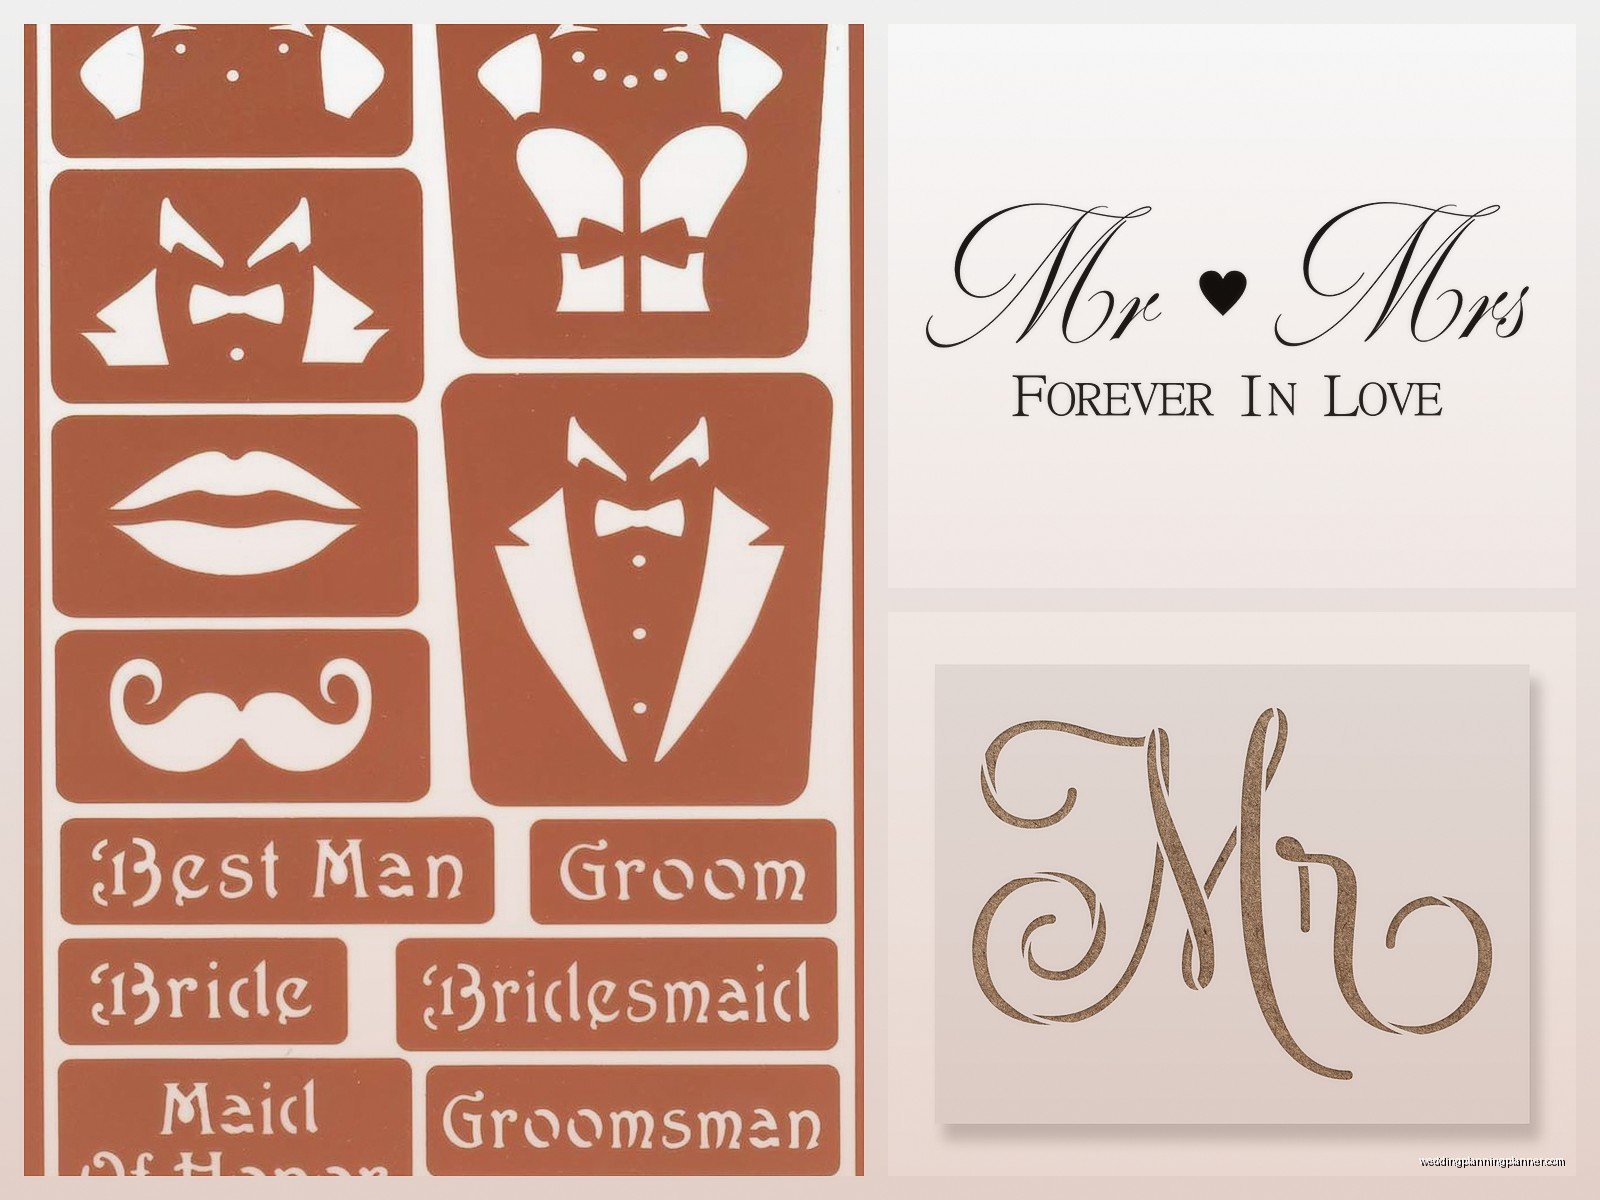
You’ve got a few options here and honestly it depends on your budget and how much control you want over the design. Craft stores like Michaels or Hobby Lobby have entire aisles of letter stencils and decorative patterns – I’m talking script fonts, block letters, florals, geometric shapes. They’re usually made from that flexible plastic material that you can wash and reuse.
Online is where you’ll find more wedding-specific stuff though. Etsy has tons of sellers who make custom stencils, and you can get your exact wording or a specific design cut. I used a seller from Etsy back in spring 2023 for a client’s dessert table signs and the quality was actually better than the craft store ones because they were made from thicker mylar.
Amazon also has letter sets in different fonts and sizes. The thing that annoyed me about Amazon stencils though? The sizing is all over the place in the product descriptions. You think you’re ordering 3-inch letters and they show up at like 2.2 inches and now your spacing is all wrong.
Materials You’re Gonna Need
Besides the actual stencils, you need paint obviously. For wood signs I always recommend acrylic craft paint – it’s cheap, comes in every color, dries fast. For fabric you need fabric paint specifically or it’ll wash right out or get all crusty and weird.
Stencil brushes are kinda important here. They’re those flat-topped brushes that look stumpy and you use them with a pouncing motion instead of brush strokes. This keeps paint from seeping under the stencil edges. You can also use foam pouncer things or even makeup sponges work in a pinch.
Painter’s tape or spray adhesive to hold your stencil in place. Spray adhesive is actually better because it really keeps the stencil flat against your surface but it’s messier to work with. I usually just use blue painter’s tape unless I’m doing something super detailed.
Paper towels for blotting excess paint off your brush – this is actually the secret to clean stencil lines, you want your brush almost dry when you’re pouncing.
Picking Your Surfaces
Wood is the easiest surface to work with for signs. You can get those pre-cut wood rounds or rectangles from craft stores, or if you’re feeling ambitious hit up Home Depot for actual wood boards. Sand them down first if they’re rough, then paint a base coat if you want. White base coat with black lettering is classic and readable from far away which matters for ceremony signs.
I had this bride in summer 2021 who wanted to stencil directly onto her canvas ceremony backdrop and I was so stressed about it because canvas can be tricky – the fabric texture makes it harder to get crisp lines. We did test runs on scrap canvas first and figured out that you really gotta stretch it tight and use barely any paint or it bleeds. It turned out gorgeous though, she did these huge monstera leaves in gold.
Glass and mirrors work great for stenciling too. Like those big mirrors you see at cocktail hours with the bar menu or seating chart stenciled on. You can use acrylic paint or paint pens for glass. Just make sure the surface is super clean first, any grease or fingerprints will mess up your paint adhesion.
Design Planning Before You Start
Umm this is where people usually jump in too fast and then end up with crooked text or spacing that looks off. Measure your surface and actually map out where your text is going. I use a pencil to make light guidelines that I can erase later.
For multi-word signs, lay out all your letter stencils first without painting to see how they’ll fit. You might need to adjust spacing or letter size. Typography people talk about kerning which is basically the space between individual letters, and you want it to look even visually even if it’s not mathematically even… that probably doesn’t make sense but like, some letter combinations need different spacing to look right.
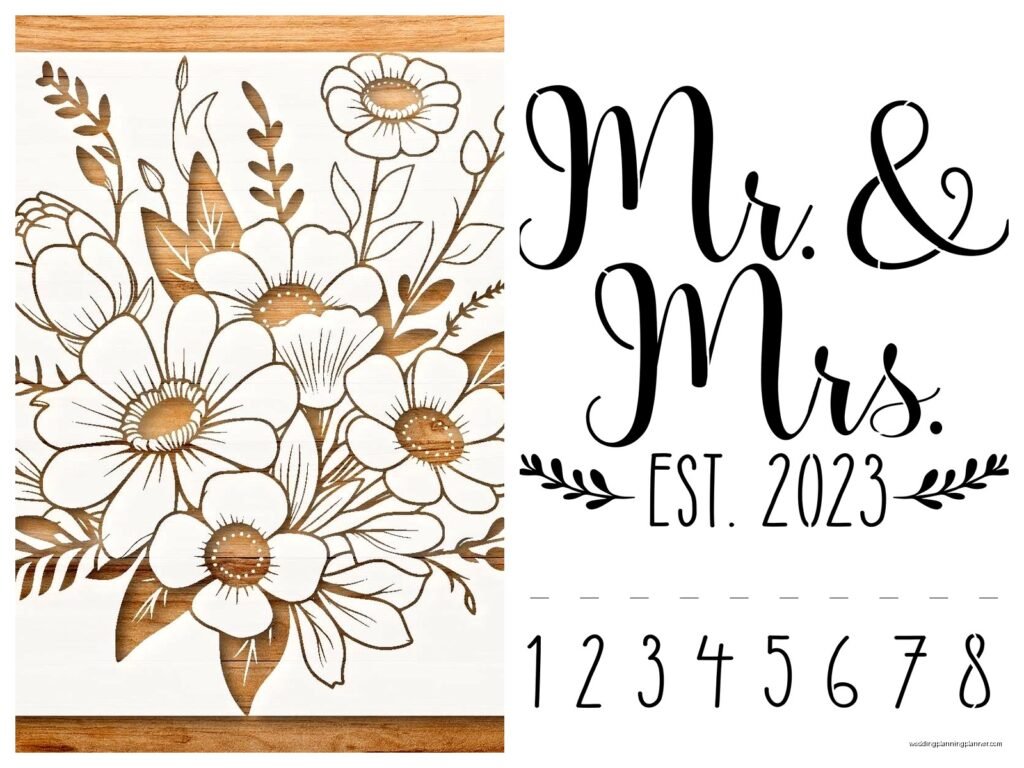
Also think about your font mixing if you’re using multiple styles. Usually you want one fancy script font paired with one simple font, not like three different scripts fighting each other. The wooden welcome signs that say “Welcome to our Beginning” or whatever usually have “Welcome” and “Beginning” in a script and “to our” in simple block letters.
The Actual Stenciling Process
Alright so you’ve got your surface prepped, your stencil positioned and taped down. Pour a little paint onto a paper plate or palette. Dip your stencil brush in the paint, then pounce most of it off onto a paper towel. This feels wasteful but I promise you want barely any paint on that brush.
Hold the stencil flat with one hand – like really press down on those edges – and pounce the brush straight up and down over the stencil openings. Don’t brush side to side or you’ll push paint under the edges. Build up the color gradually with multiple light layers instead of trying to get it opaque in one go.
The edges are where stenciling gets tricky. You gotta be extra careful where the stencil bridges are, those little connector pieces that hold the centers of letters like O or A in place. Sometimes paint builds up around them and looks blobby.
Peel up the stencil while the paint is still wet – if you wait until it’s dry, dried paint might peel up with the stencil. Pull it straight up, don’t drag it across your surface.
Fixing Mistakes Because They Will Happen
Paint bled under your stencil? Don’t panic. If you’re working on wood and used acrylic paint, you can scrape off mistakes with a craft knife once it’s totally dry, then sand it smooth and touch up. On glass you can scrape with a razor blade.
For small bleeds or messy edges, I usually just touch them up with a tiny brush and the background color. Like if you have a white sign with black letters, keep some white paint handy to clean up the black letter edges after you’re done stenciling.
Spacing looks weird after you’ve already painted some letters? This happened to me more than I wanna admit when I first started doing stencil projects. Sometimes you just gotta embrace it or get creative with adding decorative elements to balance things out. My cat knocked over a whole sign I was working on once and I had to restart from scratch so… always give yourself extra time for mess-ups.
Project Ideas That Actually Work for Weddings
Welcome signs are the obvious one. You can stencil these on wood, chalkboards (use chalk markers not actual chalk), or even directly on a cute vintage window frame if you’re into that rustic thing.
Directional signs for your ceremony and reception – like arrows pointing to “Ceremony” or “Cocktails” or “Dance Like Nobody’s Watching” if you’re cheesy about it. These are easy because they’re usually just one word per sign.
Table numbers are perfect for stenciling. Get small wood rounds or pieces of wood and stencil numbers 1-15 or however many tables you have. Way cheaper than ordering them and you can customize the style to match your theme.
Bar menus and signature drink signs. I love these because you can get creative with the layout, mix fonts, add little decorative elements. Just make sure your text is big enough to read from a few feet away because nobody wants to crowd around a sign trying to figure out what cocktails are available.
Escort card displays – I’ve seen people stencil table numbers onto a big board and then attach escort cards below each number. Or stencil directly onto the backing of individual escort cards if you’re really ambitious.
Decorative Stenciling Beyond Signs
Okay so this is where it gets fun but also more time-consuming. You can stencil patterns onto fabric table runners, cloth napkins, canvas bags for welcome gifts. Fabric paint is permanent after heat-setting so guests can actually keep and wash these items.
Stenciling designs onto painted mason jars or glass votives for centerpieces. This works better with paint pens than brushes honestly because the curved surface is hard to keep a stencil flat against. Or you could use etching cream instead of paint for a frosted glass look but that’s a whole different process and you gotta be careful because that stuff burns.
I had a DIY-obsessed couple who stenciled their wedding date and initials onto the wooden dance floor and I thought they were kinda crazy for taking that on but it actually looked amazing in photos. That’s like expert-level stenciling though and required floor paint and sealer and probably took them days.
Time Management Reality Check
Here’s the thing nobody tells you about DIY stencil projects – they take WAY longer than you think they will. A simple one-word sign might take 20 minutes once you factor in setup, painting, drying, touch-ups, and cleanup. A complicated multi-line sign could take hours.
If you’re doing like 15 table numbers plus a welcome sign plus a bar menu plus directional signs, you’re looking at multiple full days of work spread out over weeks because you gotta let things dry completely between coats and before handling.
Start at least 2-3 months before your wedding, not like two weeks before. I’ve seen too many stressed-out couples trying to finish stenciling projects the week of their wedding and that’s when mistakes happen and things look rushed and then you’re disappointed with how they turned out.
Do test runs on scrap materials first. Buy extra wood or whatever you’re working with so you can practice your technique and figure out spacing before you work on your final pieces.
Sealing and Finishing Your Projects
Once your paint is completely dry – and I mean wait at least 24 hours – you probably want to seal your signs especially if they’ll be outside. Spray polyurethane or spray acrylic sealer works for most surfaces. Do thin coats and let each coat dry before adding another.
For outdoor signs, multiple coats of sealer are important because dew and humidity can make unsealed paint look cloudy or cause it to peel. I learned this the hard way with a ceremony sign that got set up early in the morning and by ceremony time the paint looked all weird and hazy from moisture.
Fabric items need heat-setting if you used fabric paint – usually you iron them or throw them in the dryer according to the paint instructions.
Budget Breakdown
Let’s say you’re doing a welcome sign, a bar menu sign, and table numbers 1-12. Here’s roughly what you’d spend: Two wood boards for signs ($15-20), twelve small wood rounds for table numbers ($12-15), letter stencils in two different fonts ($20-30 for reusable sets), acrylic paint in 2-3 colors ($10-15), stencil brushes ($8), painter’s tape ($5), sealer spray ($8-12). Total around $80-100 for everything.
Compare that to ordering custom signs from a wedding vendor where a single welcome sign might cost $100-150 plus table numbers at $5-8 each plus bar menu at $50-75… you’re looking at $250-350 minimum. So yeah, stenciling yourself saves money if you’ve got the time and patience.
The tradeoff is your time and the risk that they won’t look as polished as professionally made signs. Some people are totally fine with that handmade look, other people get stressed that things won’t be perfect. You gotta know yourself and whether you’ll enjoy this process or resent it… because honestly there’s no point DIYing something that’s gonna make you miserable and stressed before your wedding.